Pool leaks concentrate in a handful of predictable locations: the skimmer (throat, mouth, and equalizer — the #1 leak site), return fittings and plumbing (pressure-side lines), pool lights (niche and conduit), the main drain (sump and hydrostatic valve), and structural cracks (shell, tile line). Each location has a characteristic signature and a specific detection method — dye testing for structural suspects, pressure testing for plumbing. Knowing the lineup lets you inspect intelligently before calling professional pool leak detection.
Quick Answer
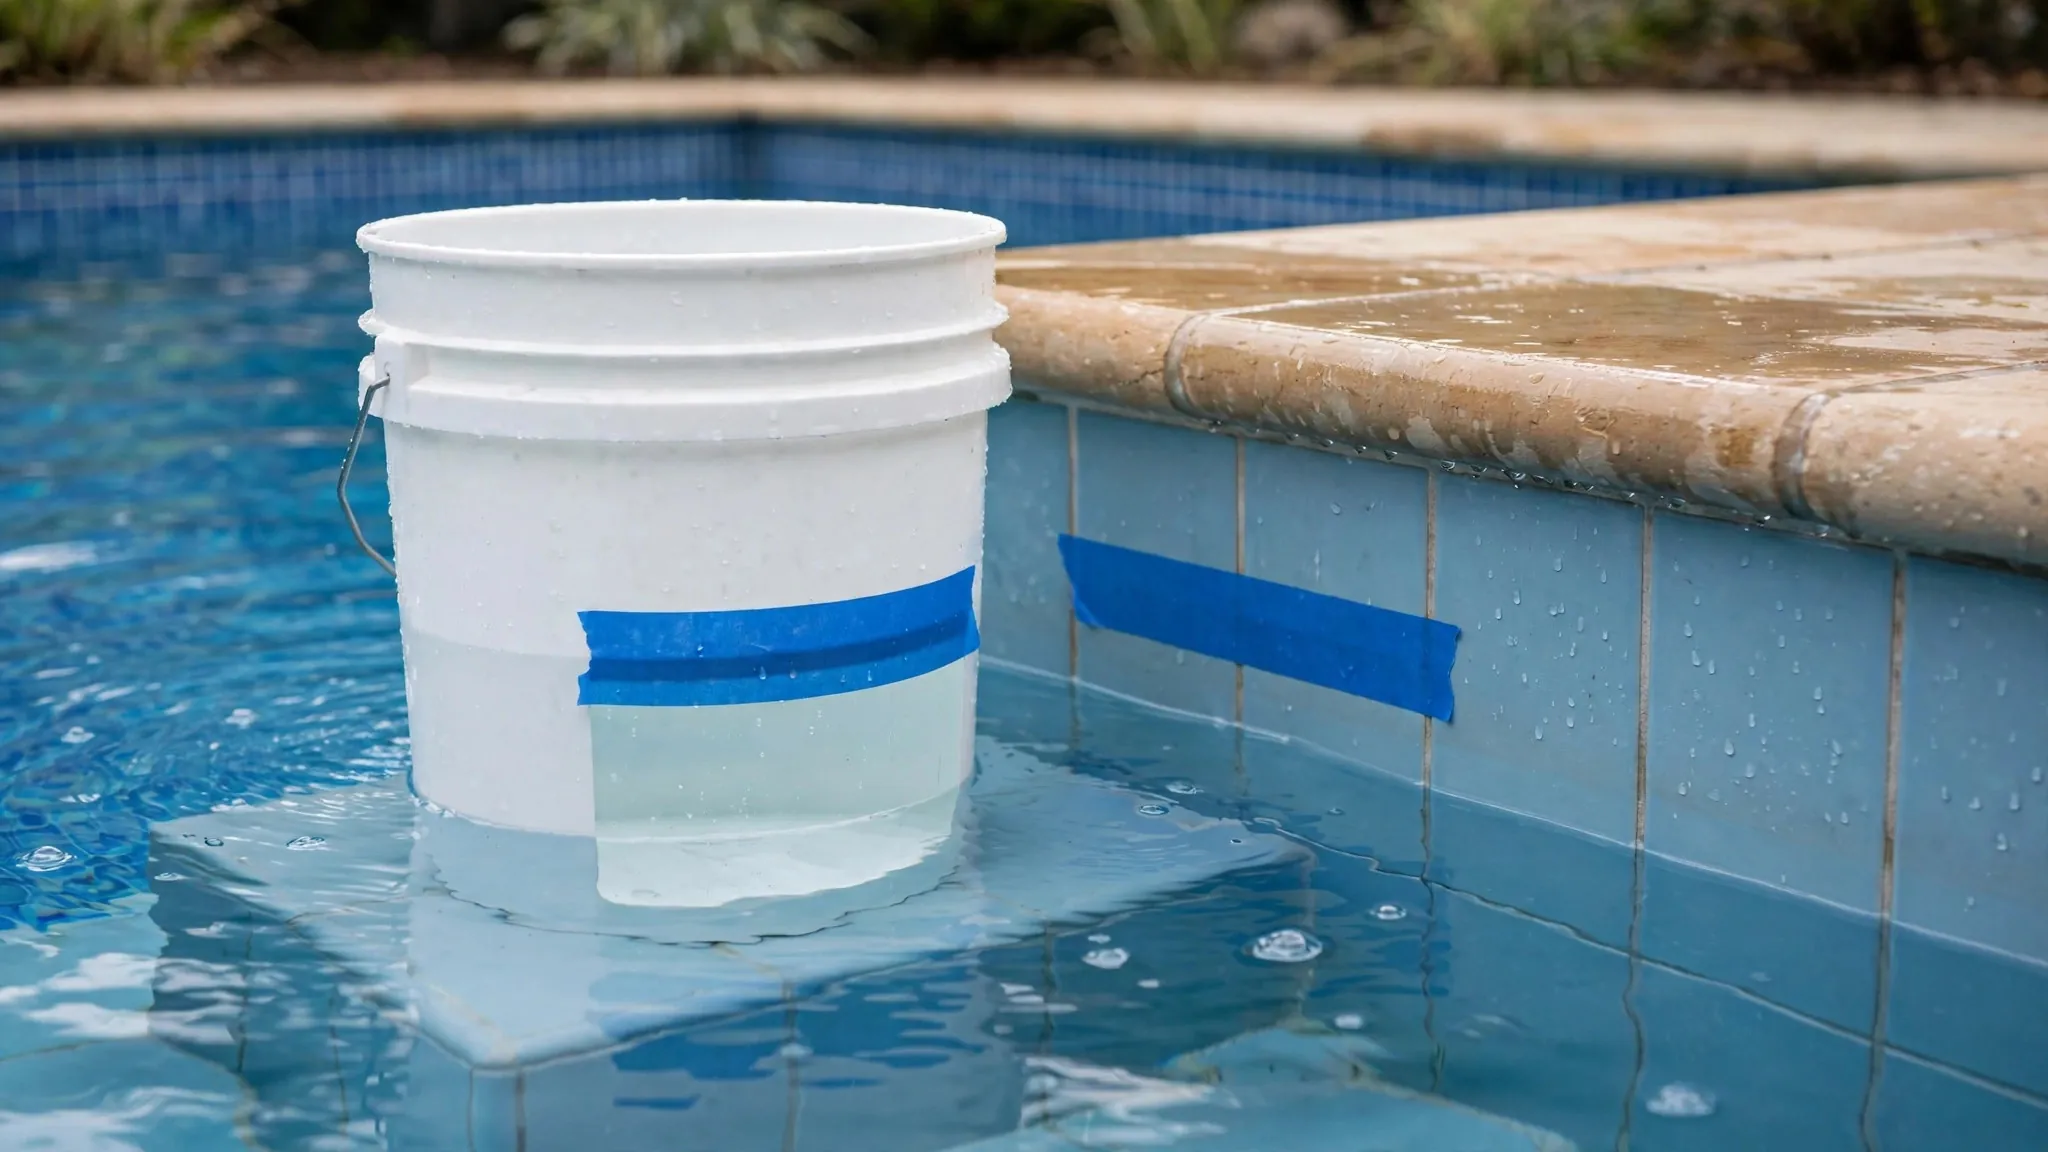
Check in order: skimmer (look for cracks at the throat and mouth; dye-test with pump off), return fittings (dye-test each), pool light (water behind the lens or in the conduit), main drain (dye-test the sump; check the hydrostatic valve), then structural (tile line, cracks, fittings). Plumbing-side leaks (pump-on only) need pressure testing; structural leaks (anytime) need dye testing. The bucket test's pump on/off variation tells you which category to pursue.
The Skimmer: Leak Site #1
The skimmer — where water enters the filtration system — is the most common pool leak location. Failure points:
- Skimmer throat/mouth: the concrete-to-plastic joint cracks from ground movement and freeze-thaw; separation gaps leak continuously.
- Skimmer body cracks: age, ground pressure, and winter damage crack the housing.
- Equalizer line: the secondary suction line below the skimmer; its check valve fails, or the line itself cracks.
- Waterline correlation: if the water level drops to the skimmer mouth and stops, the skimmer is the prime suspect — the leak is at that elevation.
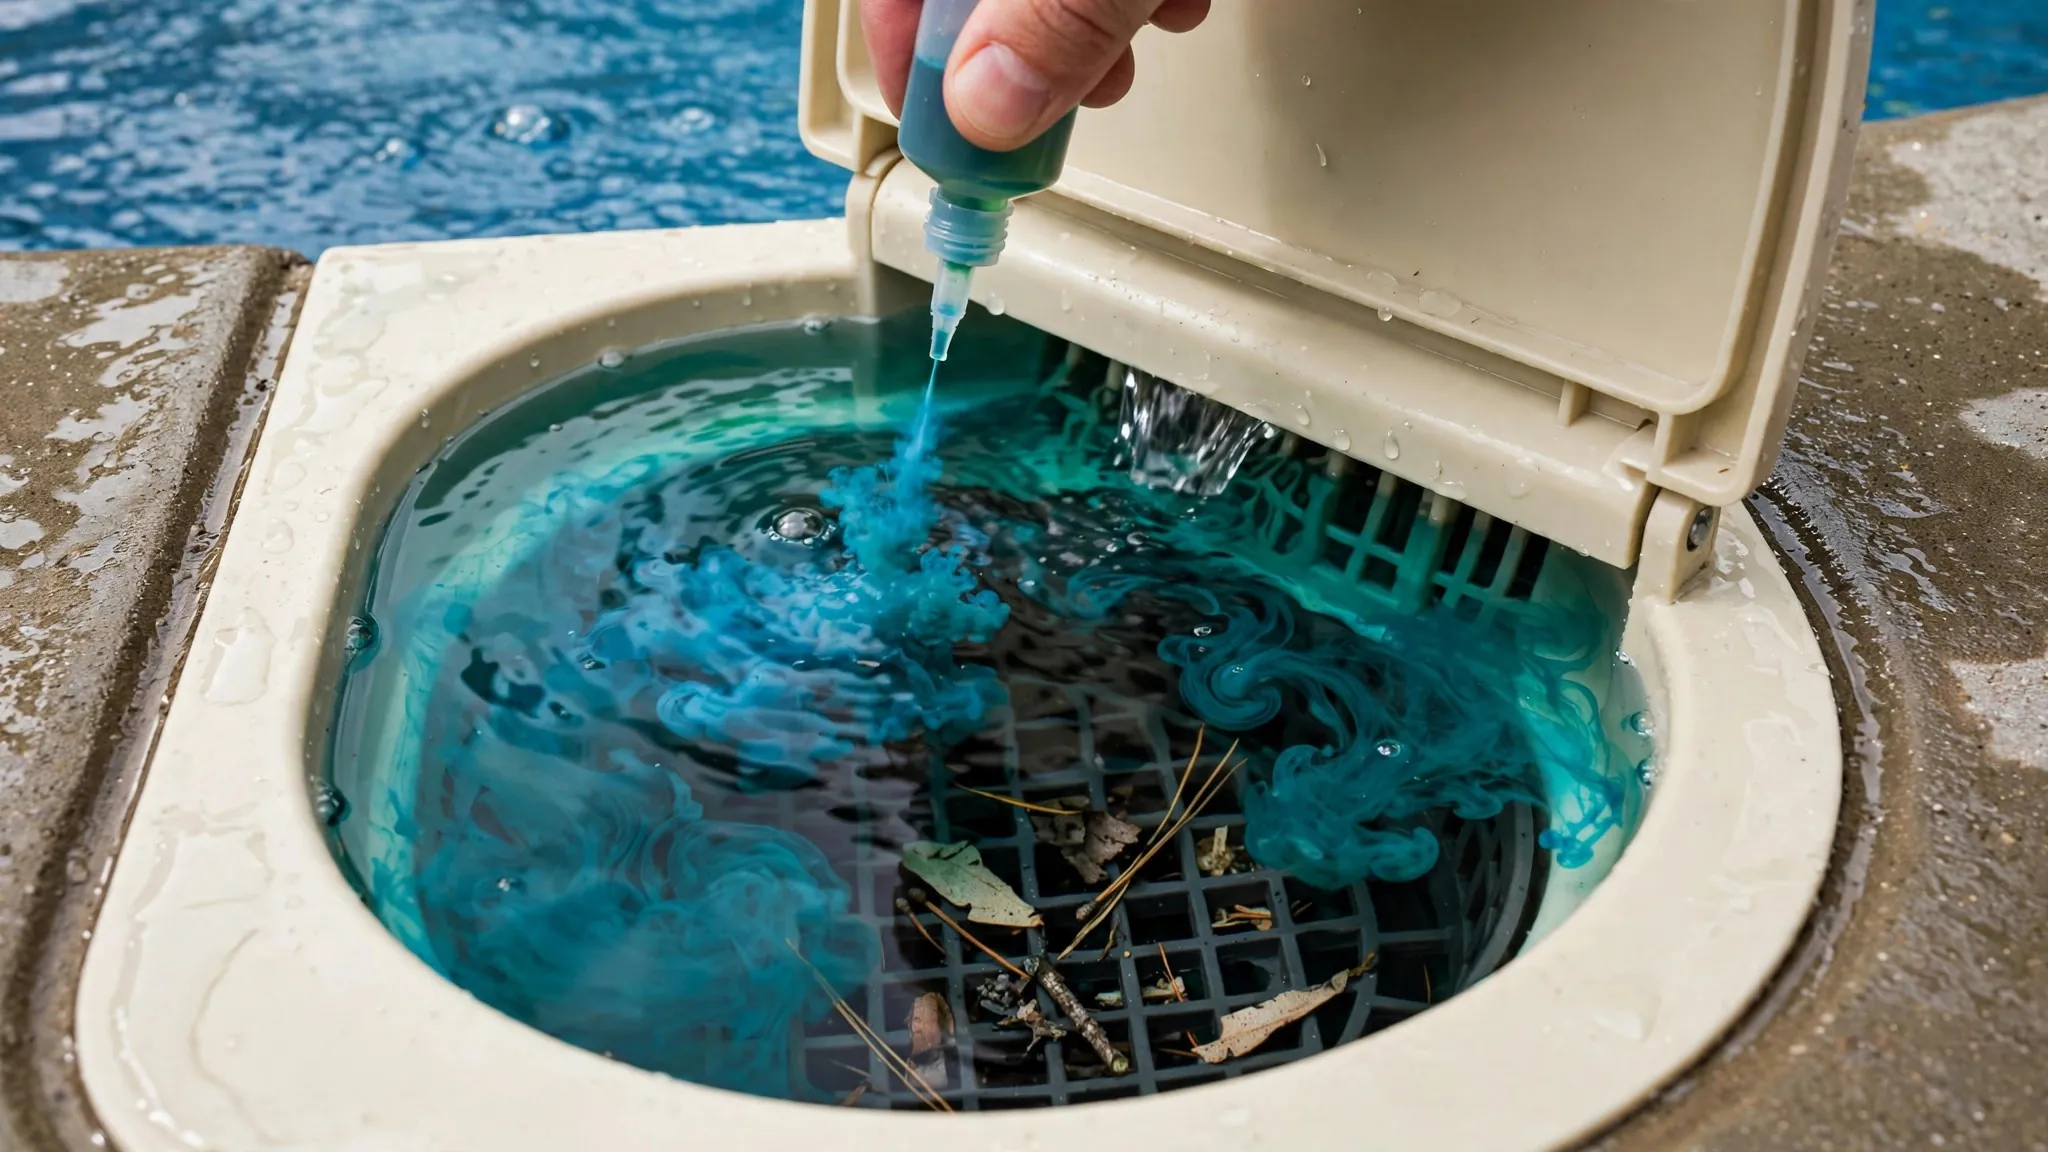
Inspect: look for visible cracks and gaps at the throat with the water at normal level. Dye-test: with the pump off and water still, release dye near suspect cracks — dye drawn into the crack confirms the leak.
The Waterline Tells The Story
Watch where the dropping water level stabilizes: it stops at the leak's elevation. Stabilization at the skimmer mouth means skimmer; at a return means return; at the light means light; continuing to the main drain means the deep end. The pool diagnoses itself if you watch.
Returns And Plumbing: The Pressure Side
Return fittings (where filtered water re-enters) and their underground plumbing leak under pressure — meaning these leaks worsen with the pump on (confirm via the bucket test pump variation).
- Fitting cracks: age and freeze damage crack return fittings; dye-test each with the pump off.
- Underground line breaks: ground movement, root intrusion, and age break buried return lines — no visible symptom except water loss.
- Equipment pad leaks: pump seals, filter housings, heater cores, and valve joints — inspect the pad first; it is the most accessible plumbing.
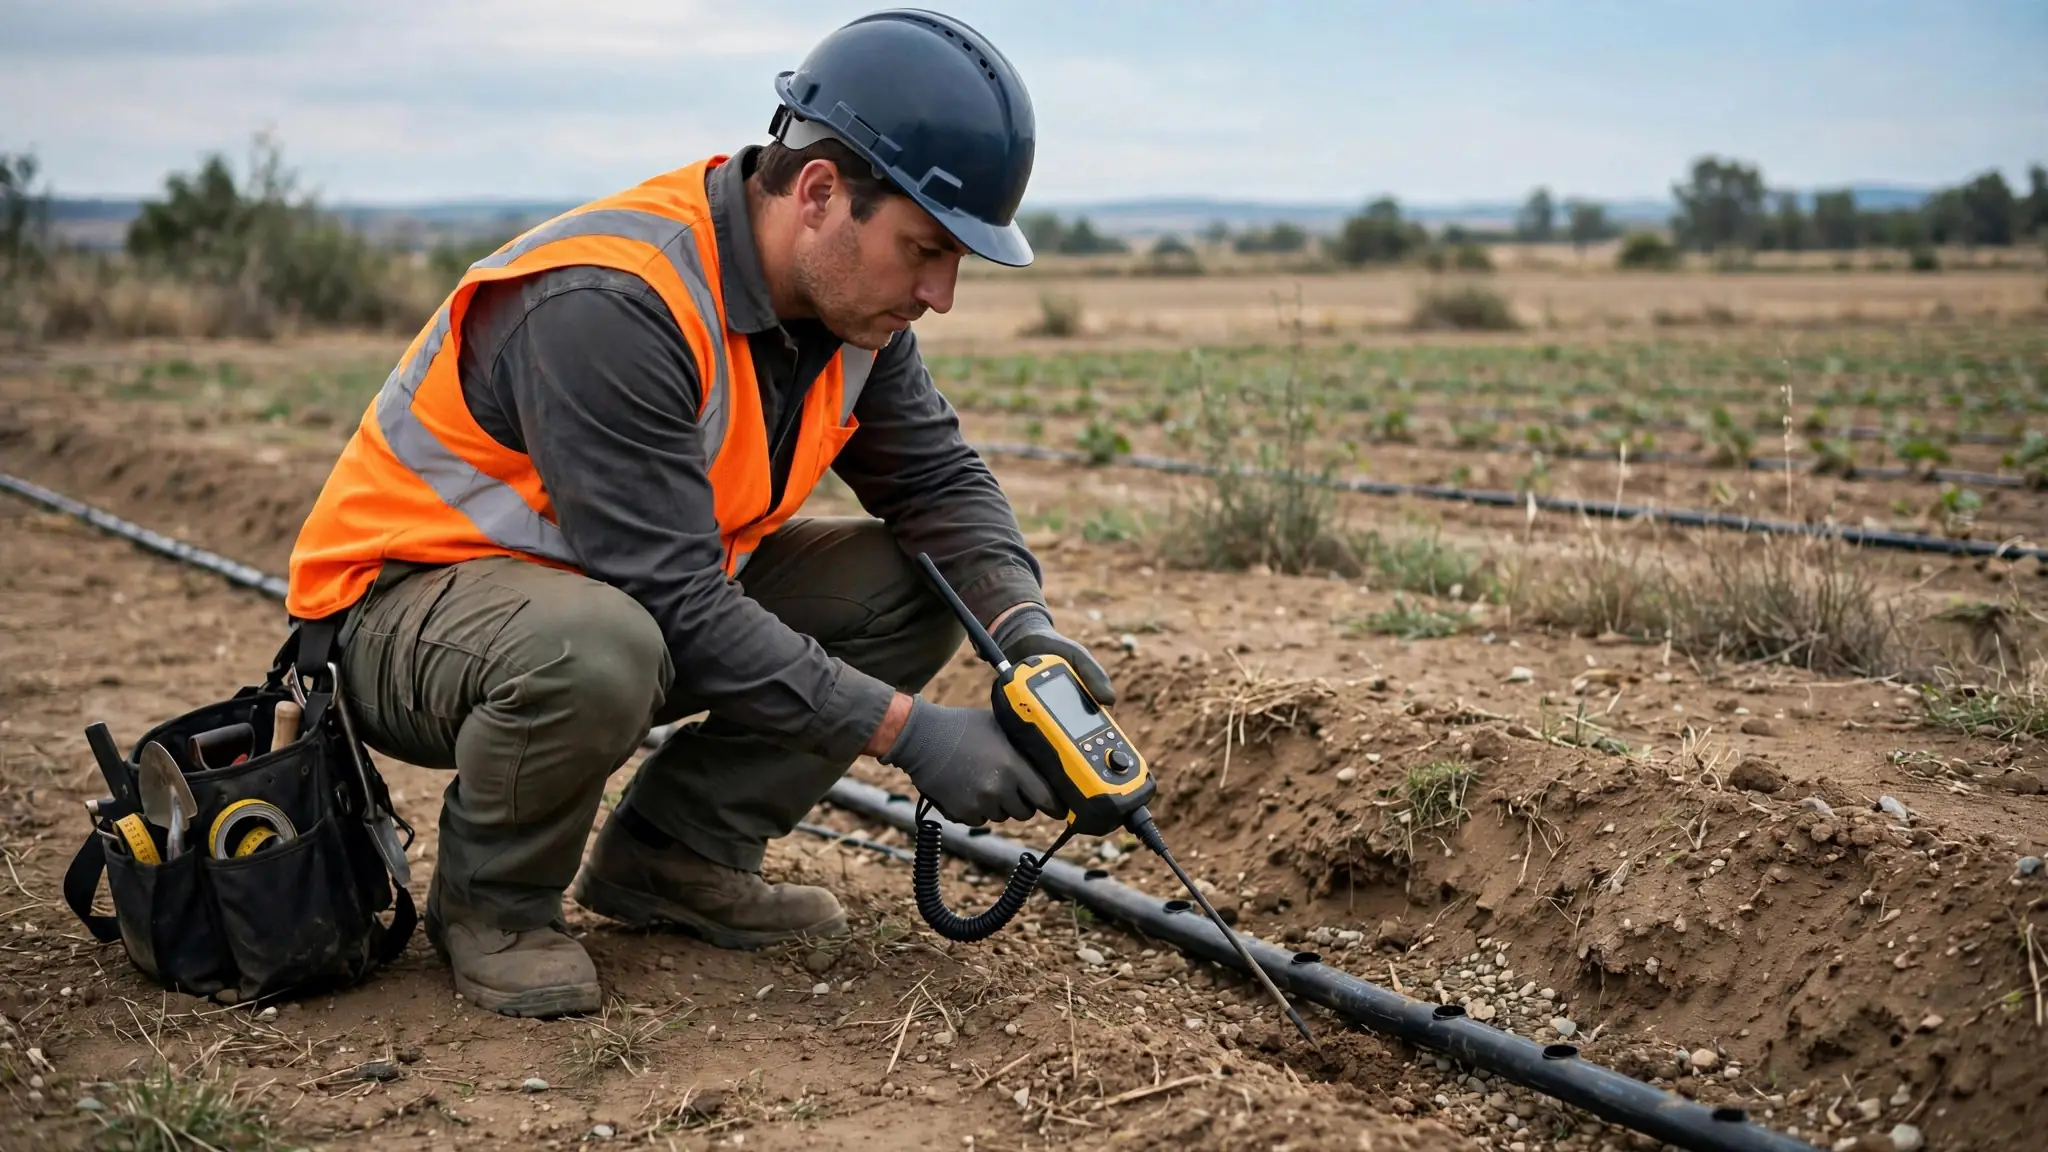
Pressure testing isolates plumbing leaks: each line is pressurized independently; pressure drop identifies the leaking line. This is professional equipment and methodology.
Pool Lights: The Conduit Problem
Pool light niches (the housing) rarely leak — but the conduit (the electrical pipe running from niche to junction box) frequently does. Water enters the conduit through failed niche seals and travels along it, emerging far from the light. Signs: water behind the lens, water in the junction box, or level stabilization at the light's elevation.
Inspect: remove the light fixture (usually a single screw) and check the niche and conduit opening. Dye-test around the niche with the pump off.
Main Drain: The Deep Suspect
The main drain (floor sump) leaks through sump cracks, failed hydrostatic valves (the pressure-relief valve in the sump), or plumbing connections below. If the water level drops past all other suspects toward the deep end, the main drain is implicated.
- Dye-test the sump with the pump off — dye drawn into cracks or the hydrostatic valve confirms.
- Hydrostatic valve: designed to relieve groundwater pressure; when it fails, pool water escapes downward.
- Professional confirmation often needed — the main drain is the hardest location for DIY dye testing (depth, visibility).
Structural: Shell, Tile Line, And Fittings
- Tile line: the waterline tile's grout fails; the bond beam behind it cracks — leaks at the waterline elevation.
- Structural cracks: shell cracks from ground movement, poor construction, or freeze damage; dye-test along their length.
- Step and bench joints: construction joints are inherent weak points.
- Waterline stabilization at the tile line implicates these directly.
Detection Methods By Location
| Location | Primary Method | DIY Possible |
|---|---|---|
| Skimmer throat/mouth | Visual + dye test | Yes — inspect and dye-test |
| Return fittings | Dye test | Yes — with pump off, water still |
| Pool light niche/conduit | Visual + dye test | Yes — remove fixture, inspect |
| Main drain sump | Dye test | Difficult — depth and visibility |
| Underground plumbing | Pressure testing | No — professional equipment |
| Structural cracks | Dye test along crack | Yes — for accessible cracks |
Repair Approaches
- Skimmer throat: epoxy or polyurethane injection; skimmer replacement for severe damage.
- Fittings: replacement of the failed fitting; underwater epoxy for minor cracks.
- Light conduit: conduit sealing (specialized epoxy injection) or niche rebuild.
- Main drain: hydrostatic valve replacement; sump repair or plug-and-abandon (with proper equalization).
- Underground plumbing: targeted excavation at the pressure-test-marked location; spot repair or reroute.
- Structural: crack injection, staple systems, or resurfacing depending on severity.
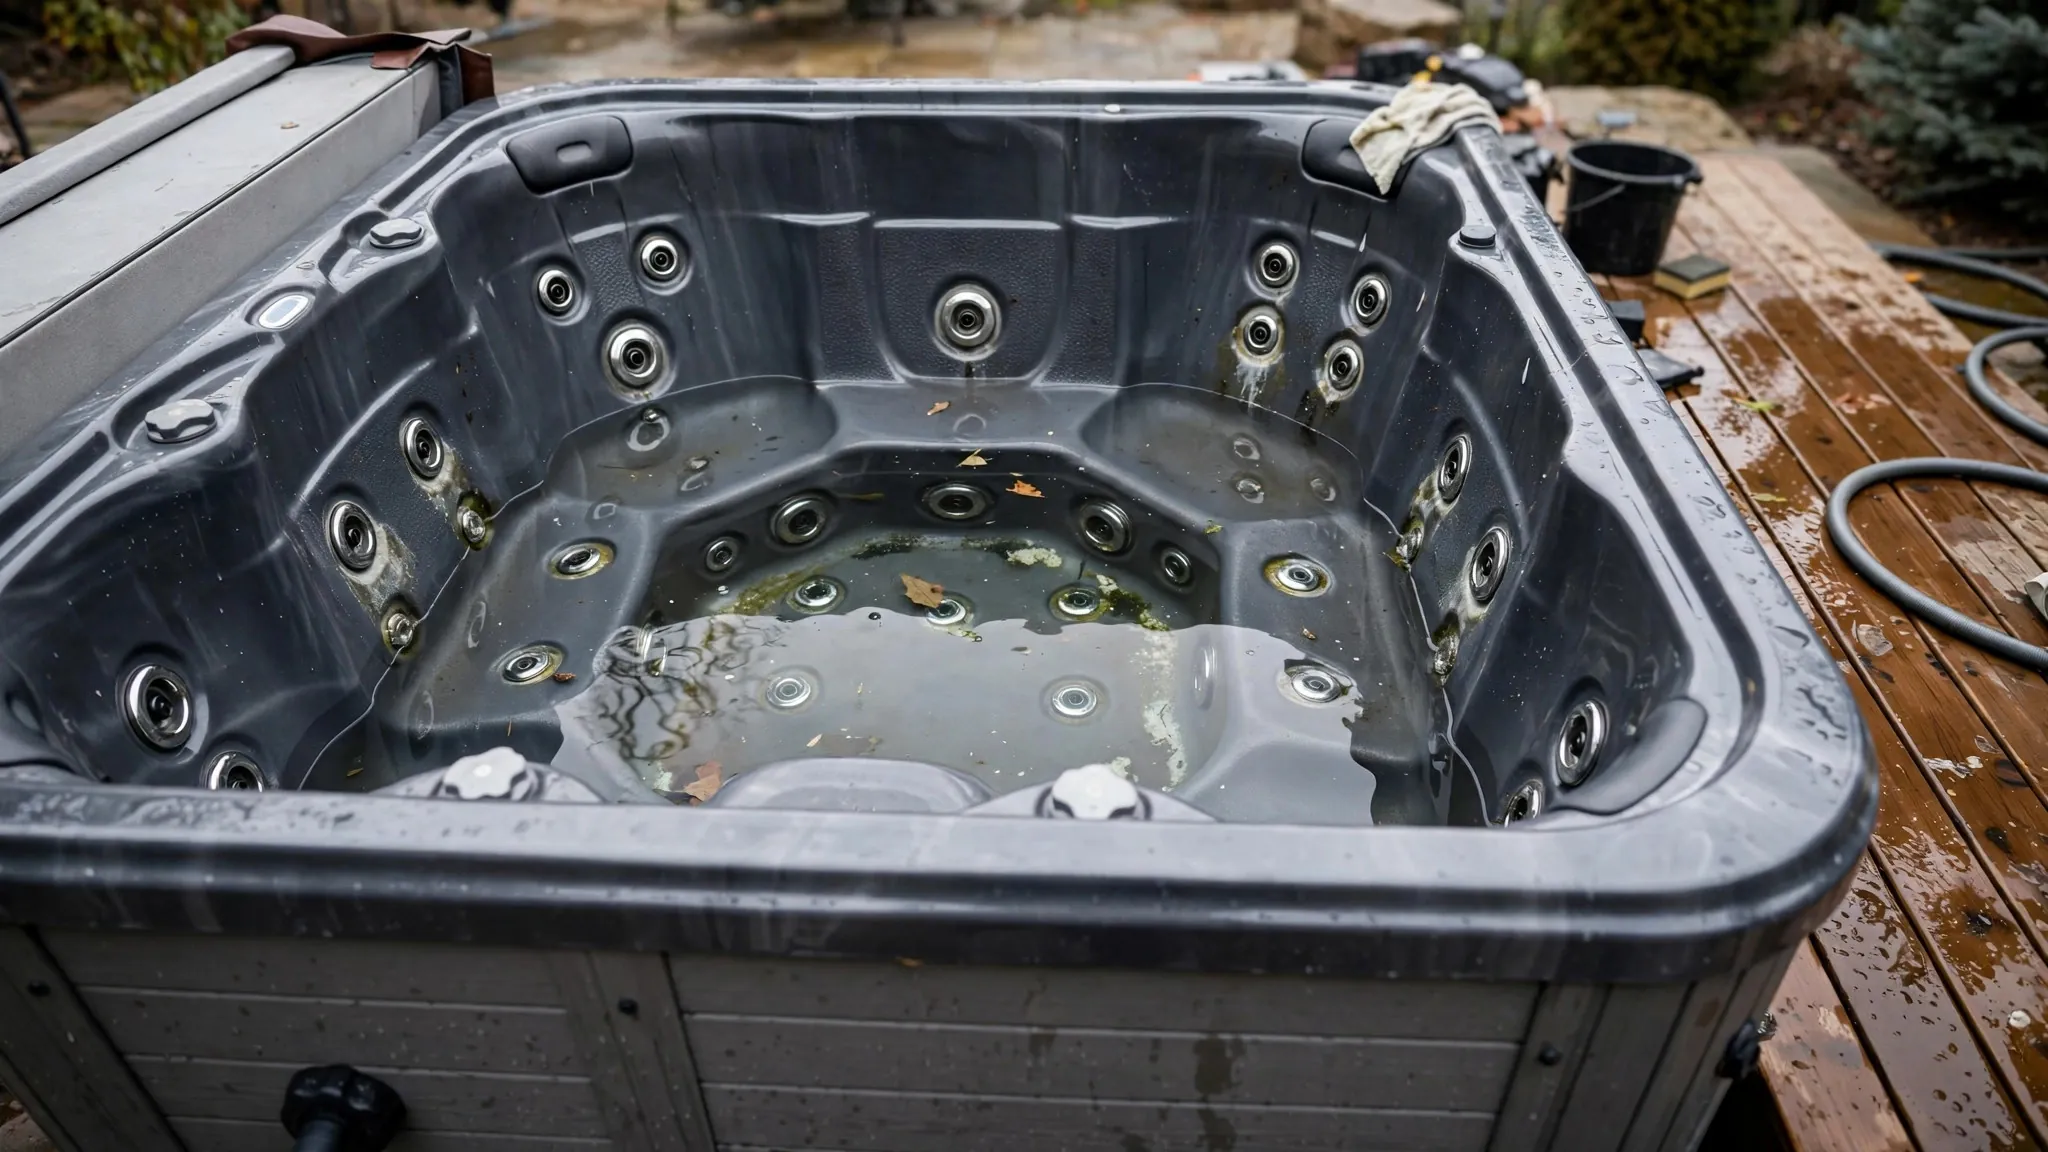
Professional pool leak detection confirms the location before repair — the bucket test confirms the leak exists; location-specific testing finds where. For spa leaks (similar principles, compact scale), see our companion guide.
Dye Testing: Technique Details
Effective dye testing requires discipline:
- Pump off for 30+ minutes before testing — residual circulation disperses dye.
- Water completely still — no wind ripples, no swimmers, no features running.
- Release dye slowly near the suspect — a syringe or squeeze bottle gives control.
- Watch patiently — dye drawn steadily into a crack confirms; dye dispersing randomly means no leak there.
- Test systematically — skimmer, then returns, then lights, then fittings, then main drain; document each.
Dye testing finds structural leaks (water escaping through the shell). It does not find underground plumbing leaks — those need pressure testing.
Pressure Testing: How Professionals Do It
- Isolate each line — skimmer, main drain, returns, cleaner — with plugs.
- Pressurize with air (typically 10-15 PSI for pool plumbing).
- Monitor — pressure holding means the line is sound; pressure dropping means it leaks.
- Locate — acoustic listening along the line's route, or excavation at the most likely point.
- Interpret — combined with the bucket test's pump on/off results, pressure testing completes the diagnosis.
Dye For Structure, Pressure For Plumbing
The two tests are complementary, not competing: dye testing finds where water escapes through the pool's structure; pressure testing finds which underground line leaks. The bucket test's pump variation tells you which to pursue first.
Winter Damage: The Seasonal Cause
In freezing climates, improper winterization causes a distinct pattern of pool leaks:
- Freeze-cracked fittings — water left in skimmers, returns, and equipment expands, cracking housings.
- Split underground lines — unblown lines freeze and split along their length.
- Equipment damage — pump housings, filter tanks, and heater cores crack.
- Spring discovery — damage manifests at opening; the bucket test should be routine each spring.
Proper winterization (blowing lines, antifreeze, equipment draining, cover) prevents virtually all freeze damage — the highest-value pool maintenance in cold climates.
When To Call Professional Detection
| Situation | DIY Scope | Professional Needed |
|---|---|---|
| Visible skimmer crack, dye-confirmed | Epoxy repair | — |
| Single return fitting leak | Fitting replacement | — |
| Underground line (pressure drop) | — | Location and repair |
| Main drain leak | — | Dye confirmation at depth; repair |
| Multiple or uncertain locations | Bucket test + initial dye | Systematic professional diagnosis |
For the bucket test and spa leaks, see our companion guides.
Skimmer Replacement: When Repair Is Not Enough
- Multiple cracks — the skimmer body is failing comprehensively; injection is temporary.
- Separation — the skimmer pulling away from the pool shell; structural issue.
- Replacement process: cut deck, remove old skimmer, set new, replumb, repour — a half-day to full-day professional job.
- Upgrade opportunity — replacement allows modern skimmer features and improved plumbing.
Vinyl Liner Pools: Special Considerations
- Liner leaks — punctures and seam failures; dye testing locates; patching repairs (underwater patches work).
- Behind-liner water — groundwater or leak water behind the liner causes floating/wrinkling.
- Faceplate gaskets — skimmer, return, and light faceplates; gasket failure is the vinyl equivalent of concrete's throat cracks.
- Liner age — brittle old liners develop multiple leaks; replacement may beat perpetual patching.
For the bucket test and irrigation detection, see our companion guides.
Inspecting A Pool Before Purchase
For homebuyers with pools, pre-purchase leak assessment prevents inheriting problems:
- Bucket test during the inspection period — the seller should cooperate.
- Equipment pad inspection — visible leaks, corrosion, and winter damage.
- Skimmer and fitting condition — cracks, separation, and dye-test suspicious areas.
- Ask about winterization history — improper winterization predicts hidden plumbing damage.
- Professional inspection — a pool-specific inspector (not just a home inspector) for significant investments.
A leaking pool discovered after purchase is the buyer's problem — the inspection period is the time to find it, and the bucket test is the tool.