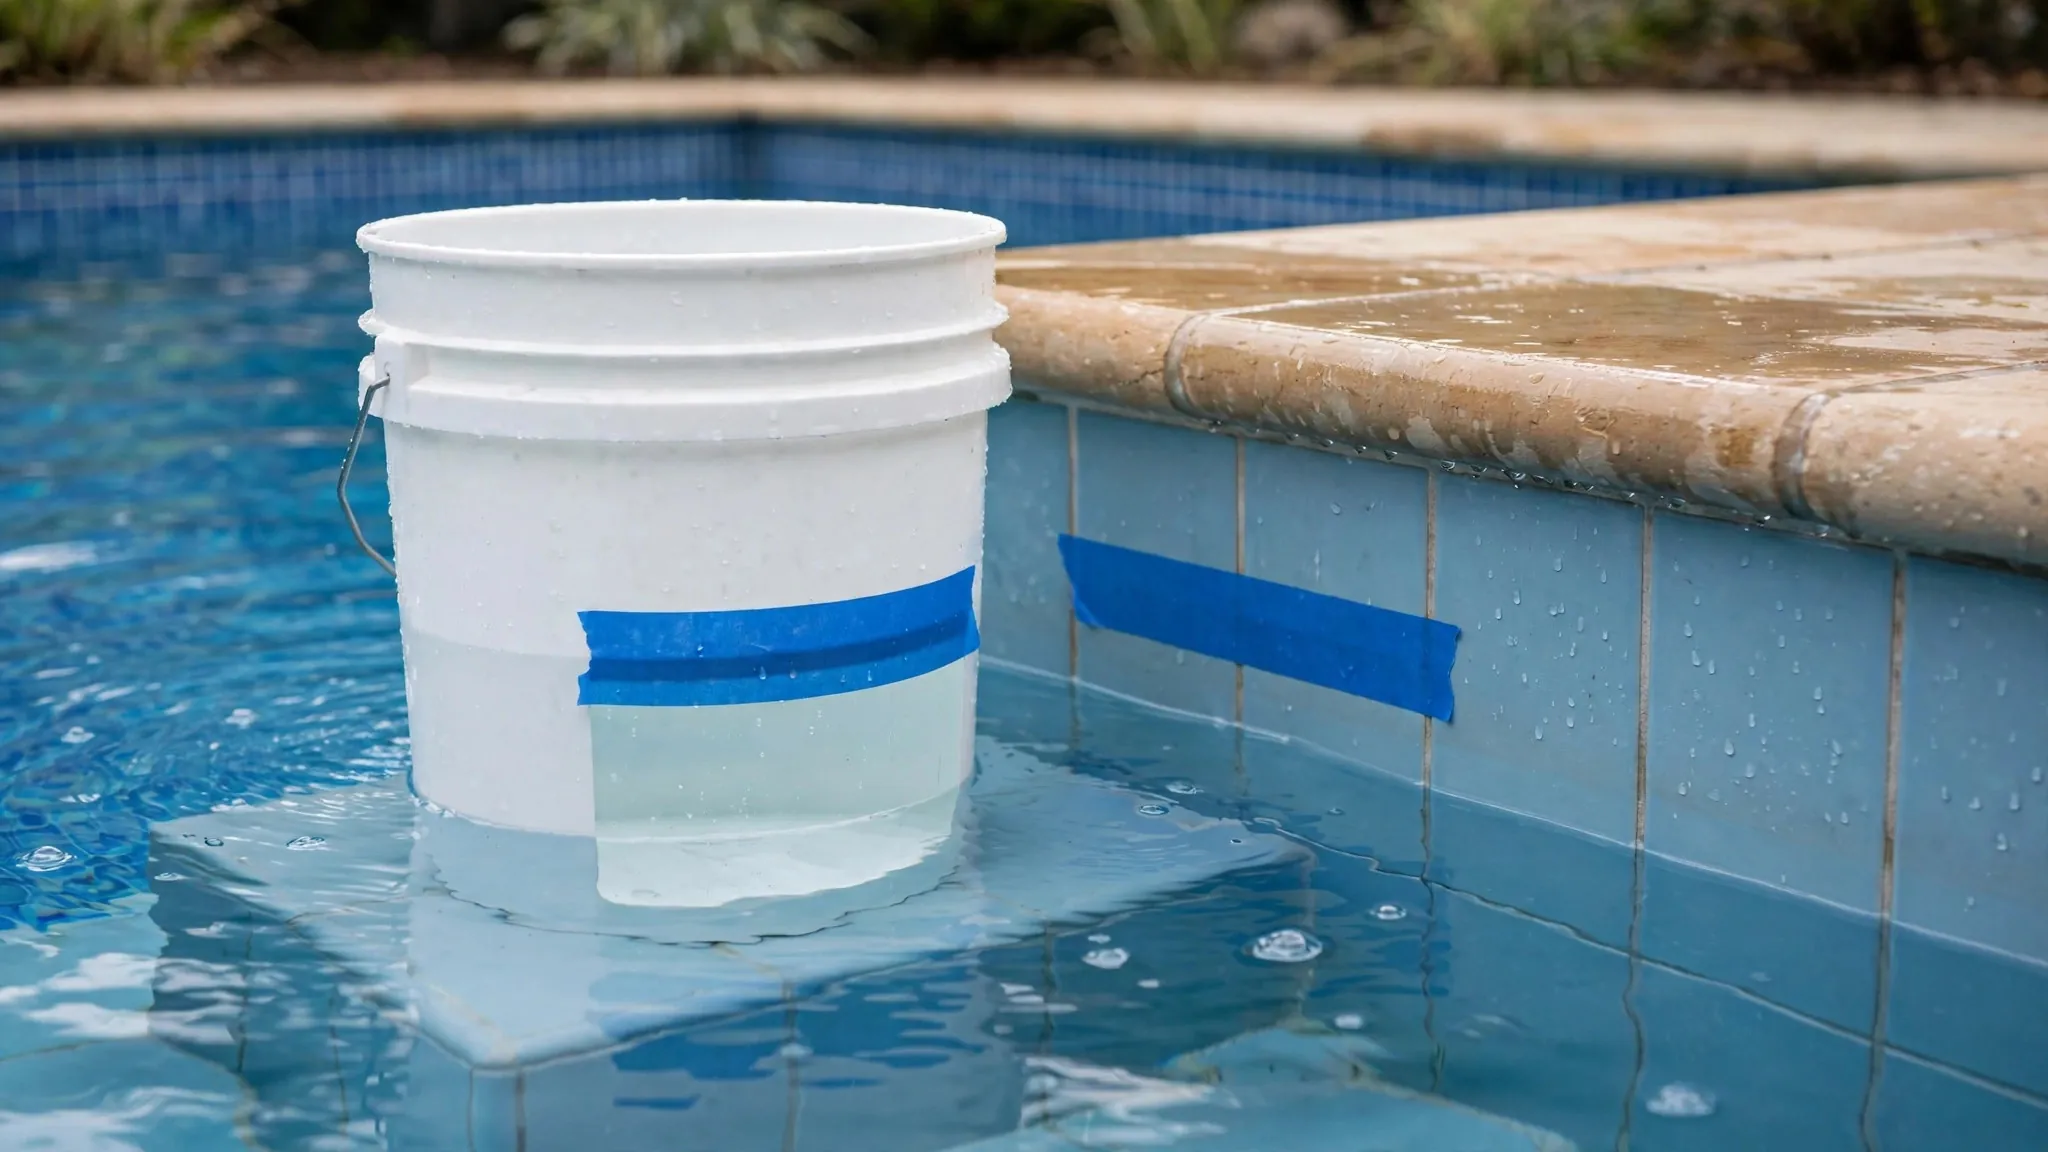
A dropping pool water level is either evaporation (normal water loss to air, varying with weather) or a leak (water escaping through the structure or plumbing). The bucket test distinguishes them definitively: place a bucket filled with pool water on a pool step, mark both water levels, wait 24 hours with the pump running normally, and compare. Equal drop = evaporation (both lost the same to air). Pool drops more = leak (the pool lost water the bucket did not). This simple test, run correctly, answers the question before you spend anything on professional pool leak detection.
Quick Answer
Fill a bucket with pool water, set it on a pool step so both experience identical conditions, mark both levels, and wait 24 hours. If both drop equally, it is evaporation — normal. If the pool drops more than the bucket, you have a leak. Run the test with the pump on (normal operation), then optionally repeat with the pump off — a leak that appears only with the pump on indicates plumbing-side failure.
The Exact Steps
- Fill a 5-gallon bucket about 3/4 with pool water (not tap water — chemistry should match).
- Place it on a pool step so the bucket's waterline is near the pool's waterline — both exposed to identical sun, wind, and temperature. (If no step, place it on the deck immediately adjacent.)
- Mark both levels precisely — inside the bucket and on the pool wall (tape works). Precision matters; millimeters decide.
- Run the pump normally for 24 hours — the test reflects real operating conditions.
- Prevent pool use during the test — swimmers, splashing, and backwashing invalidate it.
- After 24 hours, measure both drops and compare.
Precision Is Everything
Mark levels with tape and measure with a ruler — eyeballing defeats the test. The difference between evaporation and a slow leak can be fractions of an inch; measure like it matters, because it does.
Test Conditions That Matter
- Same exposure: bucket and pool must share sun, wind, and shade — a bucket in shade while the pool bakes invalidates the comparison.
- No water additions: autofill off, no hoses, no rain (or account for rainfall equally — a rain gauge helps).
- Normal pump operation: the first test runs with the pump on (real conditions); the pump-off variation comes second.
- 24 full hours: shorter periods amplify measurement error; a full day averages out fluctuations.
- Calm weather preferred: extreme wind accelerates evaporation unevenly; choose a representative day.
Reading The Results
| Result | Meaning | Next Step |
|---|---|---|
| Both drop equally | Evaporation — normal | No leak; monitor seasonally |
| Pool drops more than bucket | Leak confirmed | Locate the leak; consider professional detection |
| Bucket drops more than pool | Test error (usually autofill or splash) | Re-run with autofill off and no pool use |
| Neither drops | Cool/humid conditions; minimal evaporation | Valid negative — but re-test in warmer weather if concerned |
The Pump-On / Pump-Off Variation: Locating The Leak Type
Once the bucket test confirms a leak, a second test narrows the location:
- Run 24 hours with pump ON: measure the drop rate.
- Run 24 hours with pump OFF: measure the drop rate.
- Leak only with pump on → plumbing-side leak (pressure-side lines, returns, or equipment).
- Leak with pump off too → structural leak (shell, skimmer, main drain, lights) — water escapes regardless of circulation.
- Faster with pump on, slower with pump off → both, or a suction-side leak aggravated by operation.
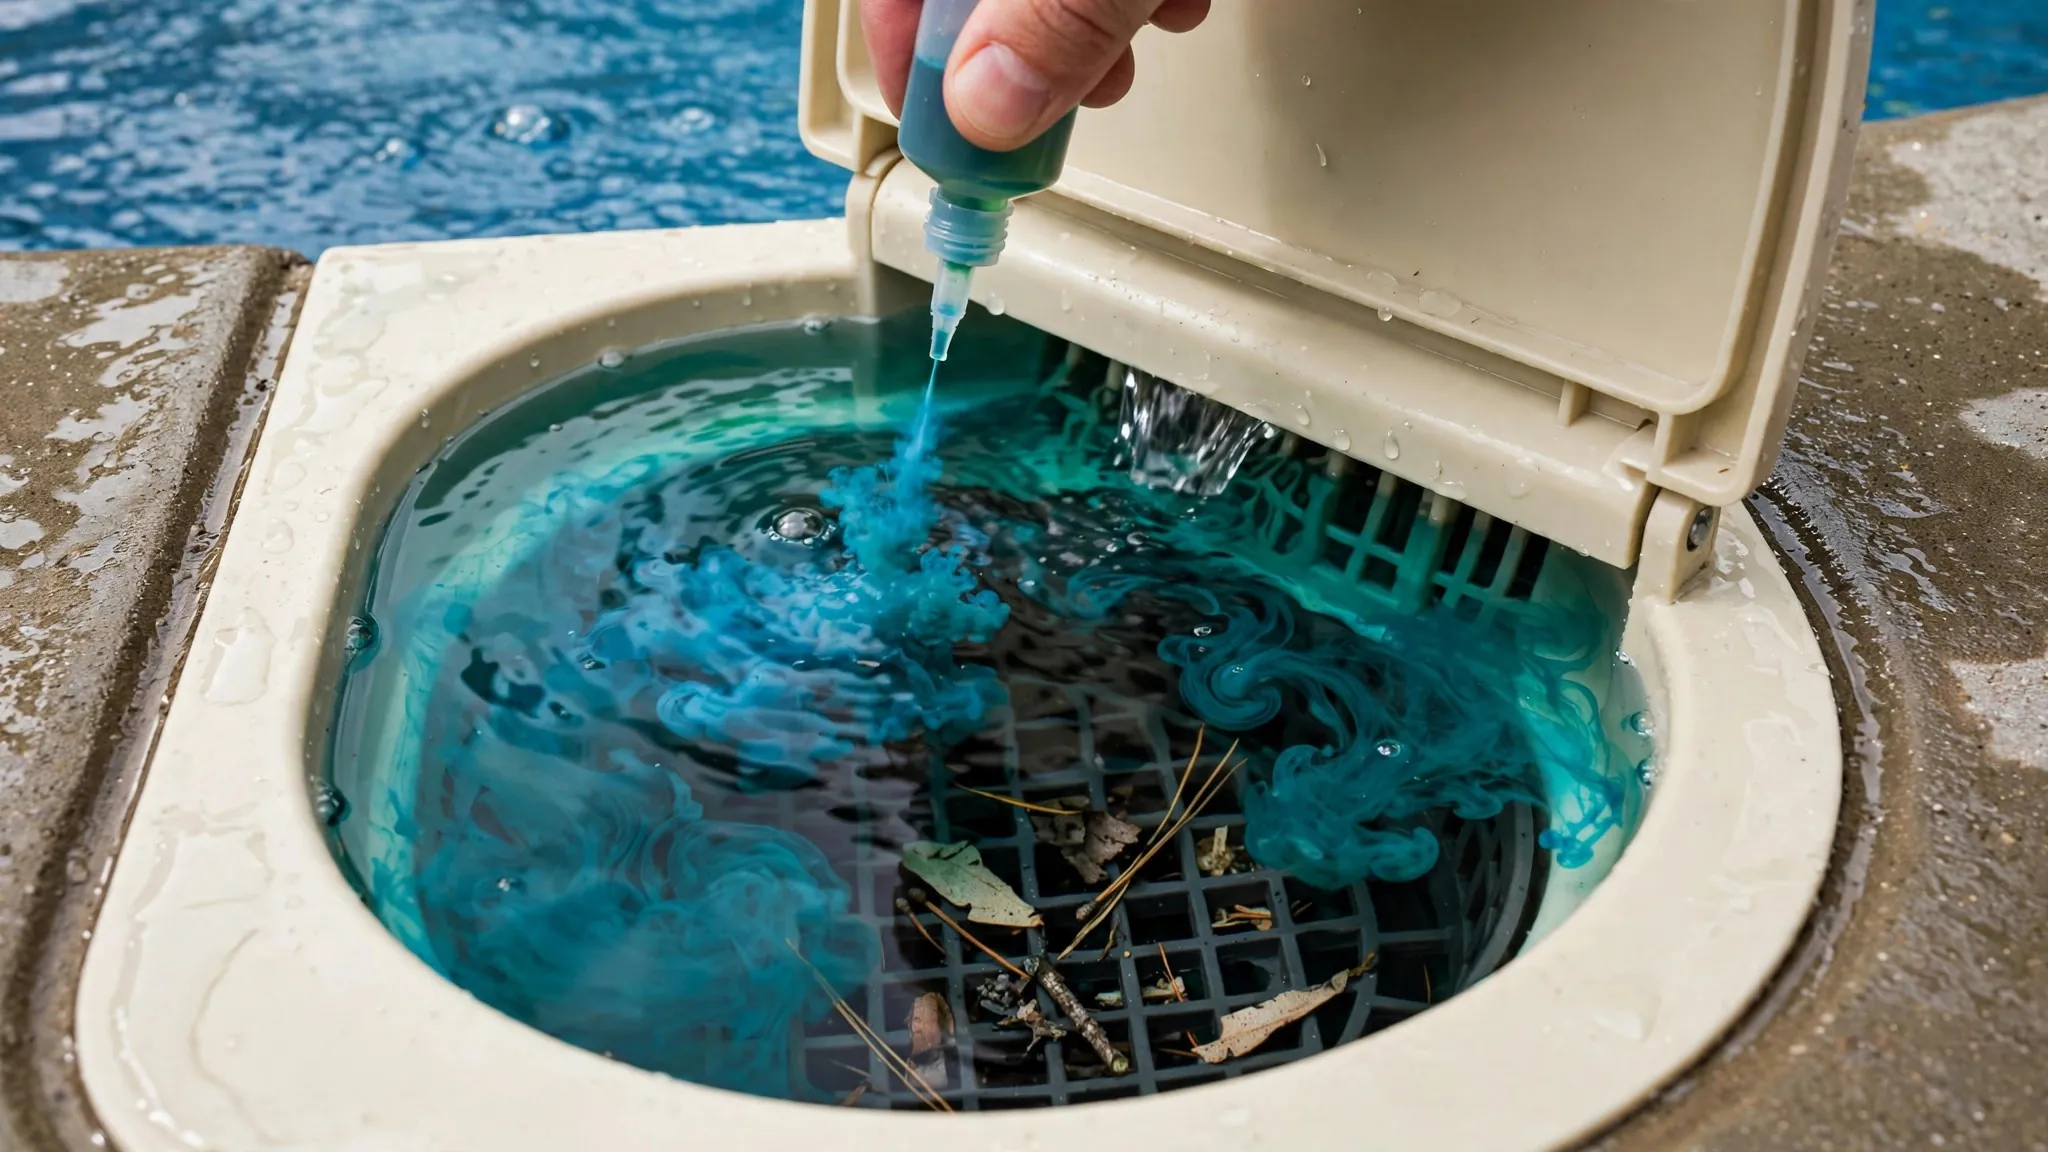
This distinction directs the professional: plumbing-side leaks need pressure testing; structural leaks need dye testing and visual inspection. Common leak locations in detail.
Understanding Normal Evaporation
Pools normally lose water to evaporation — the rate varies enormously:
- Hot, dry, windy conditions maximize evaporation (up to 1/4 inch daily or more in extreme conditions).
- Cool, humid, calm conditions minimize it (near zero).
- Heated pools evaporate faster (warm water + cool air = maximum differential).
- Water features (waterfalls, spillovers) dramatically increase evaporation through aeration.
The bucket test automatically accounts for all of these — that is its genius. Whatever the weather, both bucket and pool experience it identically; only a leak creates a difference.
The Quarter-Inch Rule
As a rough screening rule, sustained loss exceeding about 1/4 inch daily (beyond what the bucket shows) warrants investigation. But the bucket test — not rules of thumb — is the diagnostic. Run it before theorizing.
What To Do With The Results
- Evaporation confirmed: no action needed; consider a pool cover to reduce evaporative loss and heating costs.
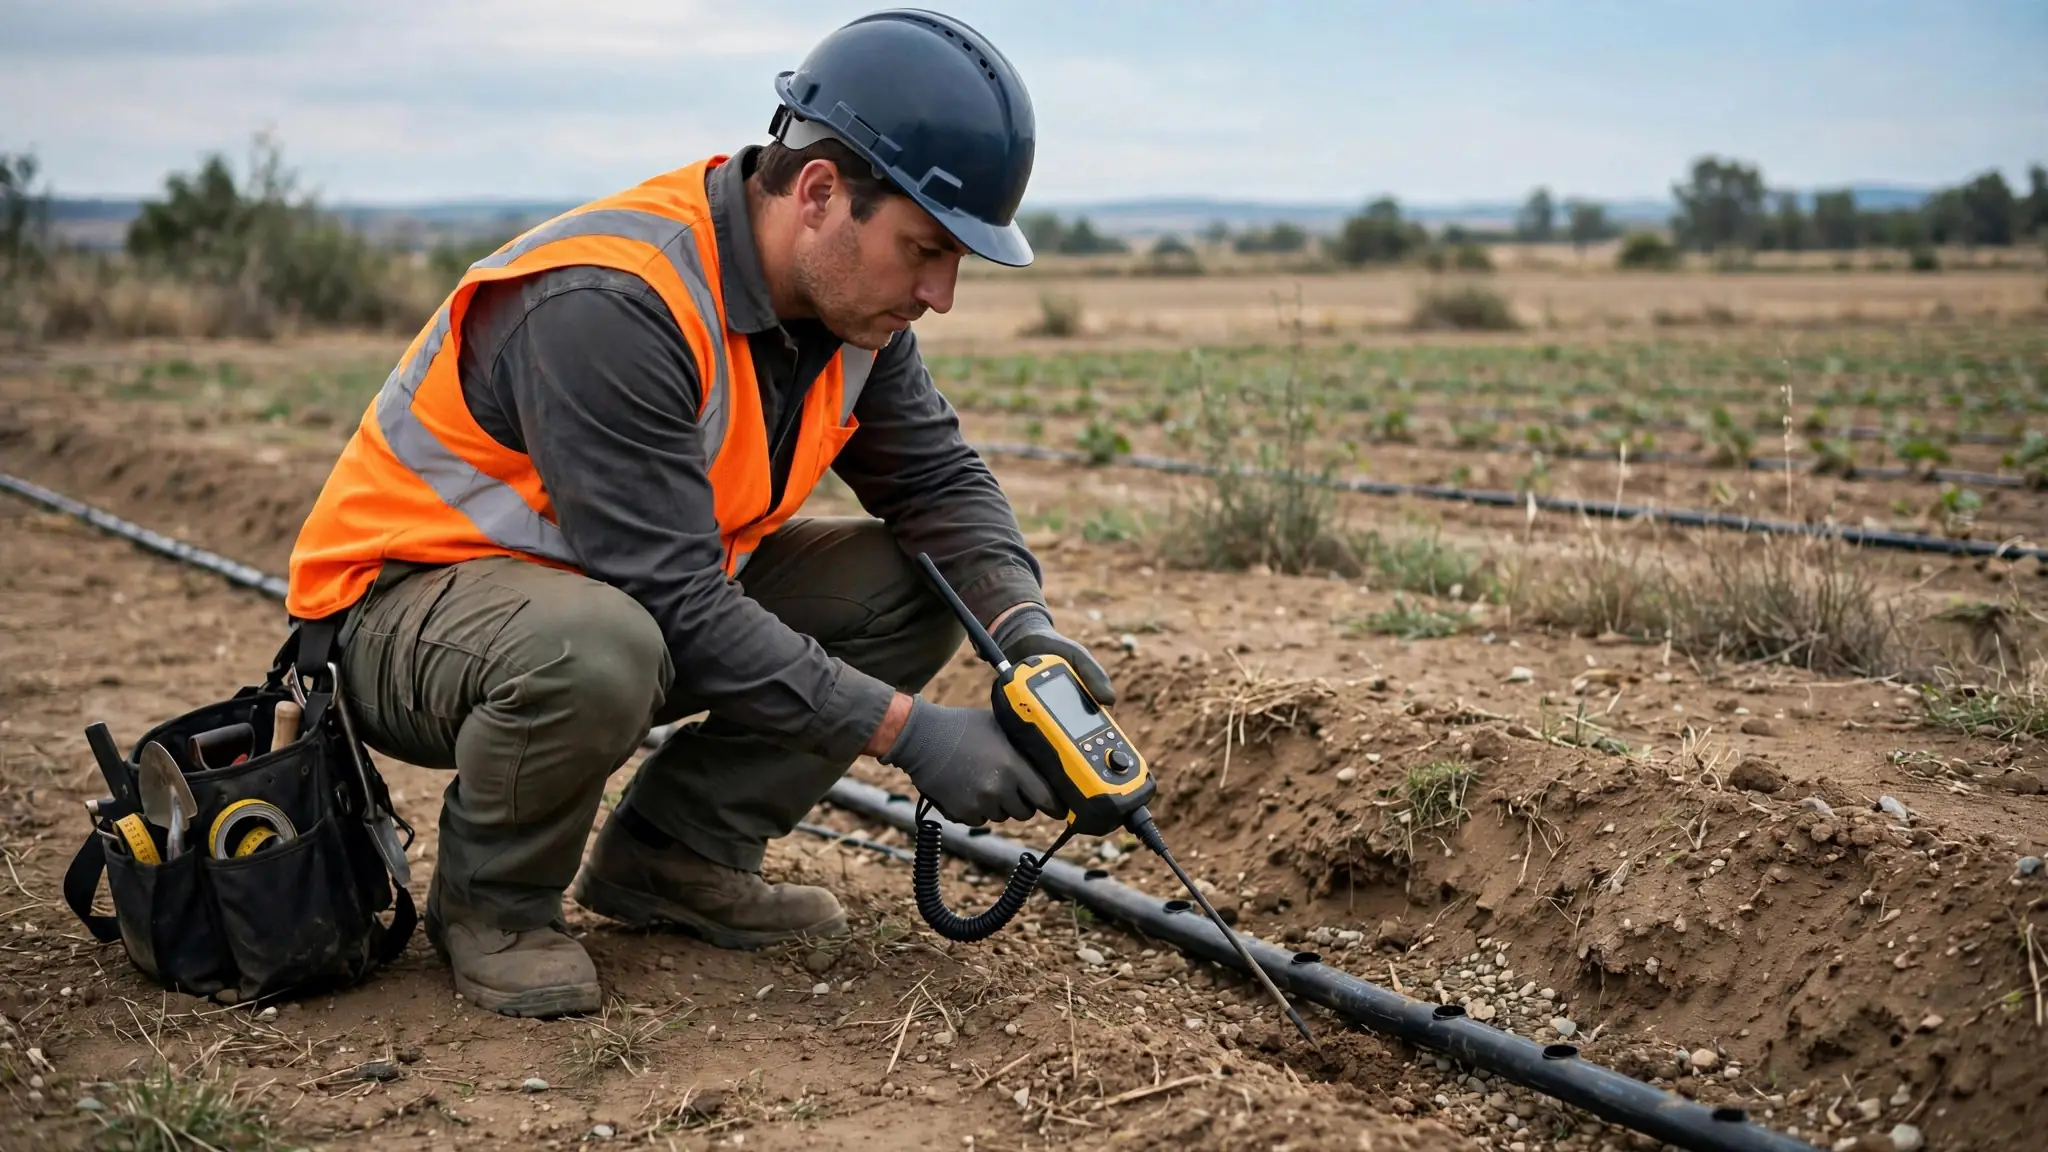
- Leak confirmed: run the pump on/off variation to narrow the type, inspect common leak locations (skimmer, returns, lights, main drain), and engage professional pool leak detection for precise location.
- Inconclusive: re-run with stricter conditions (verify autofill off, no use, full 24 hours, calm weather).
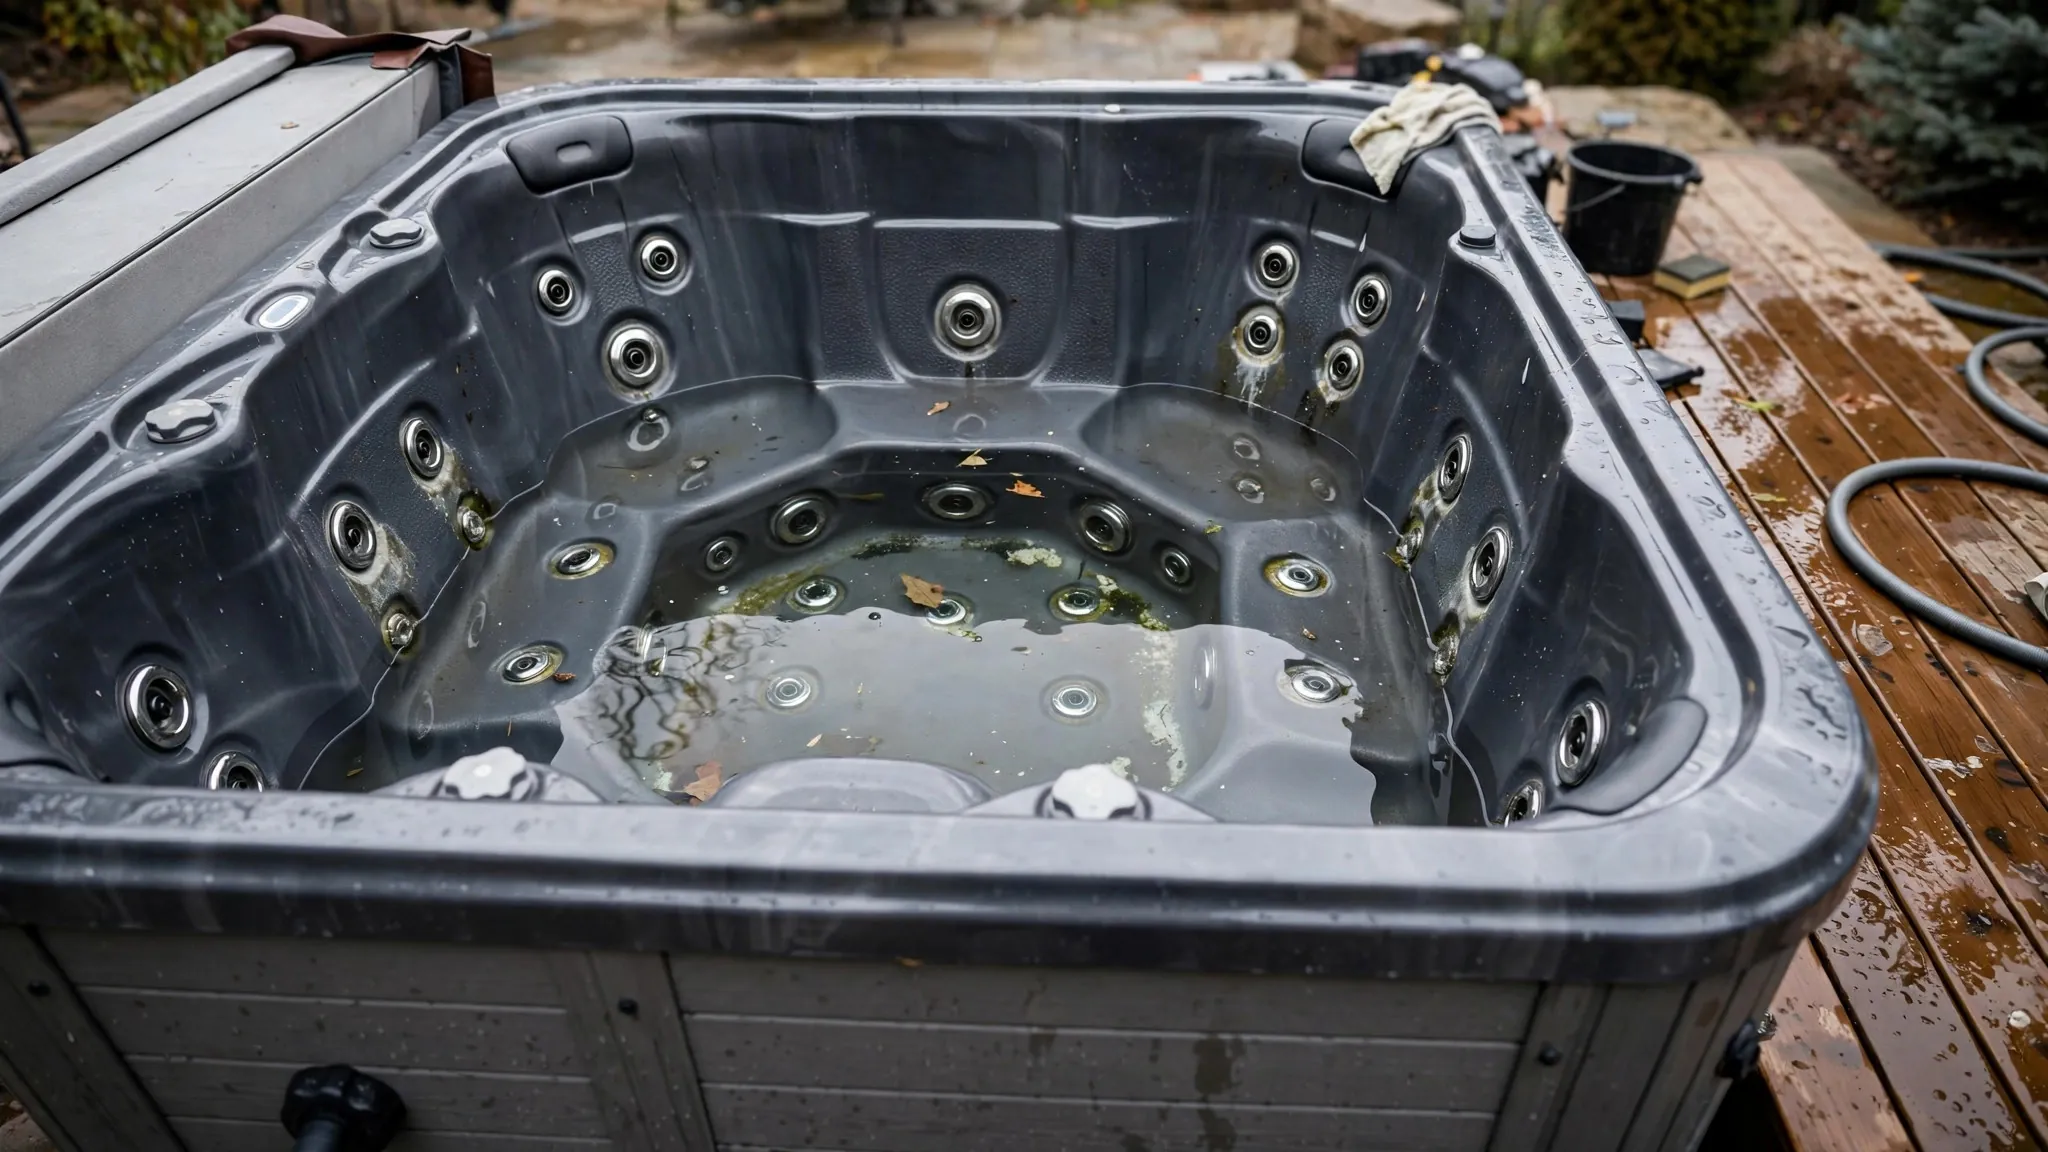
For spa leak signs (similar principles, smaller scale), see our companion guide.
Reducing Evaporation: Practical Steps
Once the bucket test confirms evaporation (not a leak), reduce the loss:
- Pool covers: the single most effective evaporation reducer — also cuts heating costs and chemical use.
- Windbreaks: fencing or landscaping reducing wind across the water surface.
- Lower water temperature: each degree of reduction measurably decreases evaporation.
- Reduce water features: waterfalls and spillovers aerate water, multiplying evaporation — run them less.
- Liquid pool covers: chemical monolayers reducing evaporation where physical covers are impractical.
Autofill Systems: Masking Leaks
Automatic fill systems maintain water level by adding water as it drops — which means they mask leaks completely. A pool with autofill can leak significantly with no visible level change; the only symptom is the water bill.
- Monitor autofill run time — increasing fill frequency indicates increasing loss.
- Periodically disable autofill and observe the level for 24-48 hours — the manual bucket test.
- Smart autofill monitors track fill volume, alerting on abnormal consumption.
Autofill Hides Leaks
If your pool has autofill, you cannot rely on water level to detect leaks — the system compensates invisibly. Monitor fill volume or periodically disable the autofill for testing. The bill is your leak detector.
Seasonal Testing Discipline
| When | Test | Why |
|---|---|---|
| Spring opening | Bucket test | Baseline after winter; catch freeze damage |
| Mid-season | Bucket test if loss suspected | Catch developing leaks early |
| Fall closing | Bucket test | Repair over winter; close without active leaks |
| After storms | Visual + bucket test | Ground movement can crack plumbing |
Keeping Pool Water Records
- Weekly level readings (same day, same conditions) — trends reveal slow leaks.
- Chemical addition logs — increasing chemical demand can indicate dilution from autofill masking a leak.
- Bucket test results — dated, with conditions noted.
- Equipment service history — pump, filter, and heater work affecting the plumbing.
For where pools leak and spa leak signs, see our companion guides.
Water Chemistry And Leak Detection
Pool chemistry interacts with leak diagnosis:
- High chemical demand with autofill can indicate dilution — the autofill replacing leaked water dilutes chemicals, increasing demand.
- Stabilize chemistry before dye testing — balanced water gives clearer dye visibility.
- Leak repair and chemistry — fix the leak, then rebalance; a leaking pool cannot hold chemistry stable.
Equipment Pad Inspection Checklist
- Pump: seal drips, housing cracks, union leaks.
- Filter: tank cracks, band clamp leaks, drain plug weeps.
- Heater: manifold drips, pressure switch leaks, heat exchanger (internal — professional).
- Valves: multiport valve leaks, check valve weeps, union o-rings.
- Plumbing: visible joints, winter damage, sun-degraded PVC.
The equipment pad is the most accessible leak location — inspect it before any underground investigation. For leak locations and spa leaks, see our companion guides.
The Economics Of Pool Leaks
Pool leaks cost more than water:
| Cost Element | How It Accrues | Magnitude |
|---|---|---|
| Water replacement | Autofill or hose refills | Steady; visible on the bill |
| Chemical rebalancing | Dilution from added water | Increases with leak rate |
| Heating | Heating replacement water | Significant for heated pools |
| Structural damage | Soil erosion, deck undermining | Potentially large; hidden until severe |
| Equipment strain | Pump running longer; chemical imbalance | Accelerated wear |
The total cost of an unaddressed pool leak typically exceeds the detection and repair cost within a single season — the economics favor prompt action. The bucket test costs nothing; the leak costs continuously.
Pool Leak Myths
- Myth: "All pools lose a lot of water." Reality: evaporation is real but bounded — the bucket test quantifies your pool's normal. Loss beyond that is a leak, not nature.
- Myth: "If I can't see it, it's not leaking." Reality: underground plumbing and structural leaks are invisible by definition — the bucket test and pressure testing exist precisely because eyes are insufficient.
- Myth: "Leak sealant fixes pool leaks." Reality: sealants address only the tiniest seeps and risk equipment damage. They are not a substitute for location and repair.
- Myth: "Draining the pool helps find the leak." Reality: the water level's behavior is diagnostic — draining destroys the evidence. Only drain for repair access, when the location is known.
For where pools leak and spa leak signs, see our companion guides. When the bucket test confirms a leak, professional pool leak detection pinpoints it.