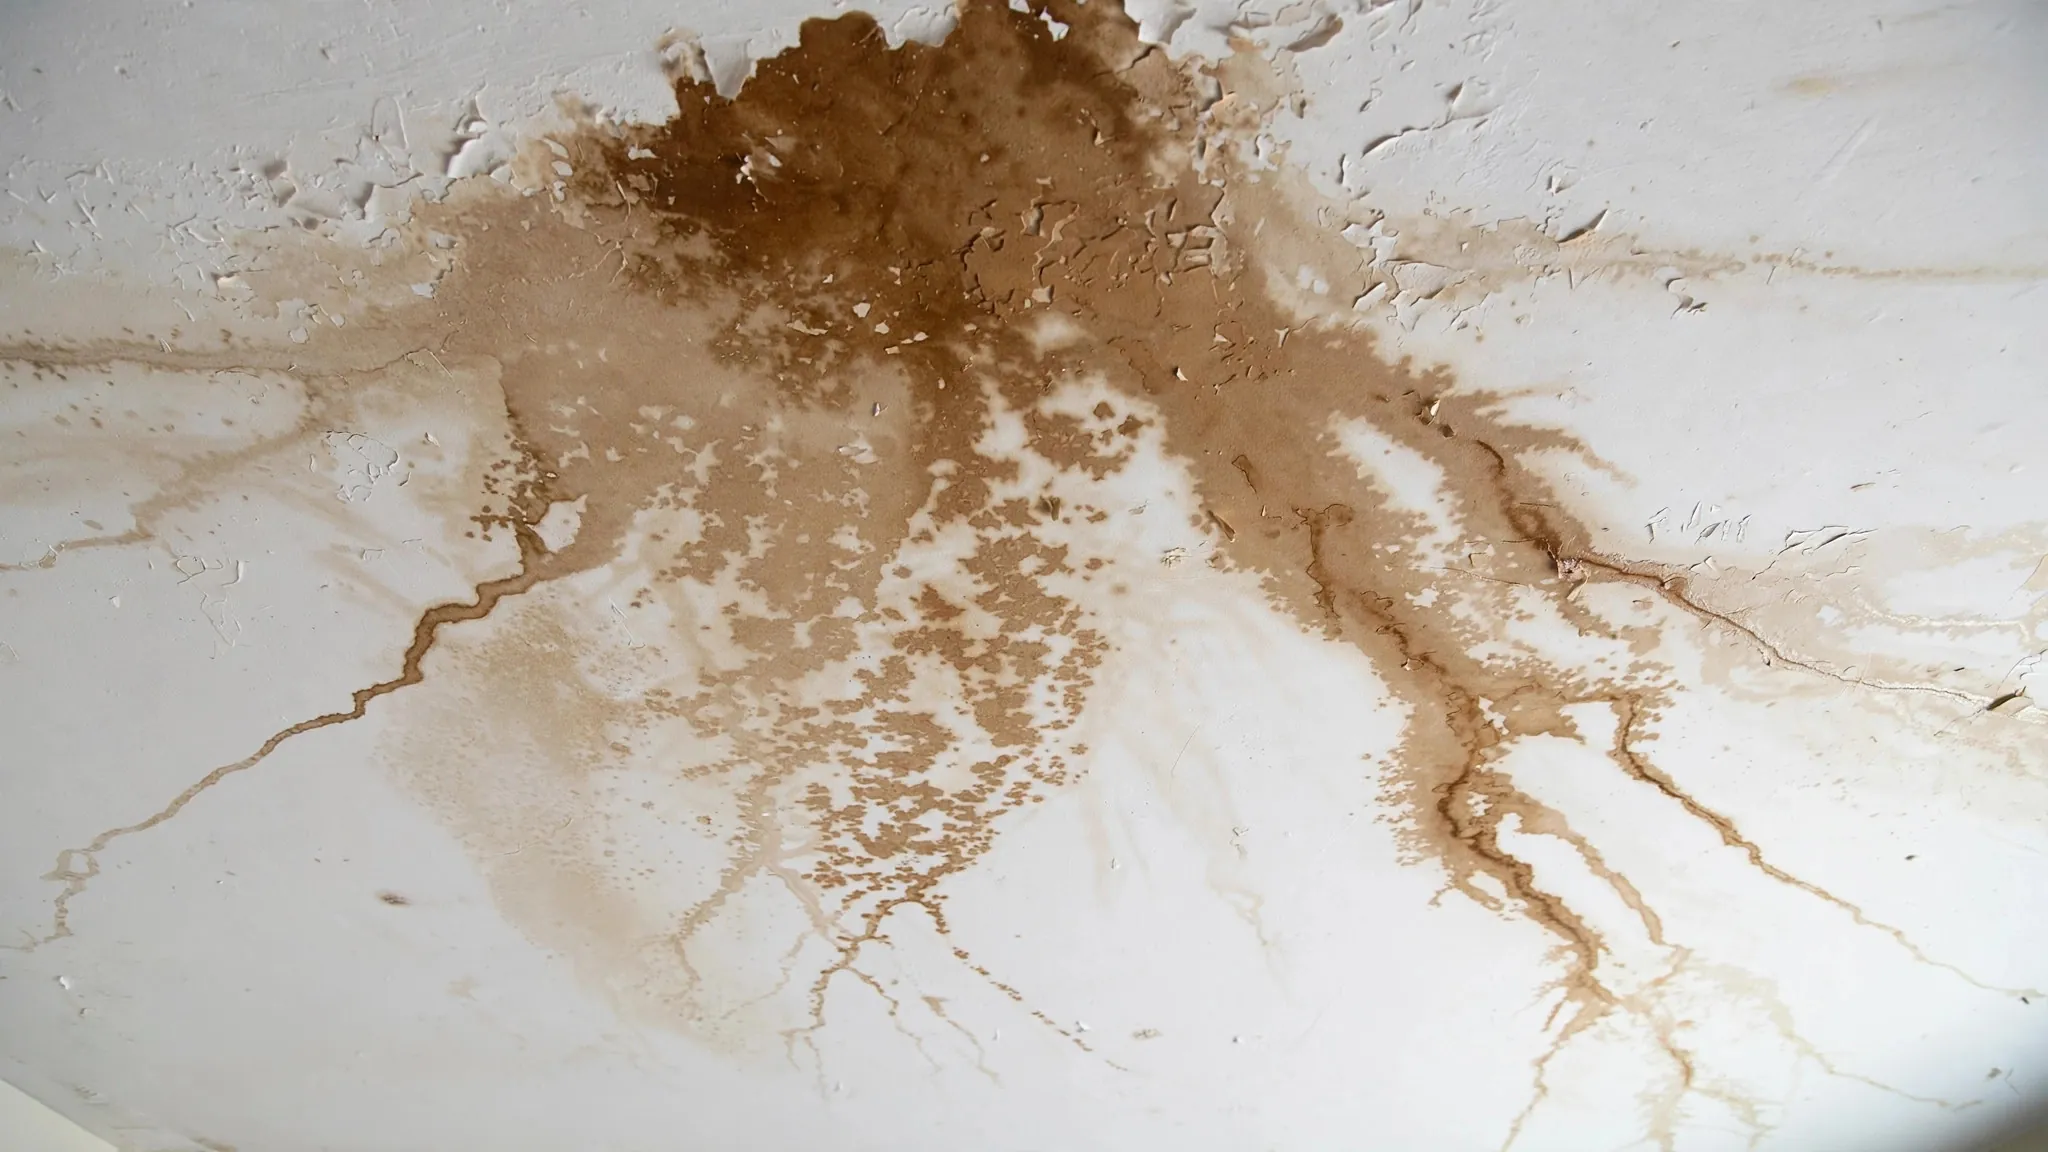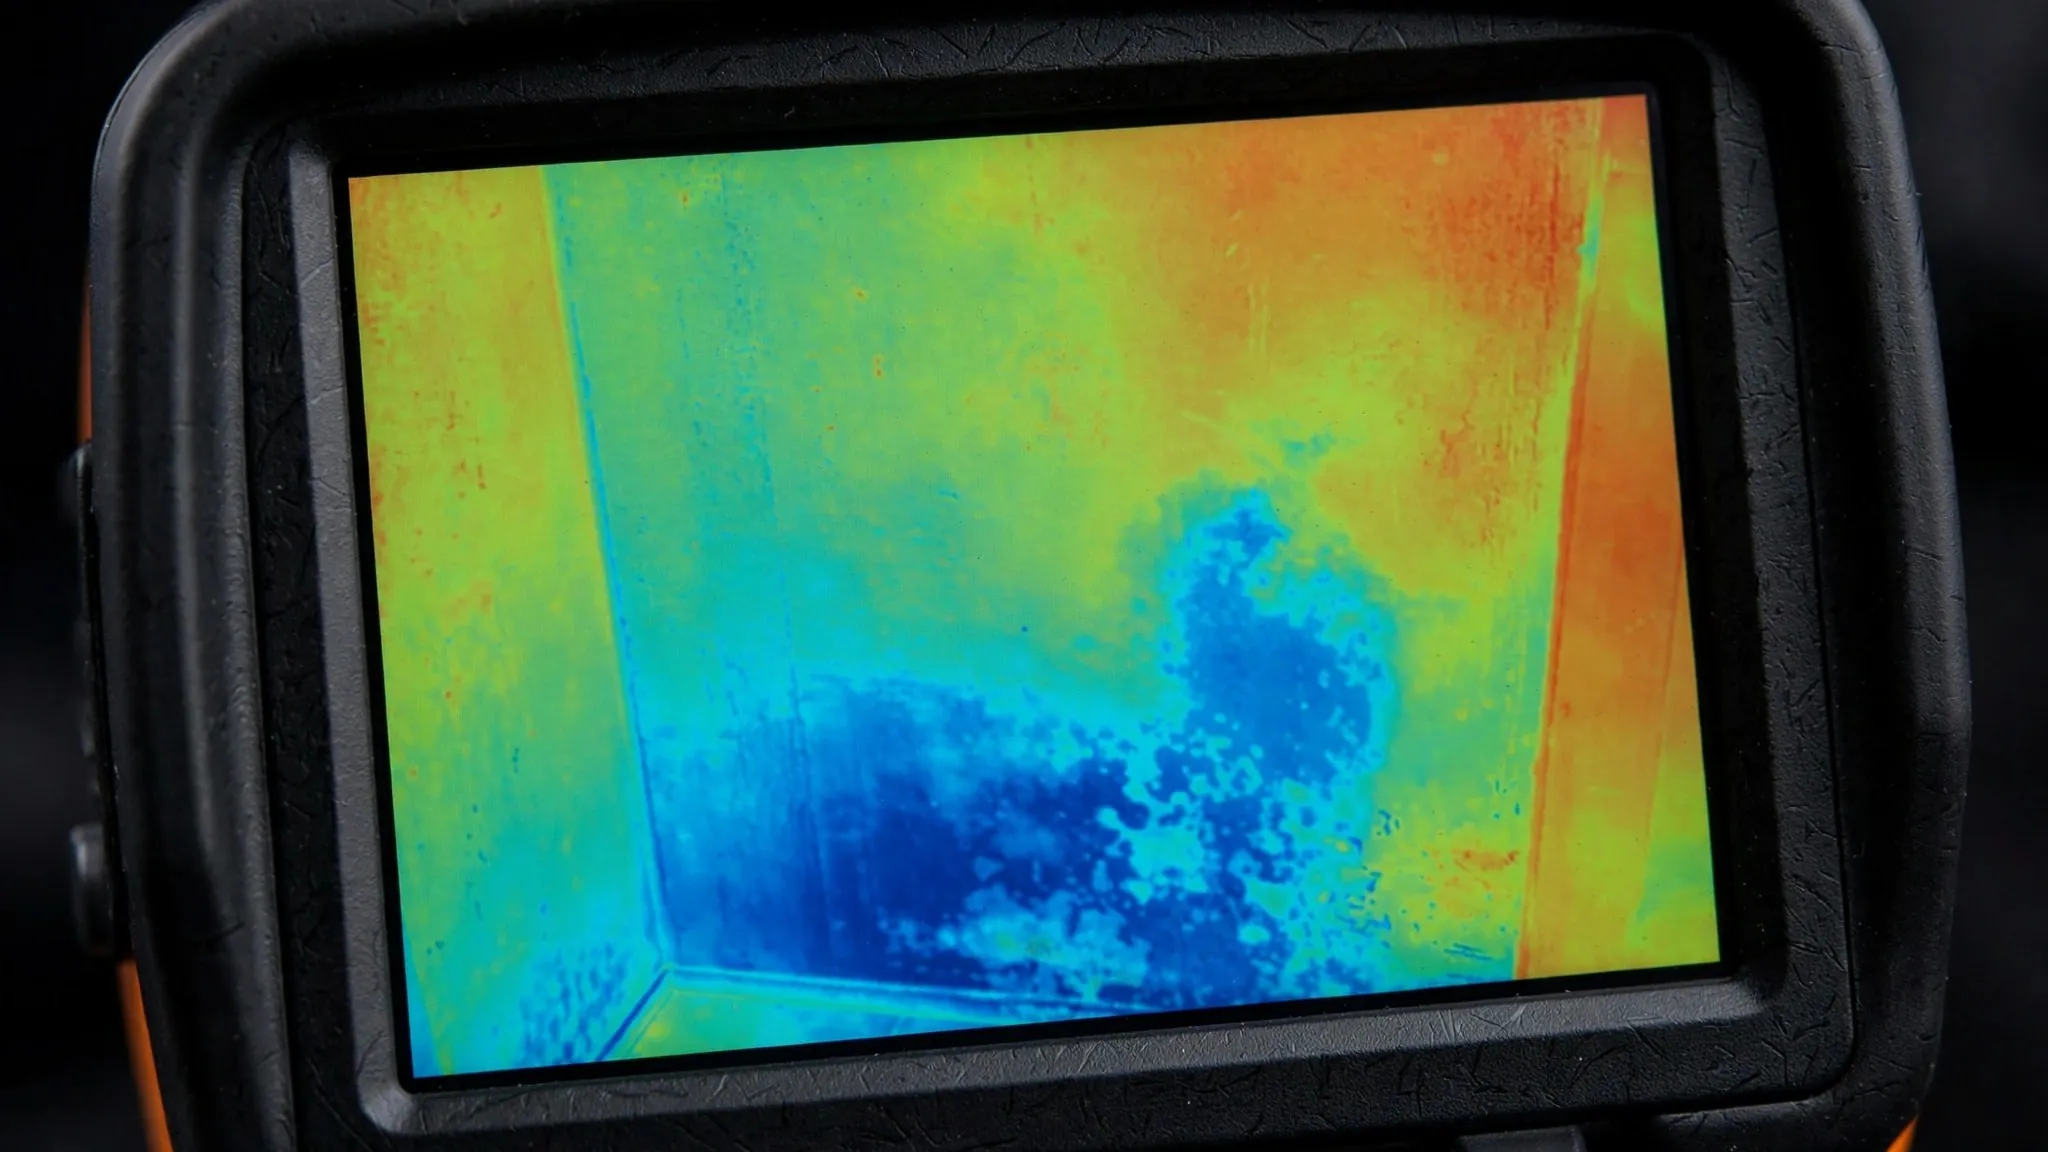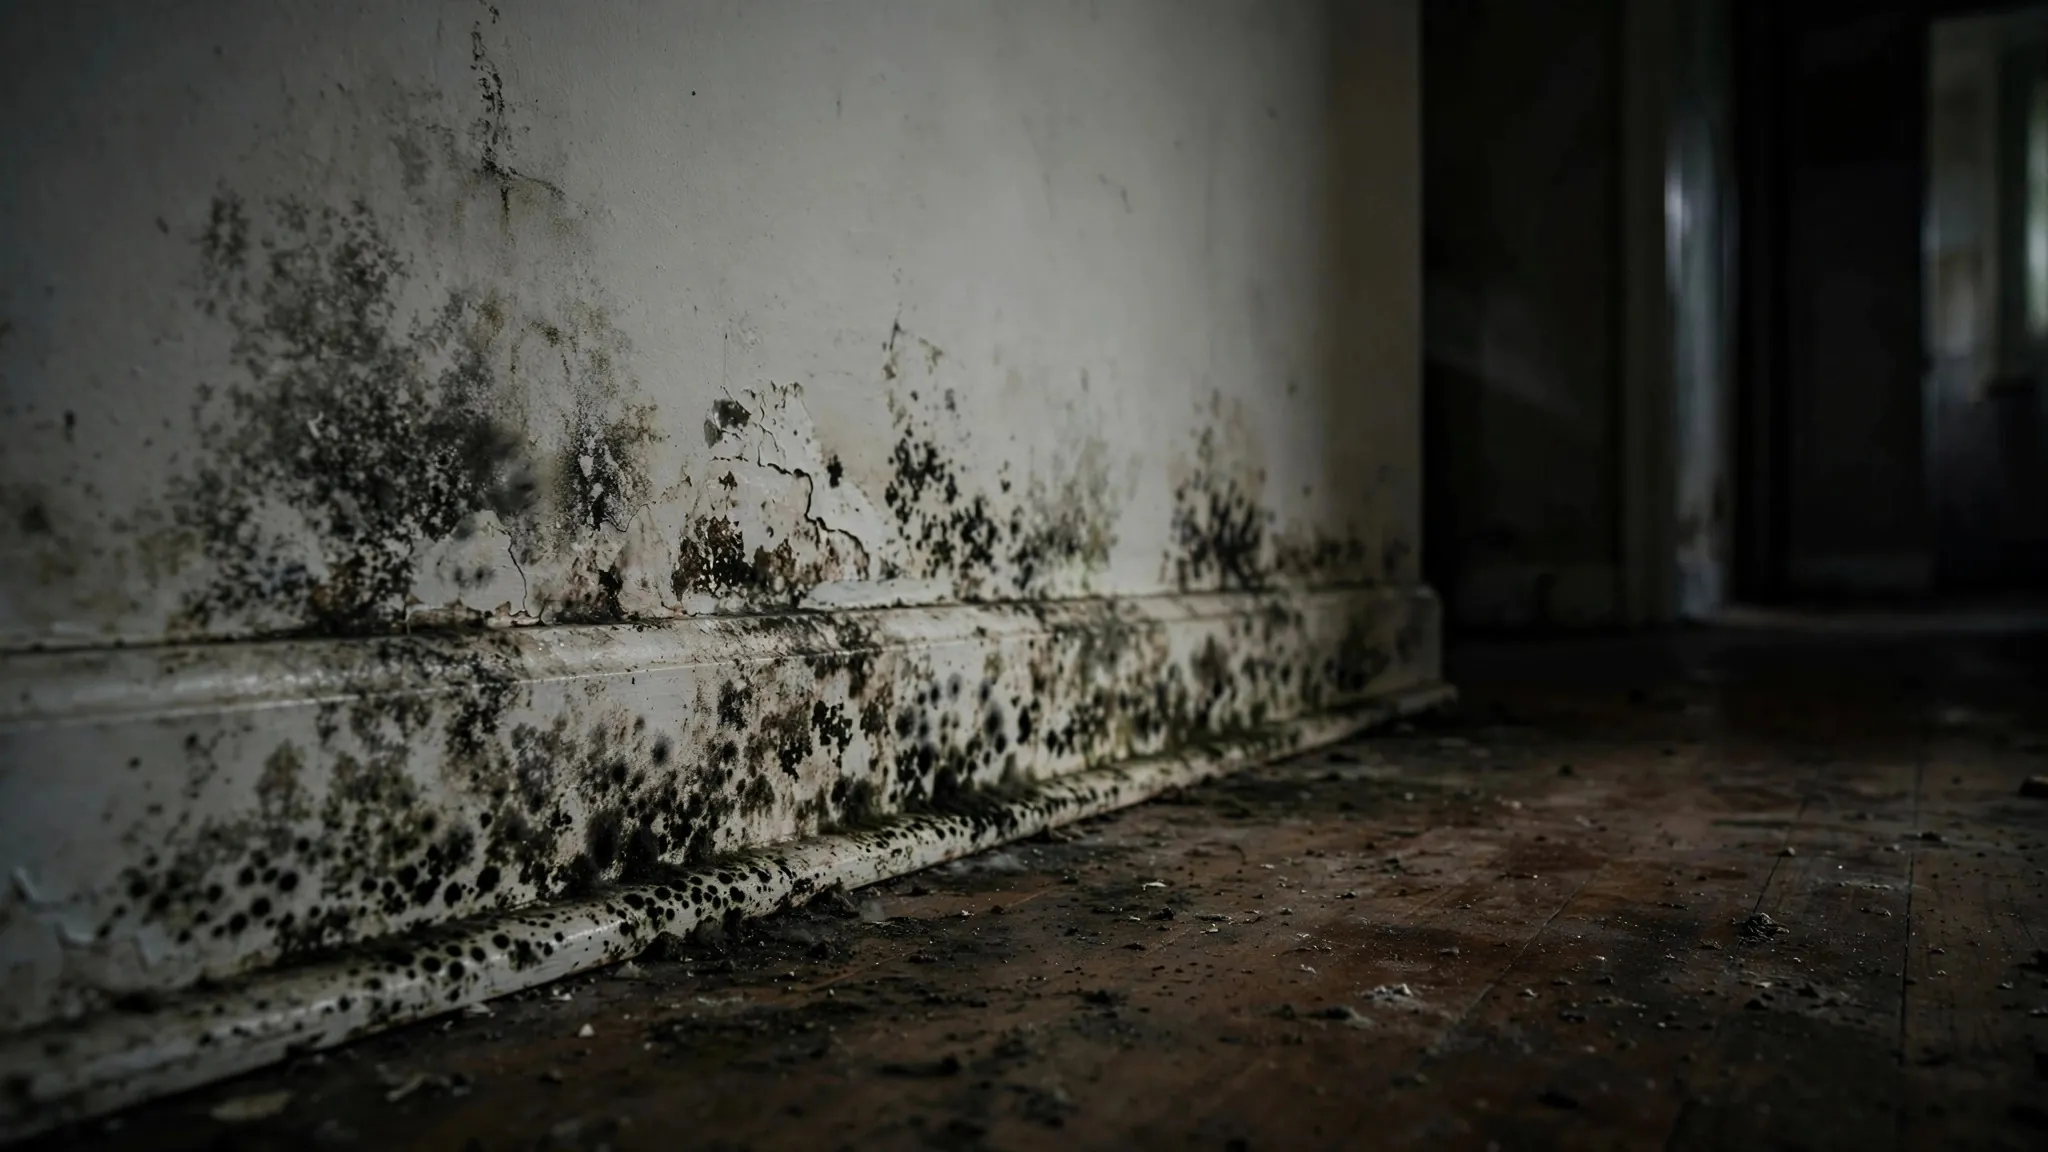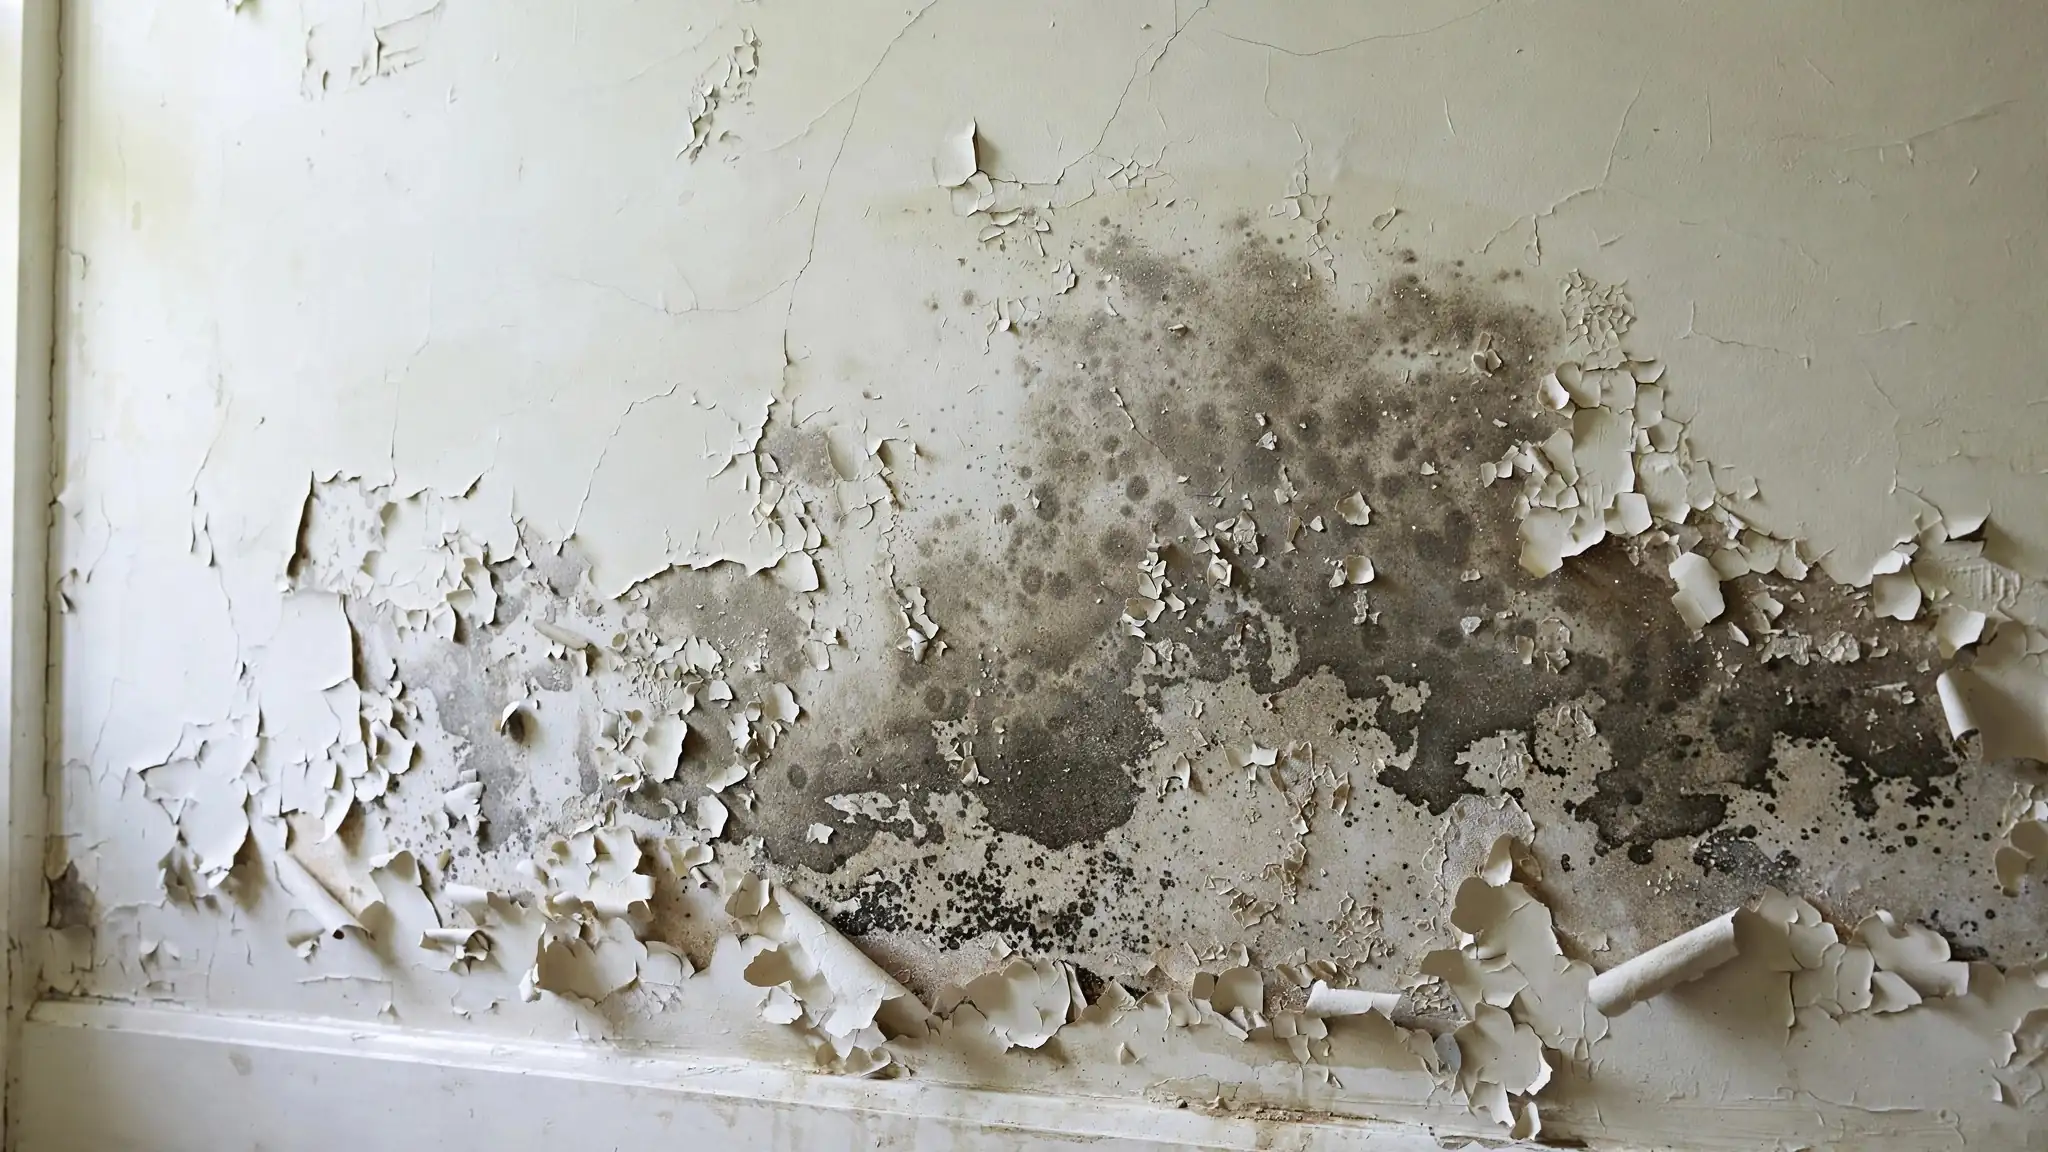
A damp patch on the wall — discolored, cool to the touch, sometimes with bubbling paint or a musty odor — has several possible causes: leaking pipe joints inside the wall, shower or tub leaks (failed grout, seals, or valves), exterior water intrusion (failed flashing, siding, or grading), condensation (cold wall + humid air), and roof or gutter failures above. The patch's location, shape, and timing narrow the diagnosis: patches near plumbing fixtures suggest pipes; patches on exterior walls after rain suggest intrusion; patches in bathrooms suggest shower failure. Professional wall leak detection confirms the source without opening the wall.
Quick Answer
Identify the pattern: near plumbing = pipe or fixture leak; on exterior walls after rain = intrusion; in bathrooms = shower/tub failure; cold walls in humid conditions = condensation. Touch-test for dampness, outline for growth, and note timing. Active, growing patches need professional acoustic/thermal detection; stable condensation issues need ventilation and insulation fixes.
What To Do Right Now
- Touch and outline. Confirm dampness; pencil-mark the edge for growth monitoring.
- Photograph with context. Show the patch's position relative to fixtures, windows, and exterior walls.
- Note the timing. After rain? After showers? Constant? Timing is the best free diagnostic.
- Check both sides. What is behind or above the wall — plumbing, bathroom, exterior?
- Sniff. Musty odor confirms microbial growth — the patch has been wet long enough to matter.
- Call if active. Wall leak detection for growing or plumbing-adjacent patches.
Need Help Right Now?
Patch growing rapidly, wall soft or bulging, or water visibly seeping? That is an active leak — call now.
Call (617) 380-4912The 6 Common Causes Of Damp Wall Patches
1. Leaking Pipe Joints Inside The Wall
Supply-line joints (elbows, tees, valve connections) weep or spray inside the wall cavity. The patch appears near the joint's location — often at fixture height near bathrooms or kitchens — and is constant regardless of weather. Pressurized supply leaks worsen steadily.
2. Shower And Tub Leaks
Failed grout, caulk, shower valves, or tub seals let water into the wall with every use. Patches appear on walls adjacent to or below bathrooms, worsen after showers, and often carry a soapy or musty character. The most common wall-patch cause in homes with upstairs bathrooms.
3. Exterior Water Intrusion
Failed flashing around windows/doors, compromised siding, or poor grading lets rain into the wall. Patches appear on exterior walls, after rain (especially wind-driven), often below windows or at wall bases.
4. Condensation
Warm humid air meeting cold wall surfaces condenses — not a leak, but a moisture problem with similar appearance. Common on poorly insulated exterior walls, in bathrooms without ventilation, and behind furniture against cold walls. Improves with ventilation and dehumidification, not plumbing.
5. Roof And Gutter Failures Above
Water entering at the roof travels down inside walls, appearing as patches far below the actual entry point. Suspect when patches are high on walls, rain-correlated, and no plumbing is nearby.
6. Rising Damp (Less Common)
Ground moisture wicking up through masonry — patches at wall bases, tide-marked, in homes with failed or absent damp-proofing. More common in older masonry construction.
Diagnosing By Pattern
| Pattern | Most Likely Cause | Confirm By |
|---|---|---|
| Near/above plumbing fixtures, constant | Pipe joint leak | Usage correlation; acoustic detection |
| Adjacent to shower/tub, worse after use | Shower/tub failure | Shower-only test (run shower, watch patch) |
| Exterior wall, after rain | Flashing/siding/grading intrusion | Hose test on the exterior (professional) |
| Cold wall, humid room, no plumbing | Condensation | Improves with ventilation/dehumidifier trial |
| High on wall, rain-correlated | Roof/gutter issue above | Attic inspection during rain |
| Wall base, tide marks, masonry | Rising damp | Professional damp assessment |
Shower And Tub Leaks: The Detailed Check
As the most common cause, shower leaks deserve specific attention:
- Grout and caulk: cracked or missing grout lets shower water behind tiles; inspect closely.
- Shower valve: a leaking valve body drips inside the wall with every use — the patch aligns with valve height.
- Tub spout and overflow: failed seals at the spout or overflow drain leak into the wall.
- Shower pan: a failed pan leaks below, appearing on ceilings or lower walls.
- Test: run only the shower (not the tub, not the sink) and watch the patch — worsening implicates the shower specifically.
Exterior Intrusion: What To Inspect
- Window and door flashing — the #1 exterior entry point; look for gaps, cracks, or failed sealant.
- Siding and trim — damaged or improperly installed cladding channels water inward.
- Grading — soil sloping toward the foundation directs water at wall bases.
- Gutters and downspouts — overflowing or misdirected gutters saturate walls.
Condensation Vs Leak: The Critical Distinction
Condensation is not a plumbing problem — calling a leak detector for condensation wastes everyone's time. Distinguish:
- Condensation: surface dampness, no plumbing nearby, worse in humid conditions, improves with ventilation; the wall surface is wet but the cavity is dry.
- Leak: dampness from within, plumbing or exterior source identifiable, persists regardless of ventilation; moisture meter reads high inside the wall.
When uncertain, a moisture meter (or professional assessment) settles it — surface-only moisture is condensation; deep moisture is a leak.
Do Not Treat Condensation As A Leak
Dehumidifiers and ventilation fix condensation; plumbers do not. Conversely, ventilation does not fix pipe leaks. Correct diagnosis before correct treatment — the pattern table above is your guide.
What Happens If You Wait
- Mold colonization — the damp cavity is ideal; remediation costs dwarf leak repair.
- Structural decay — framing, drywall, and insulation deteriorate with prolonged wetness.
- Expanding damage — water migrates; the patch grows and new patches appear.
- Finish destruction — paint, wallpaper, and plaster fail progressively.
DIY Vs Professional
| Situation | Safe DIY | Call A Professional |
|---|---|---|
| Suspected condensation | Ventilate; dehumidify; monitor | If moisture persists despite ventilation |
| Suspected shower leak | Inspect grout/caulk; shower-only test | Wall leak detection to confirm source |
| Suspected pipe leak | Outline, photograph, note timing | Acoustic/thermal detection promptly |
| Suspected exterior intrusion | Visual inspection of flashing/siding | Professional water-intrusion assessment |
| Growing, soft, or odorous patch | Document; protect the area | Prompt professional — active damage |
How Professionals Diagnose Wall Patches
Wall leak detection combines moisture mapping (defining the wet area's true extent inside the wall), thermal imaging (tracing the water's path to its origin), and acoustic listening (for pressurized pipe leaks) — identifying the cause without opening the wall. The diagnosis distinguishes pipe leaks from intrusion from condensation definitively, directing the right repair. See also ceiling stain diagnosis and hidden leak tracking.
Using A Moisture Meter Yourself
A pinless moisture meter (available at hardware stores) lets homeowners perform basic moisture assessment:
- Scan the patch and surrounding wall — readings confirm the damp area's extent.
- Compare against a known-dry wall section — the differential matters more than absolute numbers.
- Map the gradient — readings decreasing with distance from the patch's center indicate the moisture source's location.
- Re-scan over time — falling readings mean drying (source addressed); stable or rising means ongoing moisture.
This does not replace professional mapping, but it objectifies what your eyes and hands report — and the readings focus the professional visit.
Bathroom-Adjacent Walls: Detailed Diagnosis
Walls adjoining bathrooms deserve systematic checking — they host the most common wall-leak sources:
- Shower valve wall: the wall behind the shower controls; valve-body leaks manifest here.
- Tub apron wall: below the tub's edge; overflow and seal failures appear here.
- Toilet-adjacent wall: supply line and wax-ring failures; check at floor level.
- Test sequence: run each fixture independently (shower only, then tub only, then toilet flushes) and monitor the patch — the fixture that worsens it is the source.
Fixture Isolation Testing
Test one fixture at a time with the others unused for several hours between. This isolation is the homeowner's most powerful diagnostic tool for bathroom-adjacent wall patches — it names the fixture without any equipment.
Paint And Finishes: Reading The Damage
The wall finish reveals the moisture's character:
- Bubbling/blistering paint: moisture pushing from behind — active or recent.
- Peeling in sheets: prolonged moisture breaking the paint bond.
- Brown staining without texture change: historic water, now dry — cosmetic.
- Efflorescence (white crystals): water moving through masonry, depositing salts — indicates ongoing moisture migration.
- Wallpaper loosening: adhesive failing from moisture — check behind it.
Repair Scope: What Follows Diagnosis
| Diagnosis | Typical Repair Scope | Urgency |
|---|---|---|
| Pipe joint leak | Open wall at marked point; repair joint; patch drywall | Prompt — active leak |
| Shower valve/grout failure | Re-grout/re-caulk or valve replacement; dry wall cavity | Prompt — worsens with use |
| Exterior intrusion | Flashing/siding repair; interior dry-out | Weather-dependent; address before next rain |
| Condensation | Ventilation + insulation; no plumbing work | Routine — comfort and prevention |
For how wall detection works and ceiling stain diagnosis, see our companion guides.
What Is Behind The Wall: Common Assemblies
Understanding wall construction helps interpret damp patches:
| Wall Type | Leak Behavior | Detection Notes |
|---|---|---|
| Drywall on studs | Water spreads along studs and plates; patch may be far from source | Thermal traces the path effectively |
| Plaster on lath | Water travels behind plaster; patches appear late | Moisture meters read through plaster |
| Tile over backer board | Water trapped behind tile; minimal surface evidence | Inspect grout lines; thermal through tile |
| Exterior insulated wall | Insulation absorbs and spreads water widely | Moisture mapping defines the true extent |
| Masonry | Water wicks through; efflorescence marks the path | Visual pattern is highly diagnostic |
Wall-To-Floor: Tracking Downward Migration
Wall leaks migrate downward — the patch you see may be the water's exit point, not its entry:
- Check below the patch — baseboards, flooring, and the wall-floor junction for secondary dampness.
- Trace upward — the source is at or above the patch's highest damp point, rarely below.
- Floor damage (warping, staining) beneath a wall patch indicates prolonged downward migration — the leak is older than the patch suggests.
For hidden leak tracking and detection methods, see our companion guides.