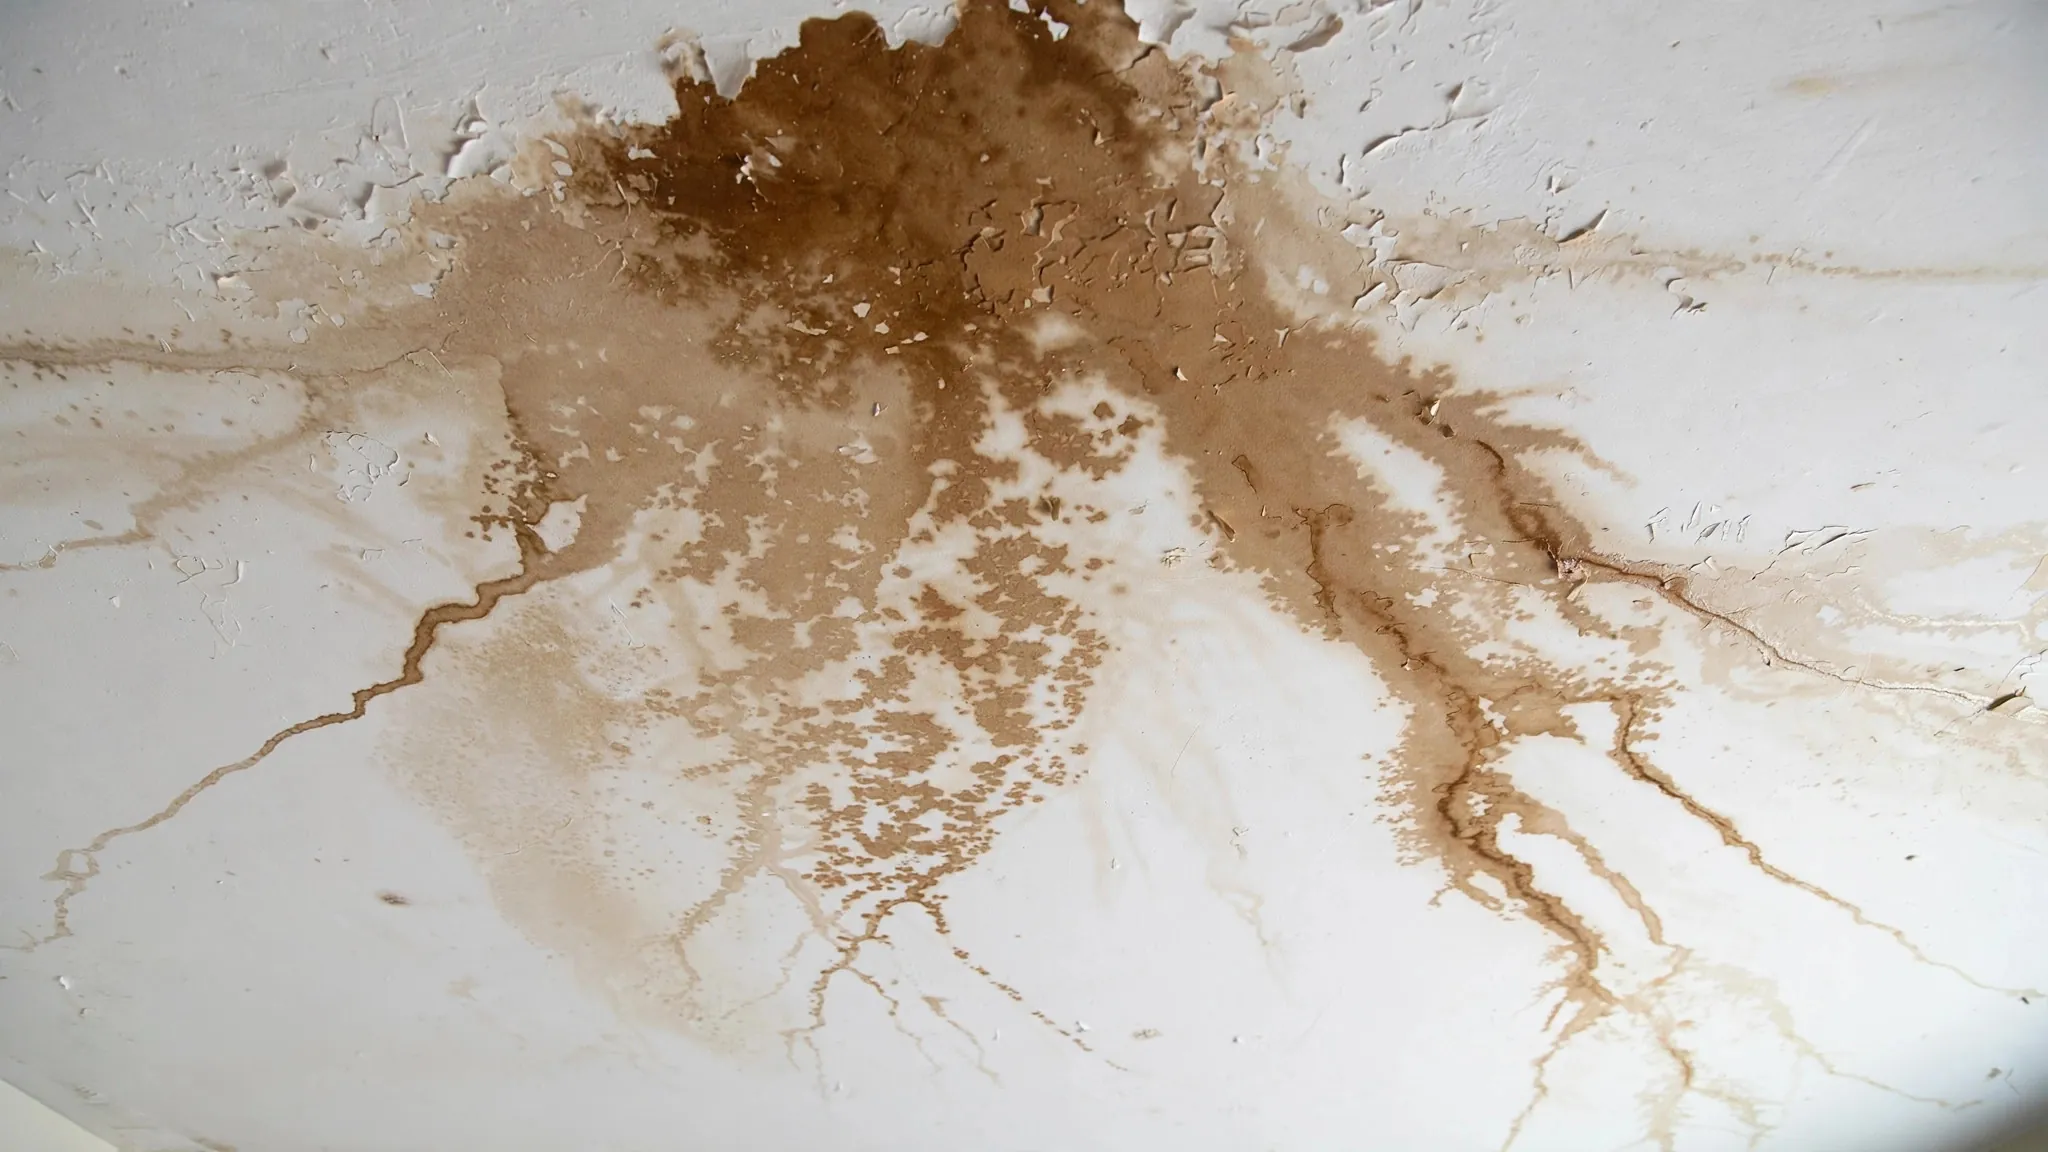
A ceiling water stain is either active (water still arriving — an ongoing leak needing prompt action) or historic (a past leak, now dry — a cosmetic issue). Distinguish them with three tests: touch (damp or cool to the touch = active), outline (pencil-mark the edge; growth over days = active), and context (stain appears or darkens after rain or plumbing use = active). An active stain means water is currently entering the ceiling cavity — professional ceiling leak detection finds the source without tearing down the ceiling.
Quick Answer
Touch the stain — dampness or coolness means active. Pencil-outline its edge and check in 2-3 days — growth means active. Note timing — appearance after rain points to roof/exterior; after plumbing use points to pipes above. Active stains need prompt professional detection; dry, stable, unchanging stains are cosmetic and can wait for convenient repair.
What To Do Right Now
- Touch the stain. Damp, cool, or soft = active. Dry, room-temperature, firm = likely historic.
- Pencil-outline the edge. Mark the stain's perimeter lightly; re-check in 2–3 days for growth.
- Note the timing. Did it appear after rain? After running upstairs plumbing? Timing implicates the source.
- Check above. What is directly overhead — bathroom, roof, attic? The source is usually vertically above or slightly uphill.
- Protect below. Move valuables; place a container if dripping.
- Call if active. Ceiling leak detection locates the source; emergency service for dripping or bulging.
Need Help Right Now?
Ceiling bulging, actively dripping, or stain growing visibly? That is an active leak with structural risk — call now.
Call (617) 380-4912The Three Tests In Detail
The Touch Test
Press the stain firmly with your palm. An active leak feels damp, cool, or soft — the ceiling material is currently wet. A historic stain feels dry, room-temperature, and firm — the water is long gone, leaving only discoloration. Test the center (wettest if active) and compare against unstained ceiling nearby.
The Outline Test
Lightly pencil the stain's outer edge. Re-examine in 2–3 days: growth beyond the line = active; unchanged = historic (or extremely slow). For subtle cases, photograph with a ruler for scale — the camera catches millimeter growth the eye misses.
The Context Test
- Appears/darkens after rain → roof, flashing, or exterior intrusion above.
- Appears after upstairs plumbing use (showers, toilet flushes) → supply or drain leak in the floor above.
- Constant regardless → pressurized supply leak (never stops) or very slow seep.
- Seasonal → ice dams, condensation, or exterior issues tied to weather.
All Three, Not Just One
Each test has blind spots — a slow leak can feel dry between drips; a historic stain can look alarming. Run all three tests together for a reliable verdict. When they disagree, treat it as active until proven otherwise.
Signs The Stain Is Active
- Damp or cool to the touch — the definitive sign.
- Growing outline — expansion over days.
- Darkening — fresh water darkens the stain's center.
- Bulging or sagging — the ceiling material is waterlogged and structurally compromised.
- Dripping — obvious and urgent.
- Musty odor — microbial growth in the wet cavity.
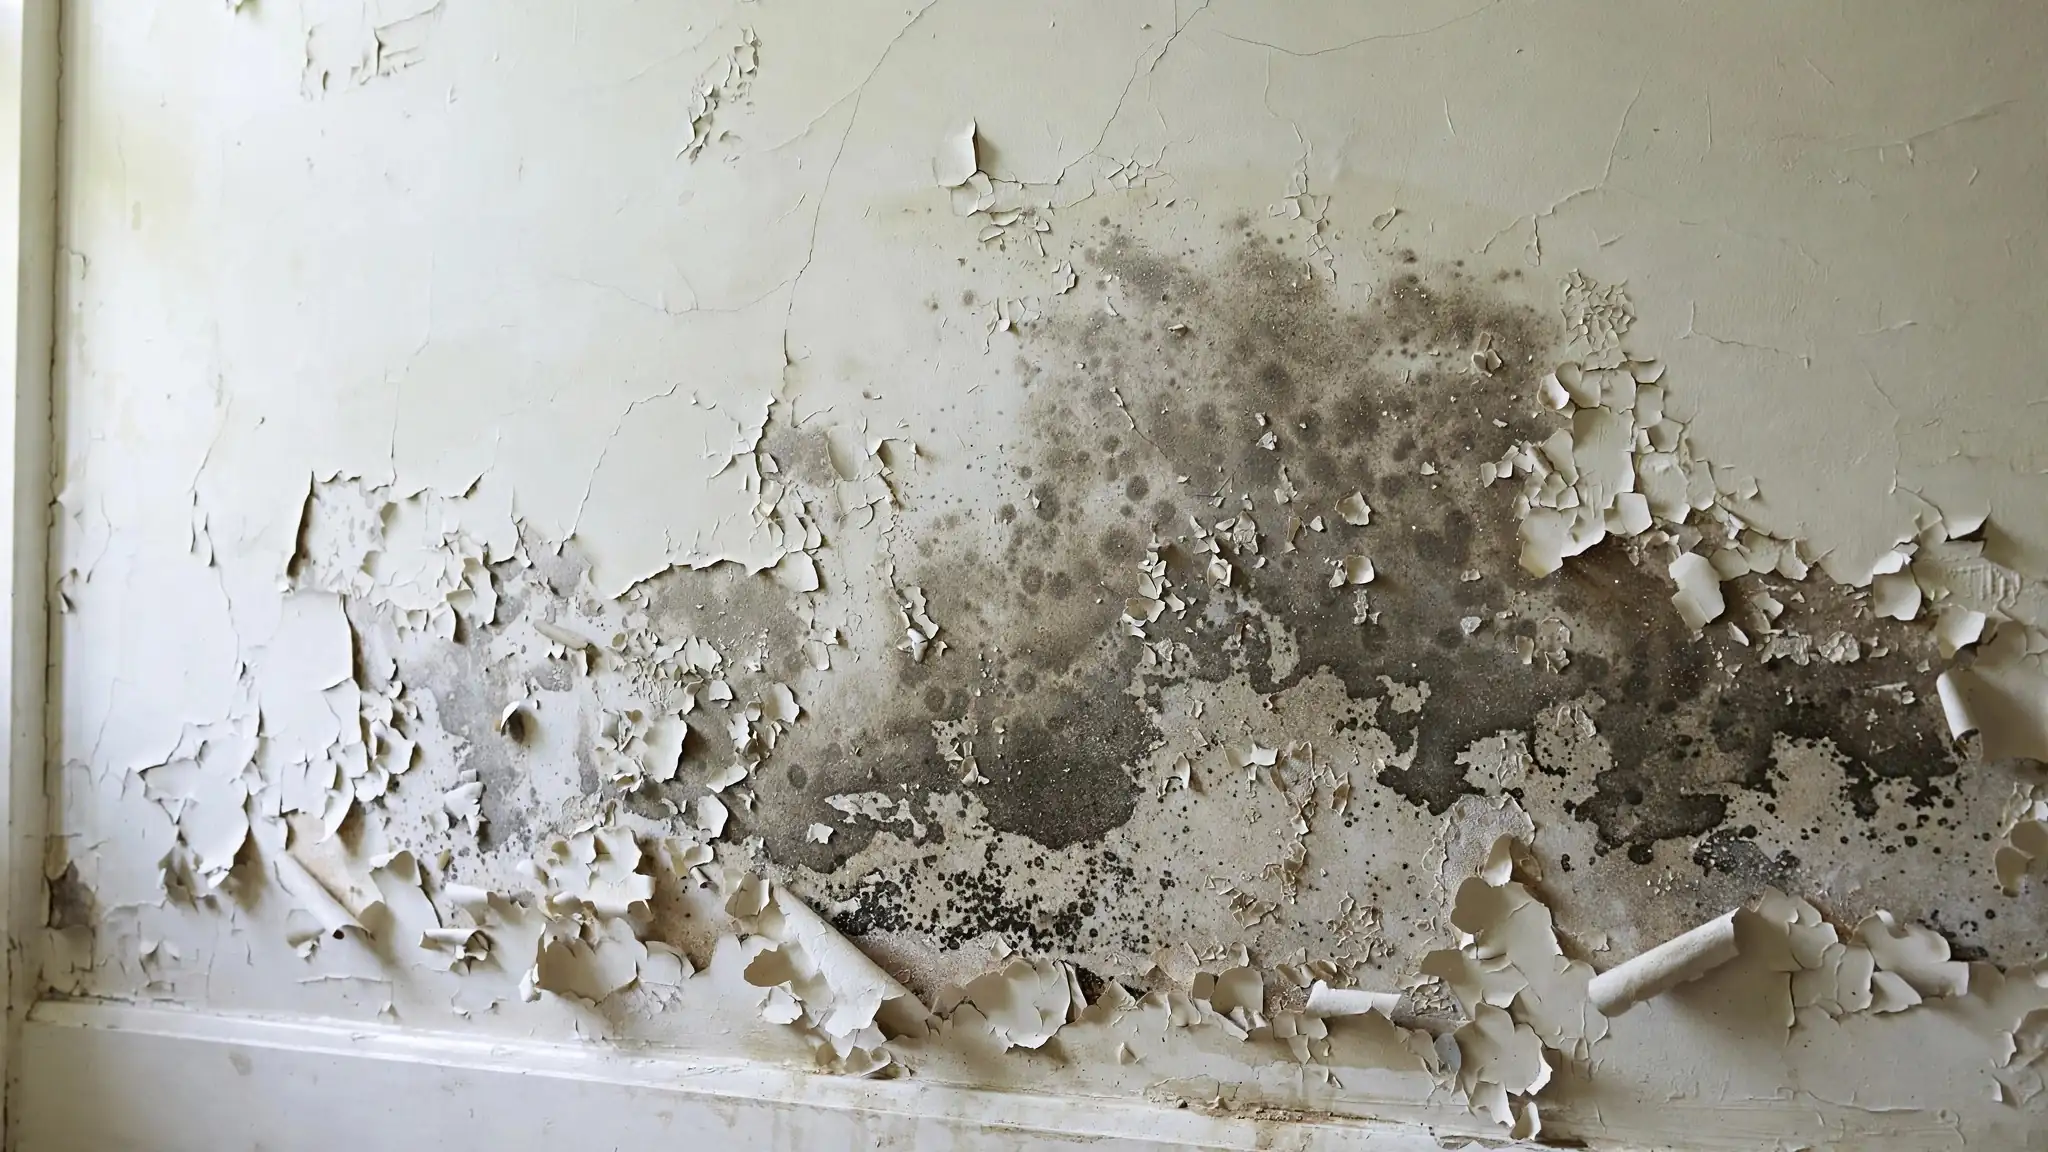
- Paint bubbling or peeling at the stain — moisture pushing from behind.
Signs The Stain Is Historic
- Completely dry and firm to the touch, repeatedly.
- Stable outline over weeks of monitoring.
- Uniform light-brown color — the classic dried-water ring, no dark center.
- Known past event — a repaired roof leak, a fixed plumbing issue — with no recurrence.
- No odor, no texture change — purely cosmetic discoloration.
Historic stains still deserve cosmetic repair (stain-blocking primer, repaint) — but on your schedule, not urgently. Confirm the source was truly fixed before covering; painting over an active leak hides the evidence without stopping the damage.
Where Ceiling Leaks Come From
| Stain Location | Likely Source | Timing Clue |
|---|---|---|
| Under a bathroom | Shower/tub drain, toilet seal, supply line | Appears with upstairs water use |
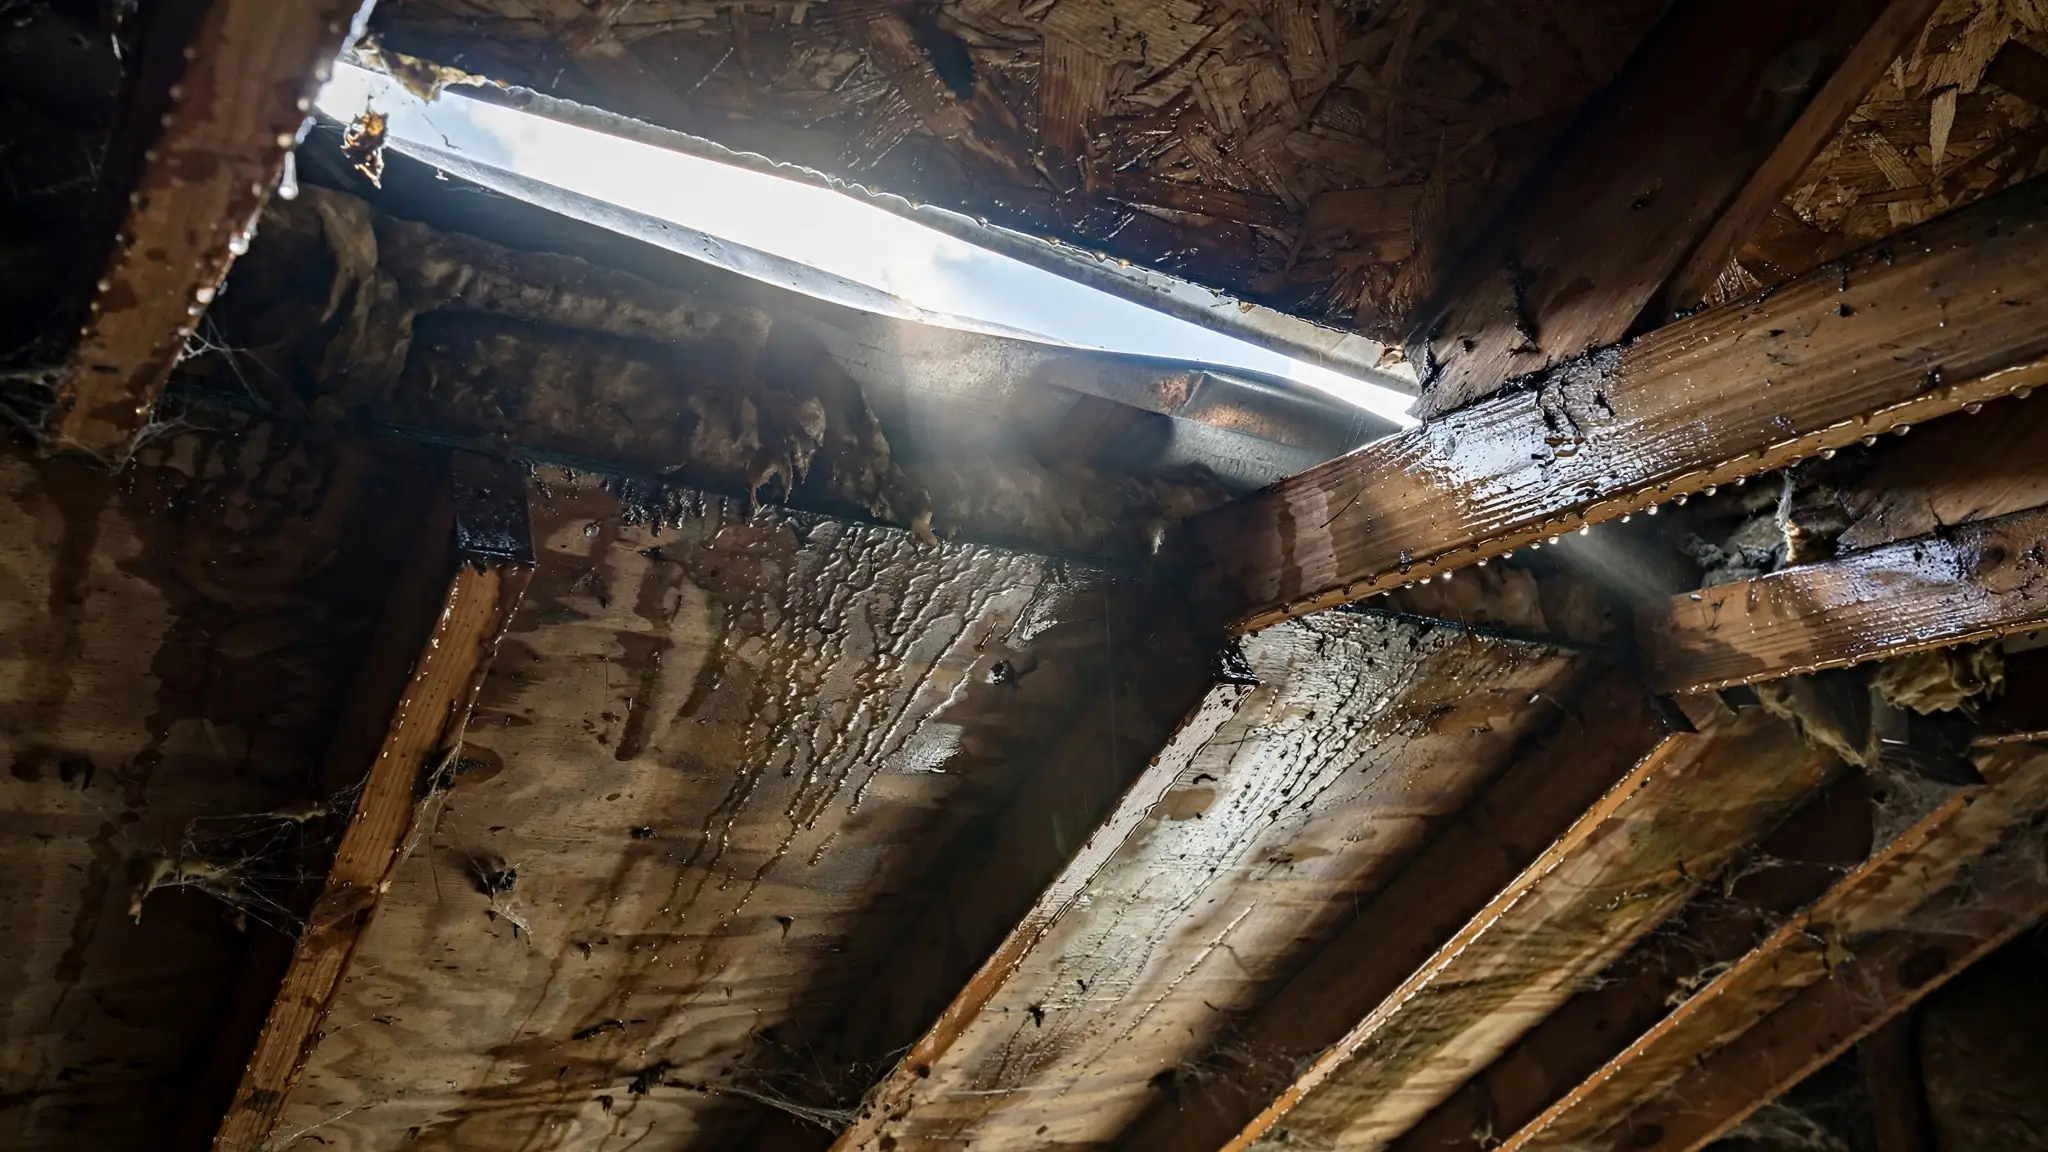
| Under the roof/attic | Roof leak, flashing failure, ice dam | Appears with rain or snowmelt |
| Under a kitchen | Dishwasher, sink supply/drain, ice maker line | Appears with appliance use |
| Random/central | Pressurized supply line in the ceiling | Constant, regardless of usage |
| Near exterior wall | Window/door flashing, siding intrusion | Appears with wind-driven rain |
What Happens If You Wait On An Active Stain
- Ceiling failure. Waterlogged drywall sags, then collapses — the bulge is a countdown.
- Mold colonization. The dark, damp ceiling cavity is ideal for mold; remediation dwarfs leak repair costs.
- Structural damage. Joists, insulation, and framing absorb water; prolonged saturation rots wood.
- Electrical hazard. Water and ceiling fixtures/ wiring are a dangerous combination — treat any stain near electrical with extra urgency.
DIY Vs Professional
| Situation | Safe DIY | Call A Professional |
|---|---|---|
| Historic, dry, stable stain | Monitor; cosmetic repair when convenient | If the original source was never confirmed fixed |
| Active, damp, growing stain | Outline, photograph, protect below | Ceiling leak detection promptly |
| Bulging or dripping ceiling | Move valuables; contain water; do not puncture blindly | Emergency service — structural risk |
| Stain near electrical fixtures | Do not touch; turn off the circuit if safe | Professional immediately — electrical hazard |
How Professionals Find Ceiling Leaks
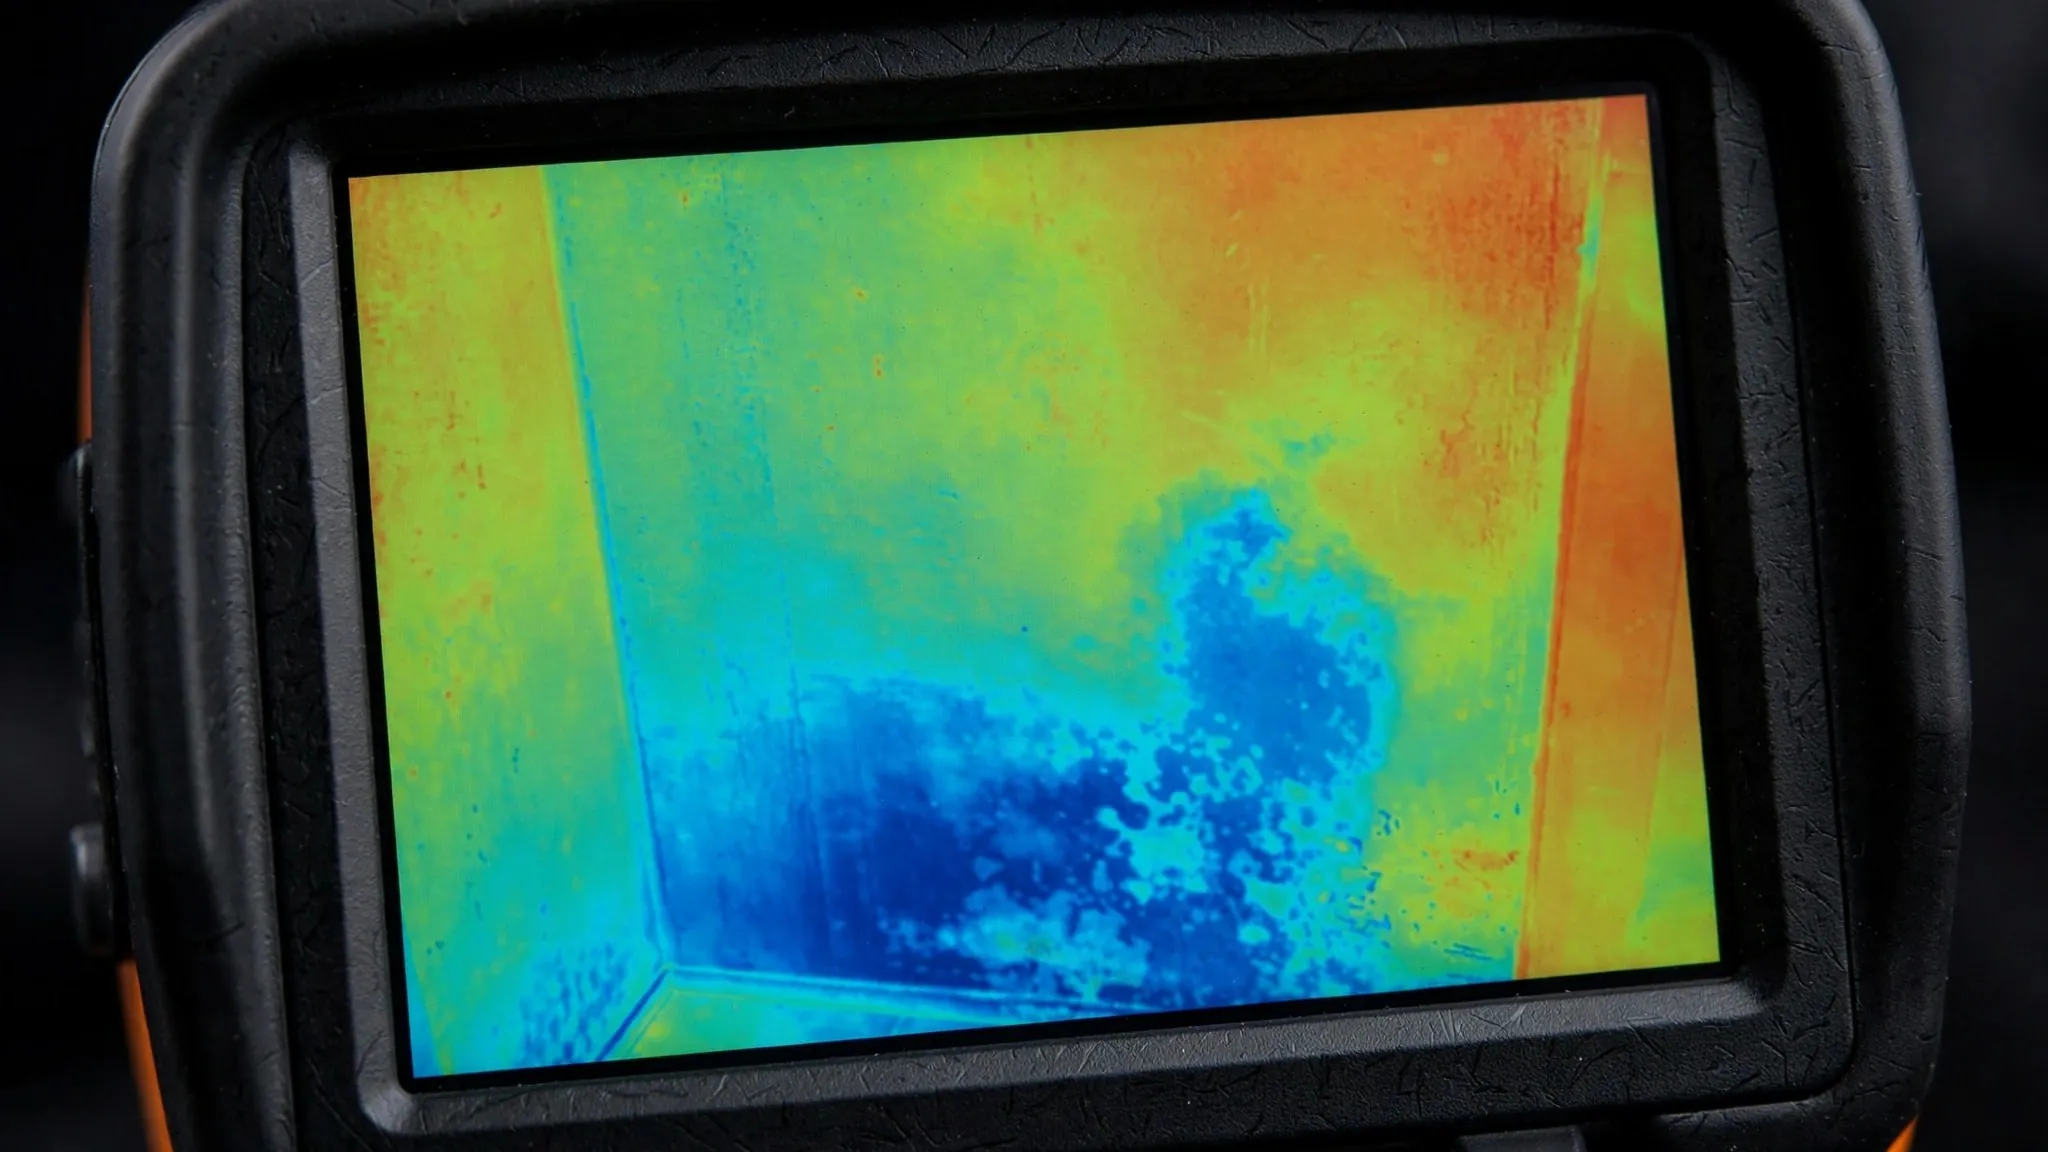
Ceiling leak detection uses moisture meters to map the wet area's extent, thermal imaging to trace the water's path upward to its source, and acoustic listening for pressurized supply leaks — all without opening the ceiling. The source is marked, the wet area's boundaries defined (guiding minimal drywall removal for repair), and a report documents everything. For wall leaks and attic sources, see our companion guides.
Measuring Growth Precisely
For borderline cases — stains that might be growing slowly — precision measurement beats eyeballing:
- Photograph with a ruler held against the stain; repeat from the same angle and distance weekly.
- Grid overlay: place a transparent grid (or use a photo app's grid) over the image to quantify expansion.
- Date every photo — the timeline is evidence for insurance and for your own decision-making.
- Compare methodically: overlay or side-by-side comparison reveals millimeter growth invisible in isolation.
This discipline also documents the leak's progression for insurance claims — adjusters value dated, measured evidence over descriptions.
Ceiling Materials And Leak Behavior
Different ceiling materials respond differently to water:
- Drywall: absorbs, sags, and eventually fails — the most common; bulging is the warning.
- Plaster: more resistant initially, but prolonged saturation causes delamination and crumbling.
- Ceiling tiles (drop ceilings): stain and sag visibly; tiles are replaceable but the leak above continues.
- Wood: stains, warps, and rots with prolonged exposure; often hides damage longer.
The material affects how urgently you must act — drywall's failure mode (sudden collapse when saturated) demands faster response than plaster's gradual deterioration.
Drop Ceilings Hide Leaks
Suspended ceiling tiles conceal the structure above — water can accumulate extensively before any tile shows staining. If you suspect an above-ceiling leak, lift tiles and inspect directly; do not rely on tile appearance alone.
Seasonal Patterns In Ceiling Stains
| Season | Common Ceiling Leak Causes | What To Check |
|---|---|---|
| Winter | Ice dams, condensation, pipe freezes | Attic, roof edges, exterior plumbing |
| Spring | Snowmelt intrusion, gutter overflow | Roof, gutters, flashing |
| Summer | HVAC condensate, plumbing (peak use) | Air handler drains, upstairs bathrooms |
| Fall | Nor'easter wind-driven rain | Roof penetrations, flashing, windows |
Seasonal correlation is diagnostic — a stain appearing every winter points to cold-weather sources regardless of what the stain looks like. Log the season with every observation.
Documenting For Insurance
If the leak may become a claim, document from discovery:
- Dated photos of the stain's progression (the measurement discipline above).
- Written timeline — when first noticed, how it changed, what actions you took.
- Professional detection report — the source identification and methodology.
- Mitigation receipts — every expense from discovery forward.
Insurers distinguish sudden from gradual damage — prompt professional detection and documentation support the sudden-leak characterization that policies favor.
Multiple Stains: Reading The Pattern
Multiple ceiling stains tell a different story than a single stain:
- Clustered stains — one source spreading (a single leak with wide migration).
- Linear stains — following a pipe run or joist bay (water traveling along a channel).
- Scattered stains — multiple sources (roof failure at several points) or systemic condensation.
- Stains on multiple floors — a leak high in the building cascading down.
Map every stain's position, size, and timing — the pattern often identifies the source type before any instrument is deployed.
Renters: What To Do About Ceiling Stains
- Document immediately — dated photos from discovery.
- Notify in writing — email or text creating a timestamped record; describe the stain and any growth.
- Do not attempt repair — the building's structure is the owner's responsibility.
- Protect your belongings — move valuables; you are responsible for your property.
- Follow up — if the stain grows and the owner does not respond, escalate per local tenant-rights procedures.
Written Notice Protects Everyone
Verbal reports of ceiling stains are easily forgotten or disputed. A dated email with photos creates an unambiguous record — protecting the tenant's rights and giving the owner the information needed to act. Everyone benefits from writing it down.
For wall patch diagnosis and attic leak sources, see our companion guides.