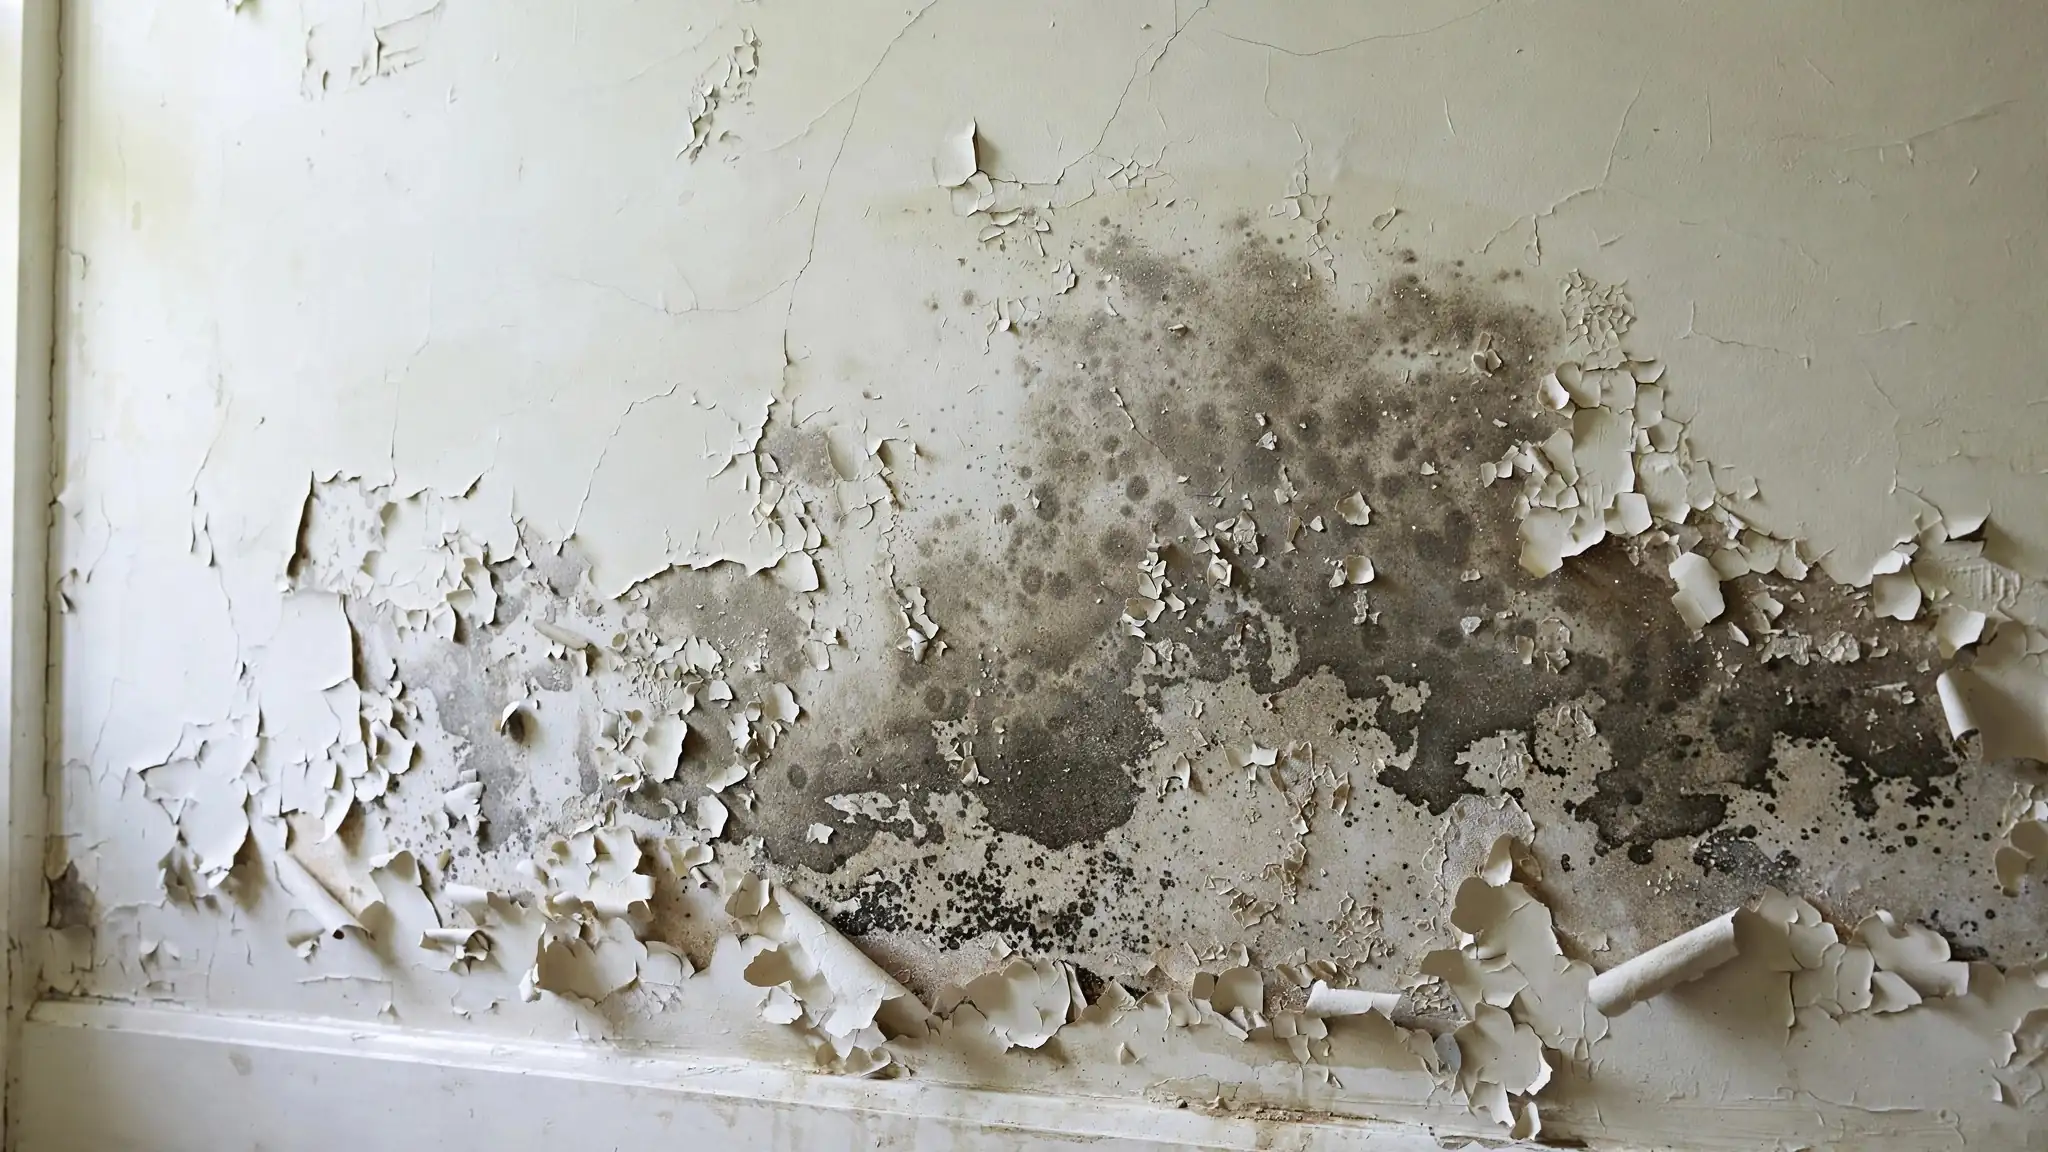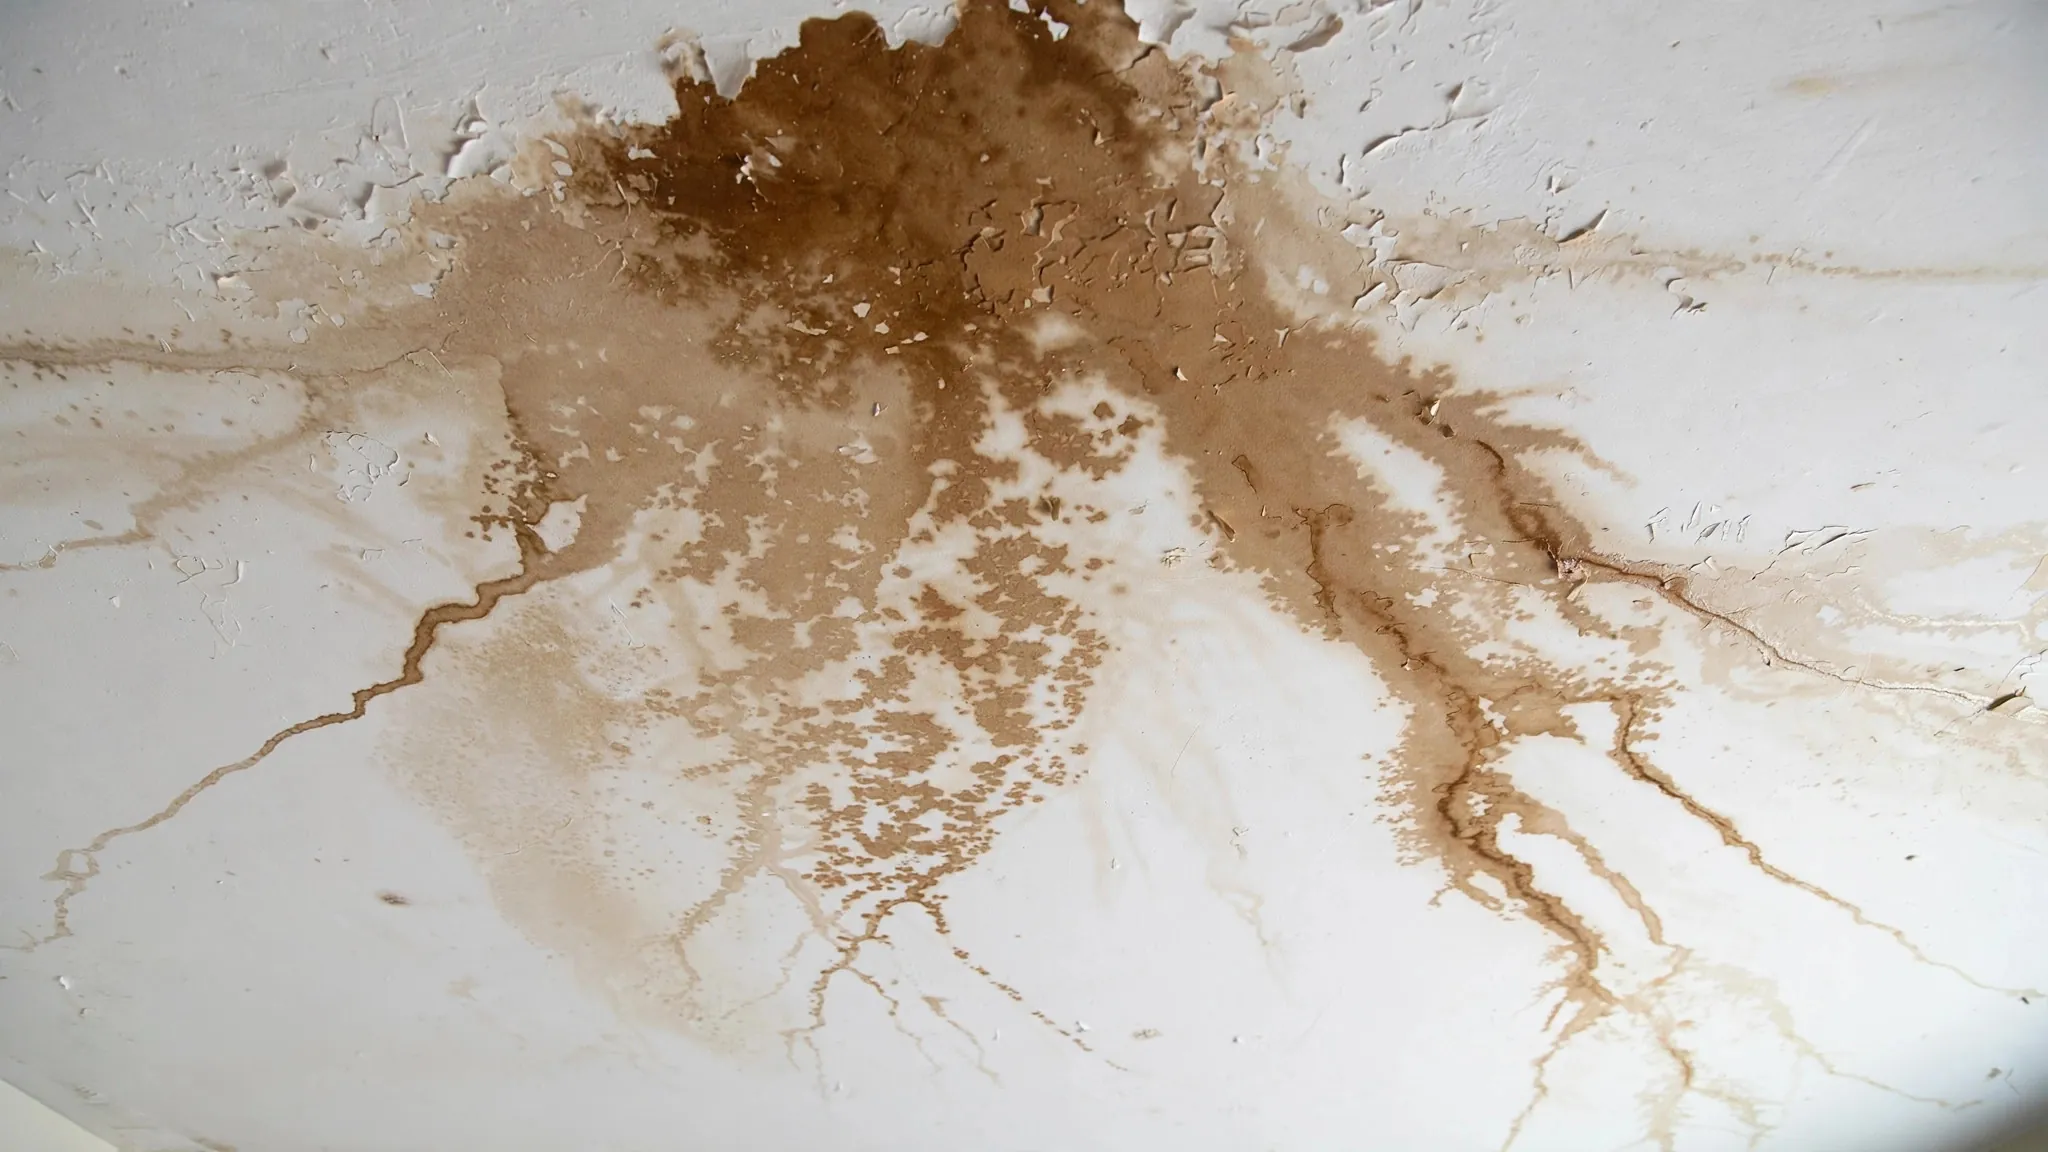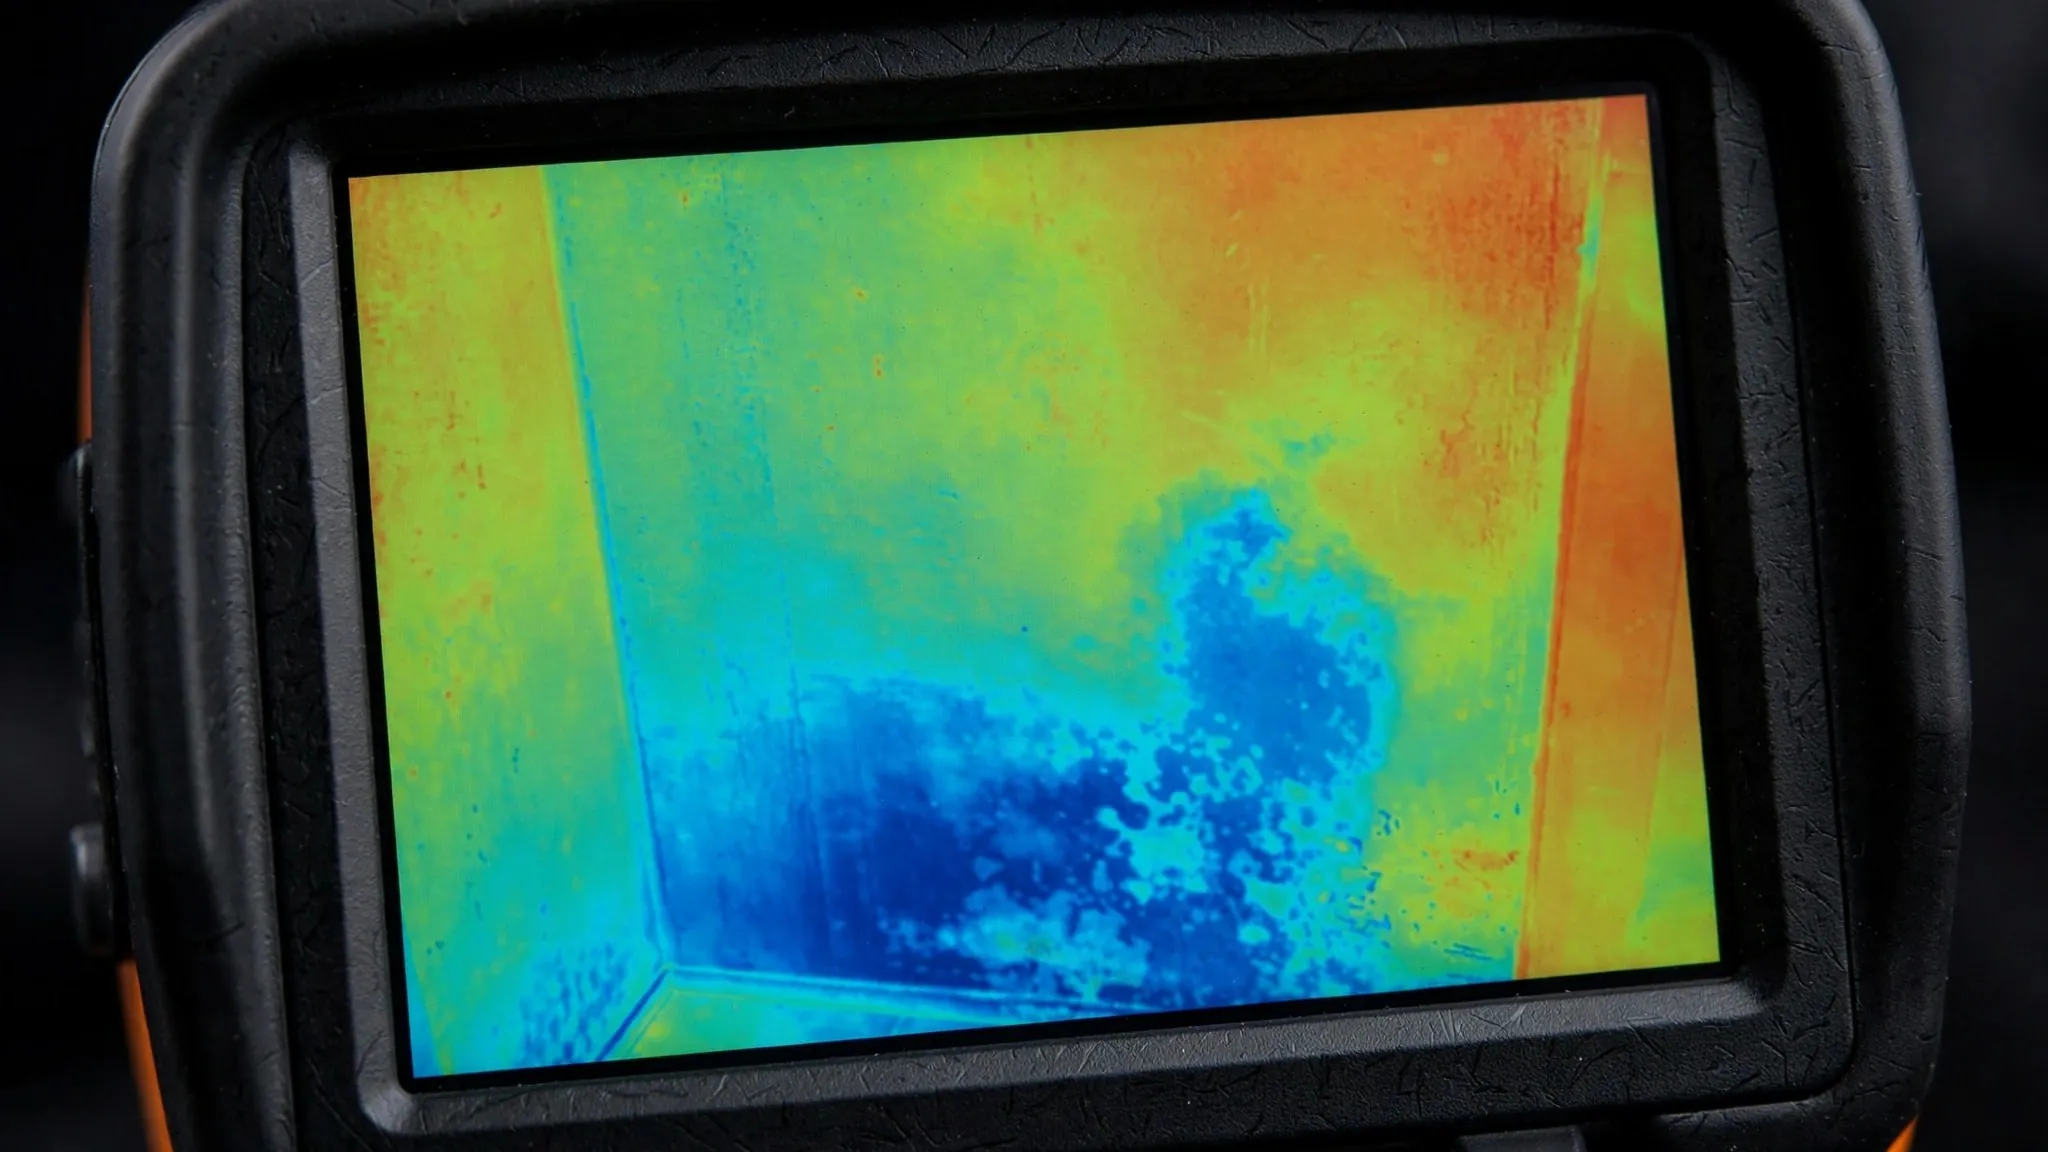
Wall leak detection locates plumbing breaks inside wall cavities without demolition using three complementary technologies. Moisture mapping (pin and pinless meters) defines the wet area's true extent inside the wall; thermal imaging reveals temperature anomalies tracing the water's path to its source; and acoustic listening detects the sound signature of pressurized supply leaks. Together they pinpoint the break's location — so repair opens a small, surgical section of drywall, not the whole wall. Professional wall leak detection replaces exploratory demolition with measurement.
Quick Answer
Professionals map wall moisture with meters (defining the wet zone's boundaries), scan with thermal cameras (tracing the water's path upward to the source), and listen acoustically (isolating pressurized leaks by sound). The three methods converge on the break's location, guiding a minimal drywall opening for repair. No exploratory demolition, no guessing.
Moisture Mapping: Defining The Wet Zone
Moisture meters measure water content in and behind wall surfaces. Two types: pin meters (probes penetrate the surface for depth readings — tiny holes, minimal impact) and pinless meters (electromagnetic scanning, completely non-invasive, slightly less precise). The technician grids the suspect wall, recording readings across its surface — producing a moisture map showing the wet area's true boundaries, which often extend well beyond the visible patch.
Moisture mapping answers "how far" — the extent of saturation guiding how much drywall the repair will ultimately need. It also distinguishes surface condensation (surface wet, cavity dry) from true leaks (cavity wet), preventing misdiagnosis.
The Visible Patch Lies
The damp patch you see is the leak's exit point, not its extent — moisture typically spreads much further inside the wall. Moisture mapping reveals the true boundaries, which is why repair scopes based on visual patches alone are often too small.
Thermal Imaging: Tracing The Path
Thermal cameras detect surface temperature differences caused by moisture: wet areas cool through evaporation (appearing cooler than dry wall), while hot-water leaks create warm anomalies. The technician scans the wall, and the thermal pattern reveals the water's migration path — typically traced upward and backward to the source.
Thermal imaging answers "where from" — the direction water traveled, pointing to the origin. It works through paint and wallpaper, requires no contact, and surveys large areas in minutes. Its limitation: it shows temperature, not moisture directly — interpretation distinguishes leak patterns from insulation gaps and thermal bridging.
Acoustic Listening: Hearing Pressurized Breaks
For supply-line leaks (pressurized), contact microphones placed on the wall surface detect the break's turbulence signature — the hiss of water escaping under pressure. The technician surveys along the pipe's suspected route; the signal peaks at the breach. Acoustic methods answer "exactly where" for pressurized breaks, often within inches.
Acoustic detection requires pressure (the leak must be active) and works best on supply lines; drain leaks (non-pressurized) are located via moisture mapping and thermal tracing instead.
How The Three Methods Work Together
| Method | Answers | Best For | Limitation |
|---|---|---|---|
| Moisture mapping | How far the water spread | Defining repair scope; distinguishing condensation | Shows extent, not source |
| Thermal imaging | Where the water came from | Tracing migration paths; hot-water leaks | Shows temperature, not moisture directly |
| Acoustic listening | Exactly where the break is | Pressurized supply leaks | Needs active pressure; not for drain leaks |
The workflow: moisture map defines the zone, thermal scan traces the path to the origin area, acoustic survey pinpoints the pressurized break. When all three converge, the location is certain — and the drywall opening is minimal.
What A Wall Detection Visit Looks Like
- Interview: symptom history, timing, what is behind/above the wall.
- Moisture survey: gridded readings defining the wet zone's boundaries.
- Thermal scan: tracing the migration path toward the source.
- Acoustic survey (for supply leaks): pinpointing the break by sound.
- Marking and report: the source location marked, wet boundaries defined, repair guidance provided.
Most wall leaks are located in a single visit. The report guides your plumber to a surgical opening — and documents the damage for insurance.
Limitations, Honestly
- Very slow seeps may not produce clear acoustic signatures — moisture and thermal methods lead instead.
- Multiple leak points require systematic elimination.
- Detection locates; it does not repair. The marked point still needs a drywall opening and plumbing work — but minimal and precise.
- Historic (dry) leaks show no active moisture — detection confirms dryness but cannot locate a long-dead source precisely.
The alternative — exploratory demolition, opening walls to search — is destructive, expensive, and often misses. Professional detection exists to make it obsolete. For diagnosing damp patches and ceiling stains, see our companion guides.
When Each Method Leads: Case Examples
Case 1 — Moisture leads: a bathroom-adjacent wall shows a damp patch; moisture mapping reveals the wet zone extends three feet beyond the visible patch and centers on the shower valve height. Thermal confirms a cool anomaly at the valve. The diagnosis: shower valve leak — opened surgically at the valve, not at the patch.
Case 2 — Thermal leads: a hallway wall feels normal, but a hot-water line runs behind it. Thermal scanning reveals a warm linear anomaly inconsistent with the pipe's expected path — tracing to a joint. Acoustic confirms the hiss at the marked point. The diagnosis: hot supply joint leak.
Case 3 — Acoustic leads: a faint hiss is heard in a wall with no visible dampness. Acoustic survey isolates the peak; moisture mapping shows only a small damp area (the leak is recent). The diagnosis: early-stage supply break — caught before visible damage.
The Patch Is Not The Leak
In Case 1, opening the wall at the visible patch would have missed the valve by three feet — the classic exploratory-demolition error. Detection's value is not just finding the leak; it is finding where the leak is not.
Preparing For The Detection Visit
- Clear wall access — move furniture 3-4 feet from suspect walls.
- Document symptoms — photos, timing, what is behind/above the wall.
- Ensure water is on — acoustic detection needs active pressure; do not shut off the main before the visit.
- Note recent changes — renovations, new fixtures, or incidents preceding the symptoms.
- List questions — repair scope, timeline, and documentation needs.
After Detection: The Repair Sequence
- Review the report — marked location, moisture boundaries, repair recommendations.
- Engage a plumber — the report guides a surgical opening at the mark.
- Repair the pipe — joint, section, or reroute as indicated.
- Dry the cavity — the wet area defined by moisture mapping must dry fully (dehumidification, airflow) before closing.
- Verify dryness — re-check with a moisture meter; closing a damp wall guarantees mold.
- Restore finishes — drywall patch, texture, paint.
Do not skip the drying step — the most common post-repair error is closing the wall while the cavity is still wet. Moisture mapping defined the wet boundaries; verify they are dry before restoration.
Understanding Detection Value
| Approach | Wall Openings | Accuracy | Total Cost Pattern |
|---|---|---|---|
| Exploratory demolition | Multiple, large | Low — searching blind | High (repair + extensive restoration) |
| Single-method detection | One, moderate | Moderate | Moderate |
| Three-method professional detection | One, surgical | High — cross-verified | Lowest total (precise repair + minimal restoration) |
The detection investment pays for itself in avoided demolition and restoration — the cheapest wall repair is the one that opens the wall exactly once, exactly where needed. For diagnosing damp patches and hidden leak tracking, see our companion guides.
Wall Materials And Method Selection
| Wall Material | Best Methods | Notes |
|---|---|---|
| Standard drywall | All three methods | The ideal case — every method works well |
| Plaster | Moisture + thermal; acoustic through plaster | Denser material; acoustic slightly attenuated |
| Tile | Thermal + acoustic; moisture via grout | Pinless meters struggle through tile; thermal excels |
| Concrete/masonry | Acoustic + moisture | Thermal less effective on high-mass walls |
| Exterior insulated | Moisture mapping leads | Insulation complicates thermal; moisture defines extent |
Wall Leak Detection Myths
- Myth: "You have to open the wall to find the leak." Reality: modern detection locates without demolition — opening is for repair, not search.
- Myth: "Thermal cameras see through walls." Reality: they detect surface temperature patterns caused by moisture — interpretation, not X-ray vision.
- Myth: "One tool is enough." Reality: cross-verification between methods is what produces confidence — single-method detection misses.
- Myth: "Detection is only for big leaks." Reality: early small leaks are the best detection candidates — minimal damage, precise location, simple repair.
For ceiling leak diagnosis and damp patch causes, see our companion guides.
What Your Detection Report Should Contain
A professional wall leak detection report is a working document, not just a receipt. It should include:
- Methodology — which methods were used and why.
- Moisture map — the wet area's boundaries, marked and measured.
- Source location — marked physically (tape/paint) and documented photographically.
- Photographs — thermal images, moisture readings, and the marked location.
- Repair recommendations — the suggested opening size and location, plus drying requirements.
- Limitations — what was and was not covered, and any uncertainties.
This report serves your plumber (guiding the repair), your insurer (documenting the claim), and your records (for future reference). If a provider cannot produce this level of documentation, the detection was not professional-grade.