A professional leak detection visit is a systematic, non-destructive diagnostic — not exploratory demolition. Knowing what to expect helps you prepare (clear access, gather information, ensure water is on), evaluate the provider's professionalism, and use the results effectively (the report guides your plumber and your insurer). This guide walks through the visit phase by phase: the initial interview, the systematic survey, the pinpointing, the marking, and the documentation you receive. Professional leak detection follows this discipline on every visit.
Quick Answer
Expect: an interview about symptoms and history, a systematic survey using acoustic/thermal/tracer-gas methods as appropriate, convergence on the leak's location, physical marking of the spot, and a written report with methodology, findings, photos, and repair guidance. Prepare by clearing access to suspect areas, ensuring water service is on (acoustic needs pressure), and gathering symptom documentation. The visit is non-destructive — no demolition during detection.
Before The Visit: How To Prepare
- Clear access — move furniture 3-4 feet from suspect walls; clear the area around the water meter, cleanouts, and equipment.
- Keep water ON — acoustic detection requires active pressure; do not shut off the main before the visit (unless there is an emergency).
- Gather documentation — symptom photos, timing notes, water bills showing the increase, prior plumbing work records.
- Note the history — when symptoms started, how they progressed, what changed (renovations, weather, usage).
- List questions — repair scope, timeline, insurance documentation, and anything you want to understand.
- Arrange access — ensure the technician can reach all relevant areas (attic, crawlspace, meter, cleanouts).
Water On, Access Clear, History Ready
Three preparation items cover 90% of visit efficiency: water service on (for acoustic methods), clear access to suspect areas, and your symptom history documented. The technician's time is diagnostic time — preparation maximizes it.
Phase 1: The Interview (15-30 Minutes)
The visit begins with questions, not instruments. A professional wants to understand:
- Symptoms: what you see, hear, smell — and where.
- Timeline: when it started, how it progressed, what triggers it.
- History: prior leaks, plumbing work, renovations, and the building's age and materials.
- System knowledge: pipe materials, shutoff locations, and any known system quirks.
- Your observations: meter test results, zone comparisons, and any DIY diagnostics you performed.
Your preparation pays off here — organized symptom documentation focuses the survey from the first minute. A technician who skips the interview and goes straight to instruments is skipping the most cost-effective diagnostic step.
Phase 2: The Systematic Survey
Based on the interview, the technician selects methods and surveys systematically:
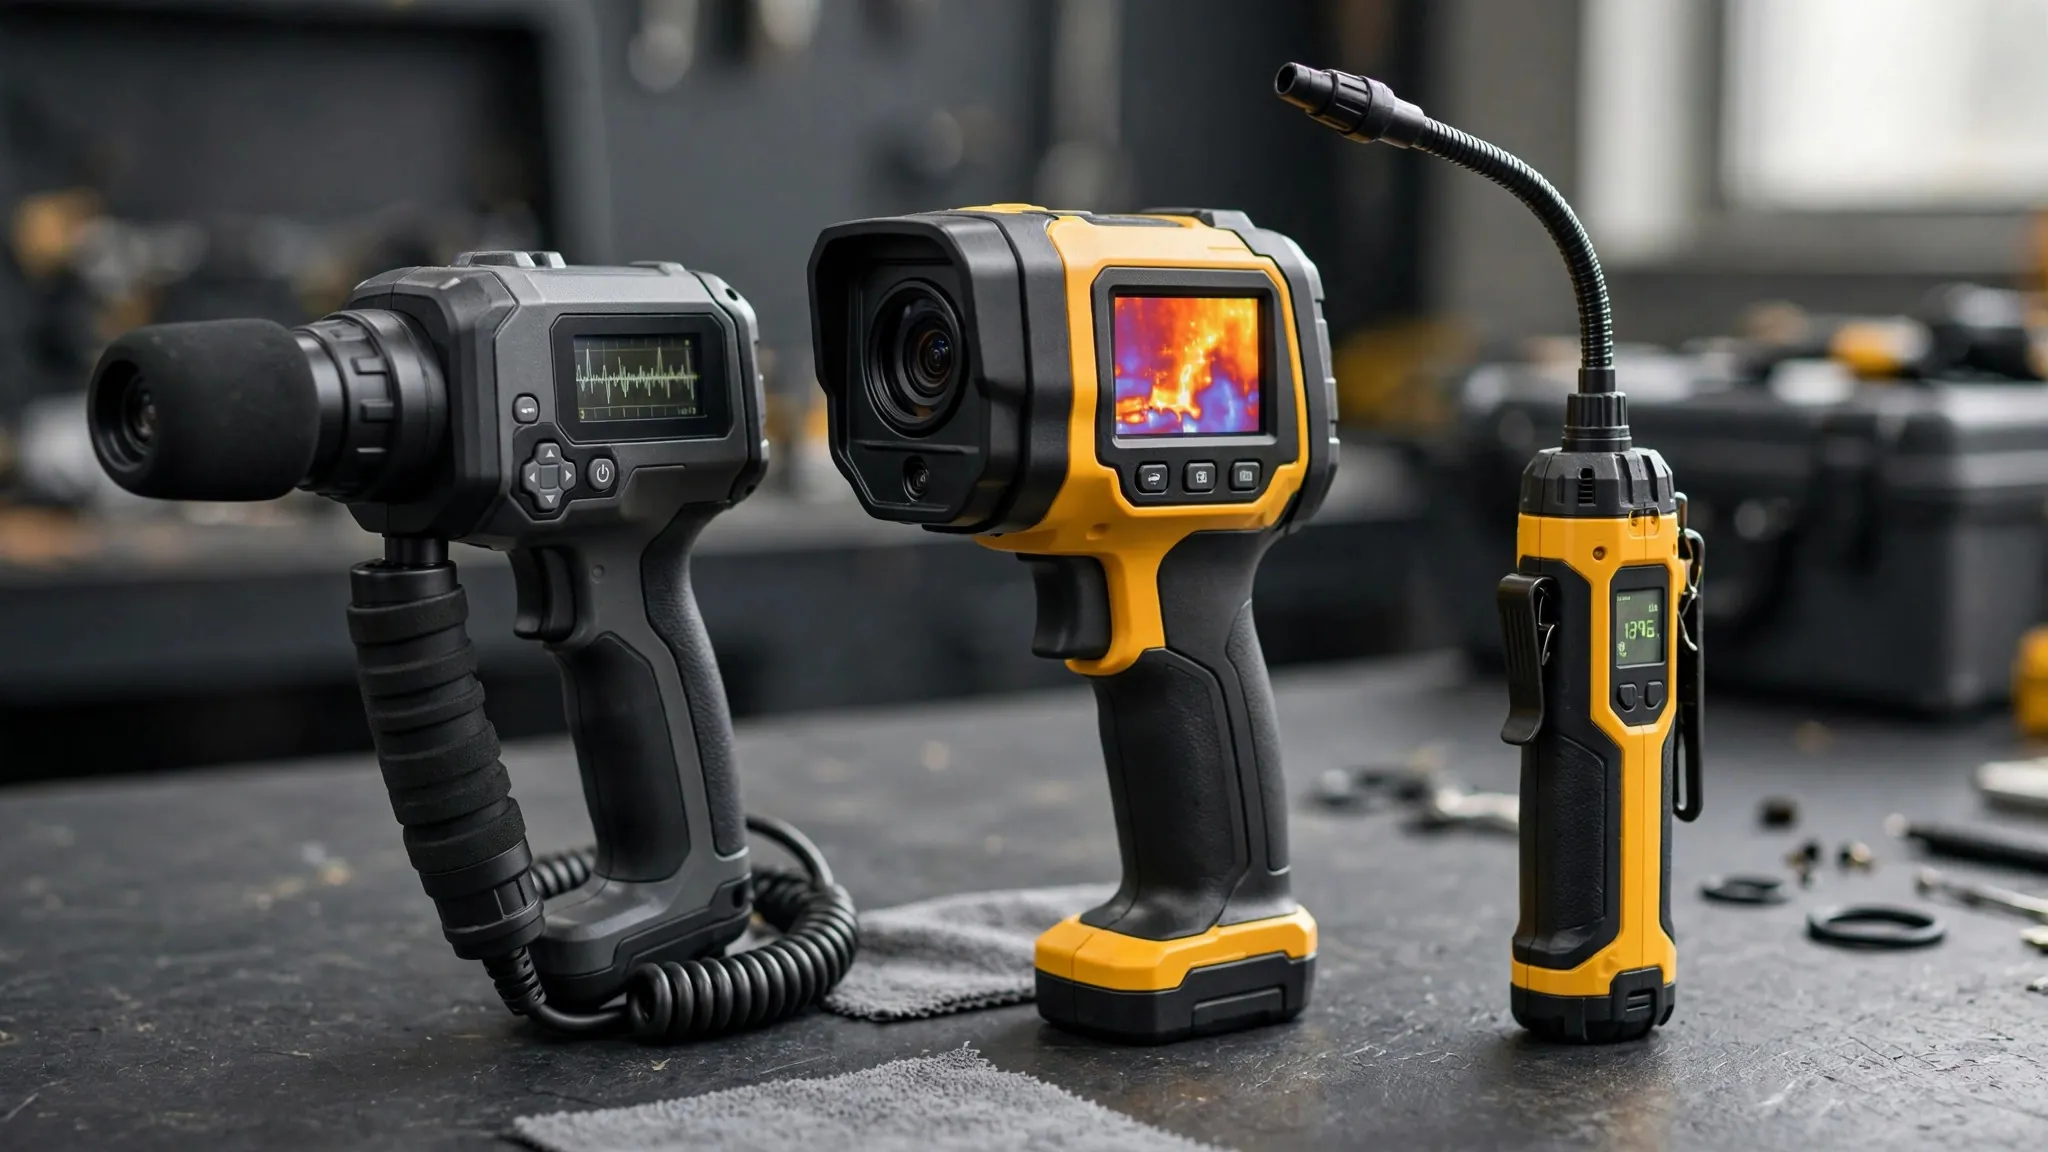
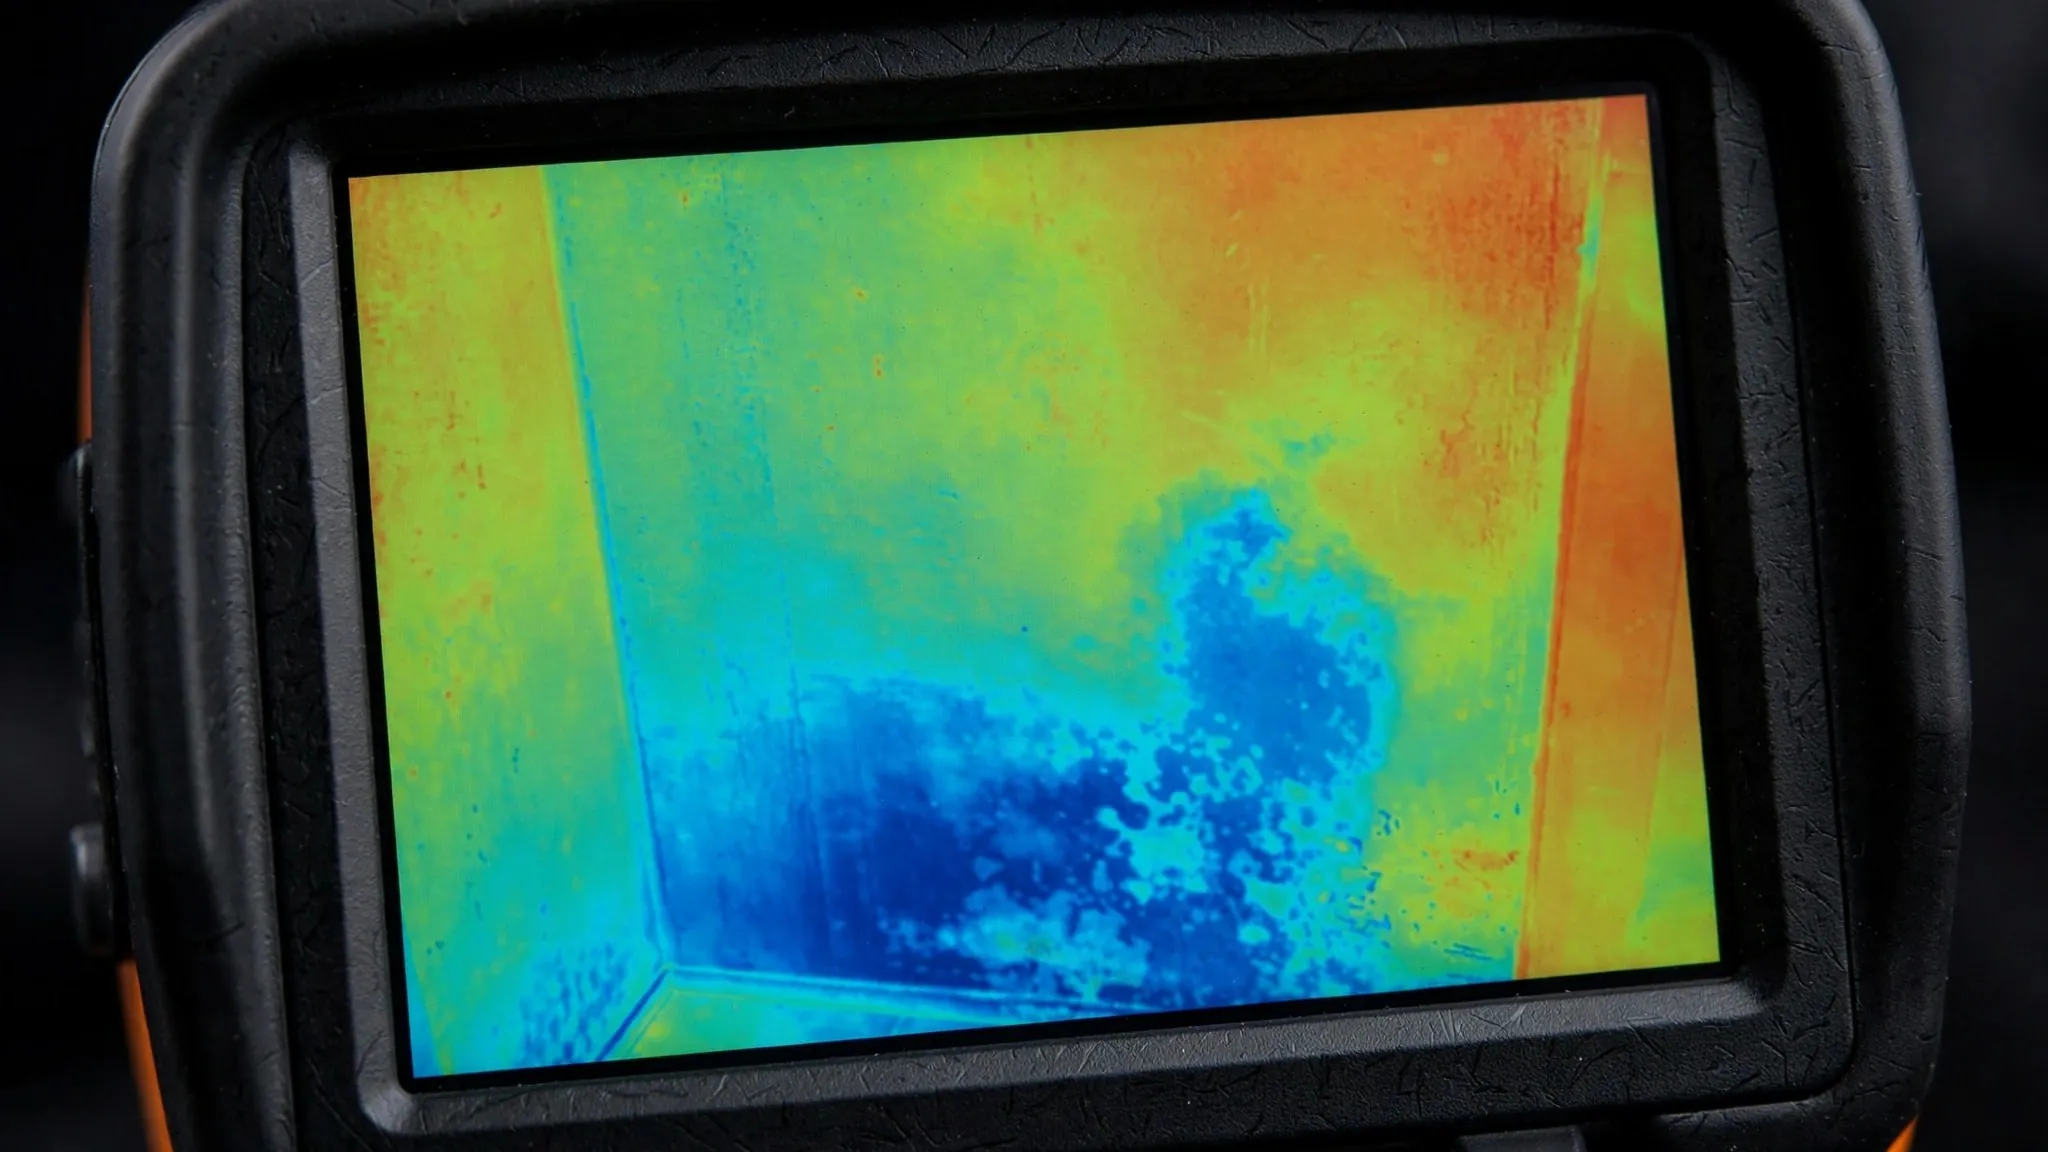
- Thermal screening (when applicable) — rapid large-area scan identifying anomalous zones.
- Moisture mapping — defining the wet area's extent with meters.
- Acoustic survey — listening along the pipe's route for the break's signature.
- Visual inspection — meter, cleanouts, valve boxes, equipment areas, and accessible plumbing.
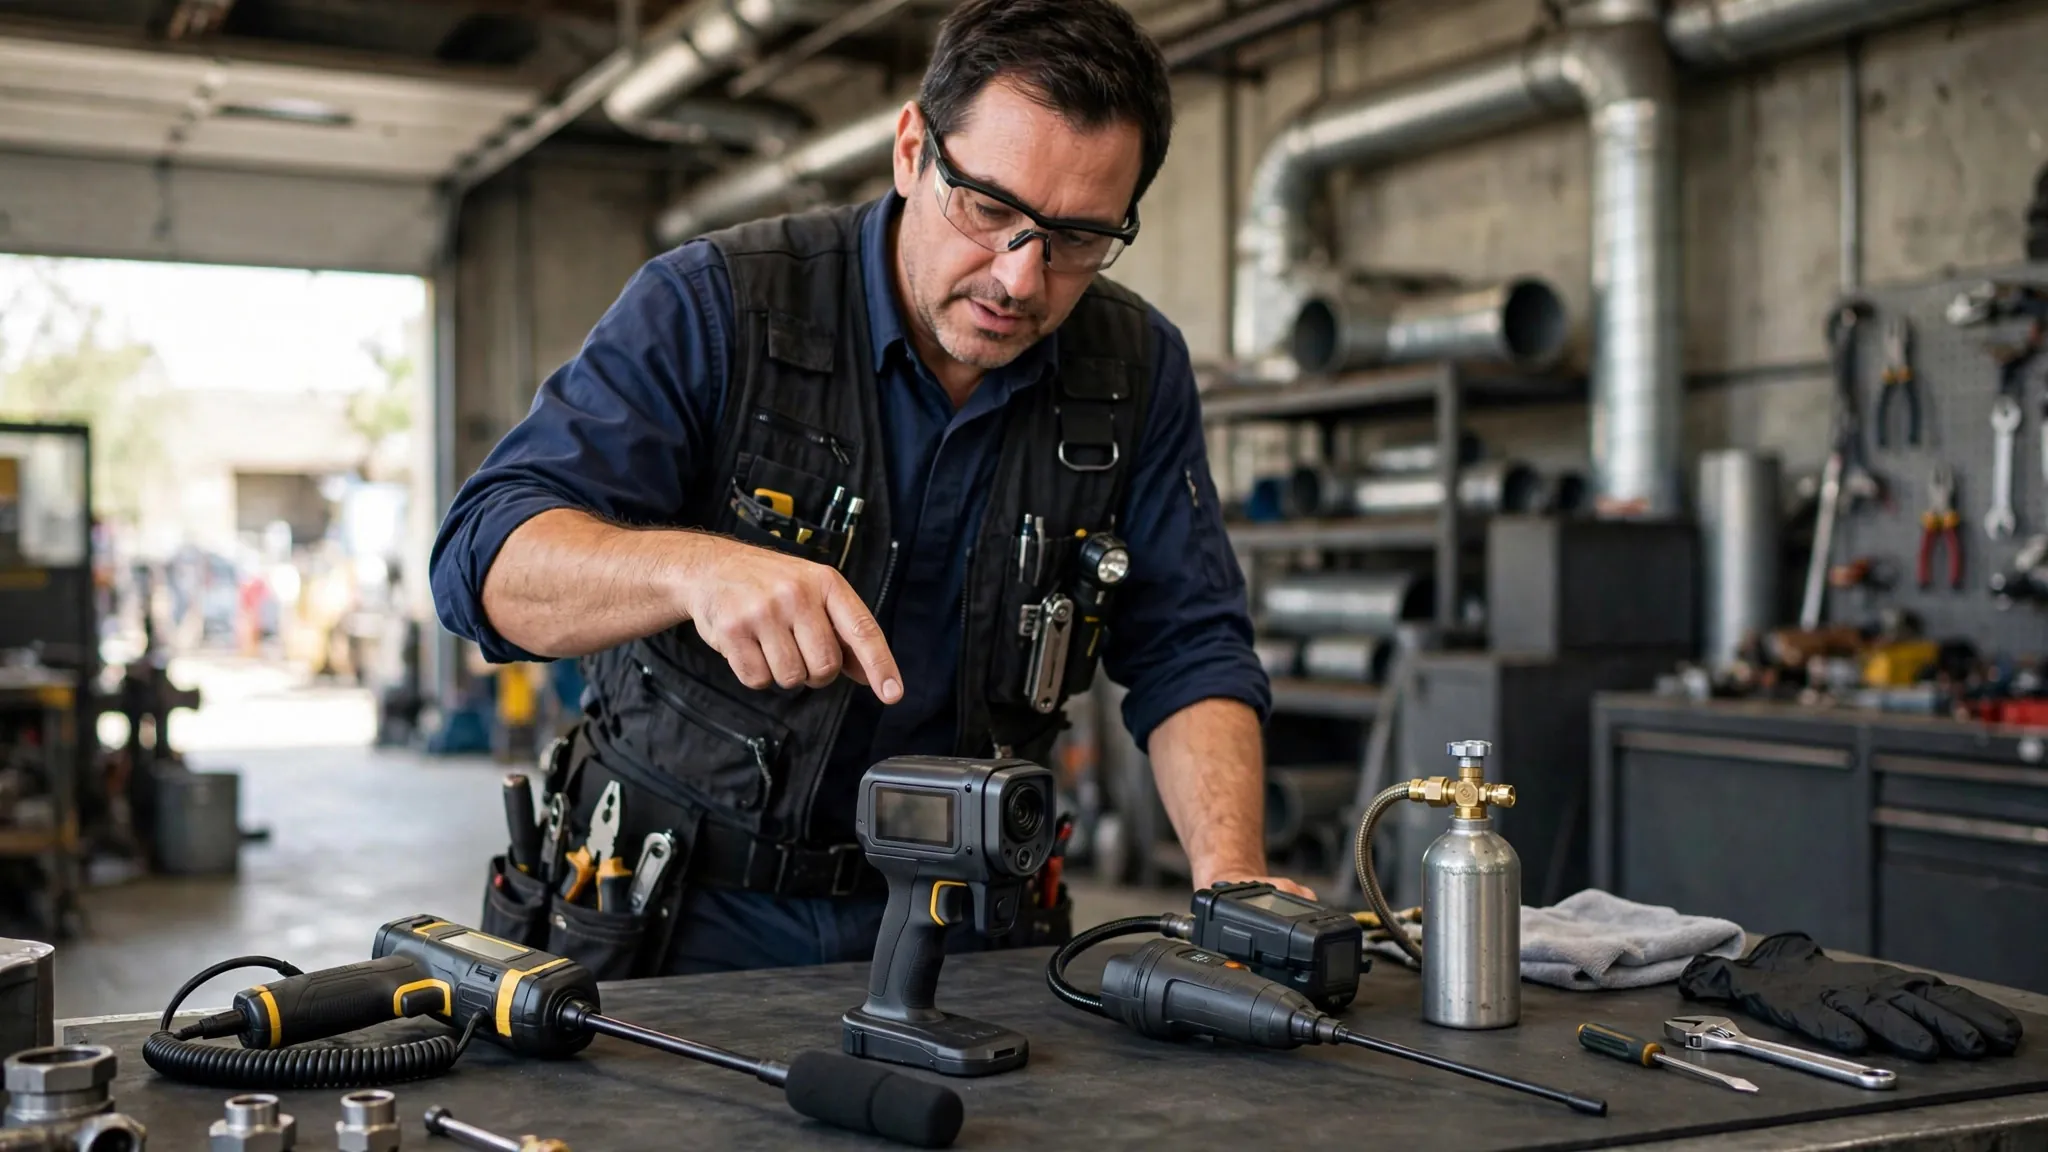
The survey is methodical, not random — it follows the pipe's logical route and the symptoms' pattern. Expect the technician to explain what they are doing and why; professional work is transparent.
Phase 3: Pinpointing
As methods converge on a location, the technician narrows the focus:
- Cross-verification: confirming with a second method (acoustic peak + thermal anomaly + tracer gas, as appropriate).
- Refinement: tightening the survey grid around the convergence point.
- Elimination: ruling out adjacent areas — confirming where the leak is not, not just where it is.
This phase distinguishes professional detection from single-tool scanning — the discipline of verification before conclusion.
Phase 4: Marking And Documentation
- Physical marking: the leak location marked with tape, paint, or flags — visible and unambiguous.
- Photographs: the marked location, thermal images, moisture readings, and relevant conditions.
- Measurements: distances from reference points (walls, fixtures) for precise relocation.
- Moisture boundaries: the wet area's extent marked or mapped for repair scope.
The Report You Receive
A professional report includes:
| Report Element | What It Contains | Who Uses It |
|---|---|---|
| Methodology | Which methods, why selected | You (evaluating thoroughness) |
| Findings | Leak location(s), marked and measured | Your plumber (guiding repair) |
| Moisture maps | Wet area boundaries | Your plumber (defining scope) |
| Photographs | Thermal, visual, marked locations | You + insurer (documenting) |
| Repair guidance | Recommended approach and scope | Your plumber (planning work) |
| Limitations | What was/was not covered | You (understanding boundaries) |
After The Visit: Next Steps
- Review the report — understand the findings and recommendations.
- Engage a plumber — the report guides a targeted repair (share the full report, not just the location).
- Document for insurance — if filing a claim, the report is your primary evidence.
- Monitor post-repair — verify the fix (bill trending, symptom resolution).
Evaluating Professionalism: Red Flags And Green Flags
| Green Flag | Red Flag |
|---|---|
| Thorough interview before instruments | Straight to tools without questions |
| Multiple methods deployed | Single tool for every situation |
| Explains the process as they work | Opaque; will not explain findings |
| Marks location + provides written report | Verbal location only; no documentation |
| Discusses limitations honestly | Guarantees precision without caveats |
| Camera/reports for underground work | Recommends digging without location evidence |
For detection methods compared and slab detection detail, see our companion guides.
Commercial Visits: Additional Considerations
- Scheduling: off-hours or phased to avoid operational disruption — specify your constraints when booking.
- Access coordination: facility manager involvement; tenant notification; security and alarm procedures.
- Documentation: reports formatted for insurance, compliance, and multi-stakeholder distribution.
- Scale: larger areas surveyed systematically in zones; the methodology scales, the scheduling extends.
Preparing A Commercial Property
- As-built drawings: pipe routes, shutoff locations, and system maps accelerate the survey enormously.
- Operational schedule: the quietest periods for acoustic work; blackout periods to avoid.
- Key contacts: who can authorize access, answer system questions, and receive findings.
- Prior reports: previous leak, plumbing, or inspection reports provide history.
As-Builts Are Gold
For commercial properties, as-built drawings showing pipe routes transform the survey from exploration to verification. If you have them, provide them; if you do not, consider having the pipe routes mapped during the visit for future reference.
When Multiple Visits Are Needed
- Intermittent leaks: scheduled when the leak is active (if the pattern is predictable).
- Tracer gas follow-up: initial survey marks the zone; a second visit with tracer gas pinpoints (sometimes same-day).
- Large properties: phased surveys across multiple sessions.
- Verification visits: post-repair confirmation that the leak is resolved.
Questions To Ask Your Detection Provider
- Which methods will you use, and why are they appropriate for my situation?
- What will I receive — marked location, written report, photos, moisture maps?
- What are the limitations — what might you not be able to determine?
- How do you handle situations where methods disagree?
- What is your experience with this type of leak and property?
The answers reveal professionalism — specific, honest, and methodical beats vague, guaranteed, and rushed. For methods compared and commercial detection, see our companion guides.
Understanding Detection Pricing
| Factor | How It Affects Price | What To Ask |
|---|---|---|
| Property size | Larger areas take longer | Is pricing by area or flat? |
| Methods deployed | More methods, more time | Which methods are included? |
| Complexity | Multiple sources take longer | How do you handle complex cases? |
| Commercial vs residential | Commercial scheduling costs more | Is commercial pricing different? |
| Report detail | Comprehensive reports take time | What does the report include? |
Red Flags: When To Walk Away
- Guaranteed location before surveying: no honest professional guarantees before investigating.
- Single method for all situations: indicates limited capability, not specialization.
- No written report offered: the report is the deliverable; its absence is unprofessional.
- Pressure to excavate immediately: detection should precede excavation, not follow it.
- No questions asked: the interview is essential; its absence indicates a scan-and-go operator.
Follow-Up After The Visit
- Share the report with your plumber — the full document, not just the location.
- Keep a copy for your records and potential insurance claims.
- Verify the repair — post-repair confirmation that the leak is resolved (bill trending, symptom resolution).
- Provide feedback — your experience helps the provider improve and helps future customers choose.
Detection Warranties And Guarantees
- Location accuracy: reputable providers stand behind their marked locations — ask about the policy if the mark proves wrong.
- No-find scenarios: understand the terms if the leak cannot be located — honest providers have clear policies.
- Report guarantee: the written report should be included, not an add-on.
For methods compared, see our companion guide. Professional detection when you are ready.
The Key Takeaway
A professional detection visit is methodical, transparent, and non-destructive — the opposite of exploratory demolition. Your preparation (water on, access clear, history ready) maximizes its value; the provider's professionalism (interview, multiple methods, written report) determines its quality. Know what to expect, evaluate what you receive, and use the report to guide precise repair. The visit is the bridge between mysterious symptoms and targeted solution.
One last note: trust the process. Professional detection can feel slow — the interview, the systematic survey, the cross-verification — but each step exists because skipping it causes errors. The technician who takes time to be thorough is the one who gets it right.