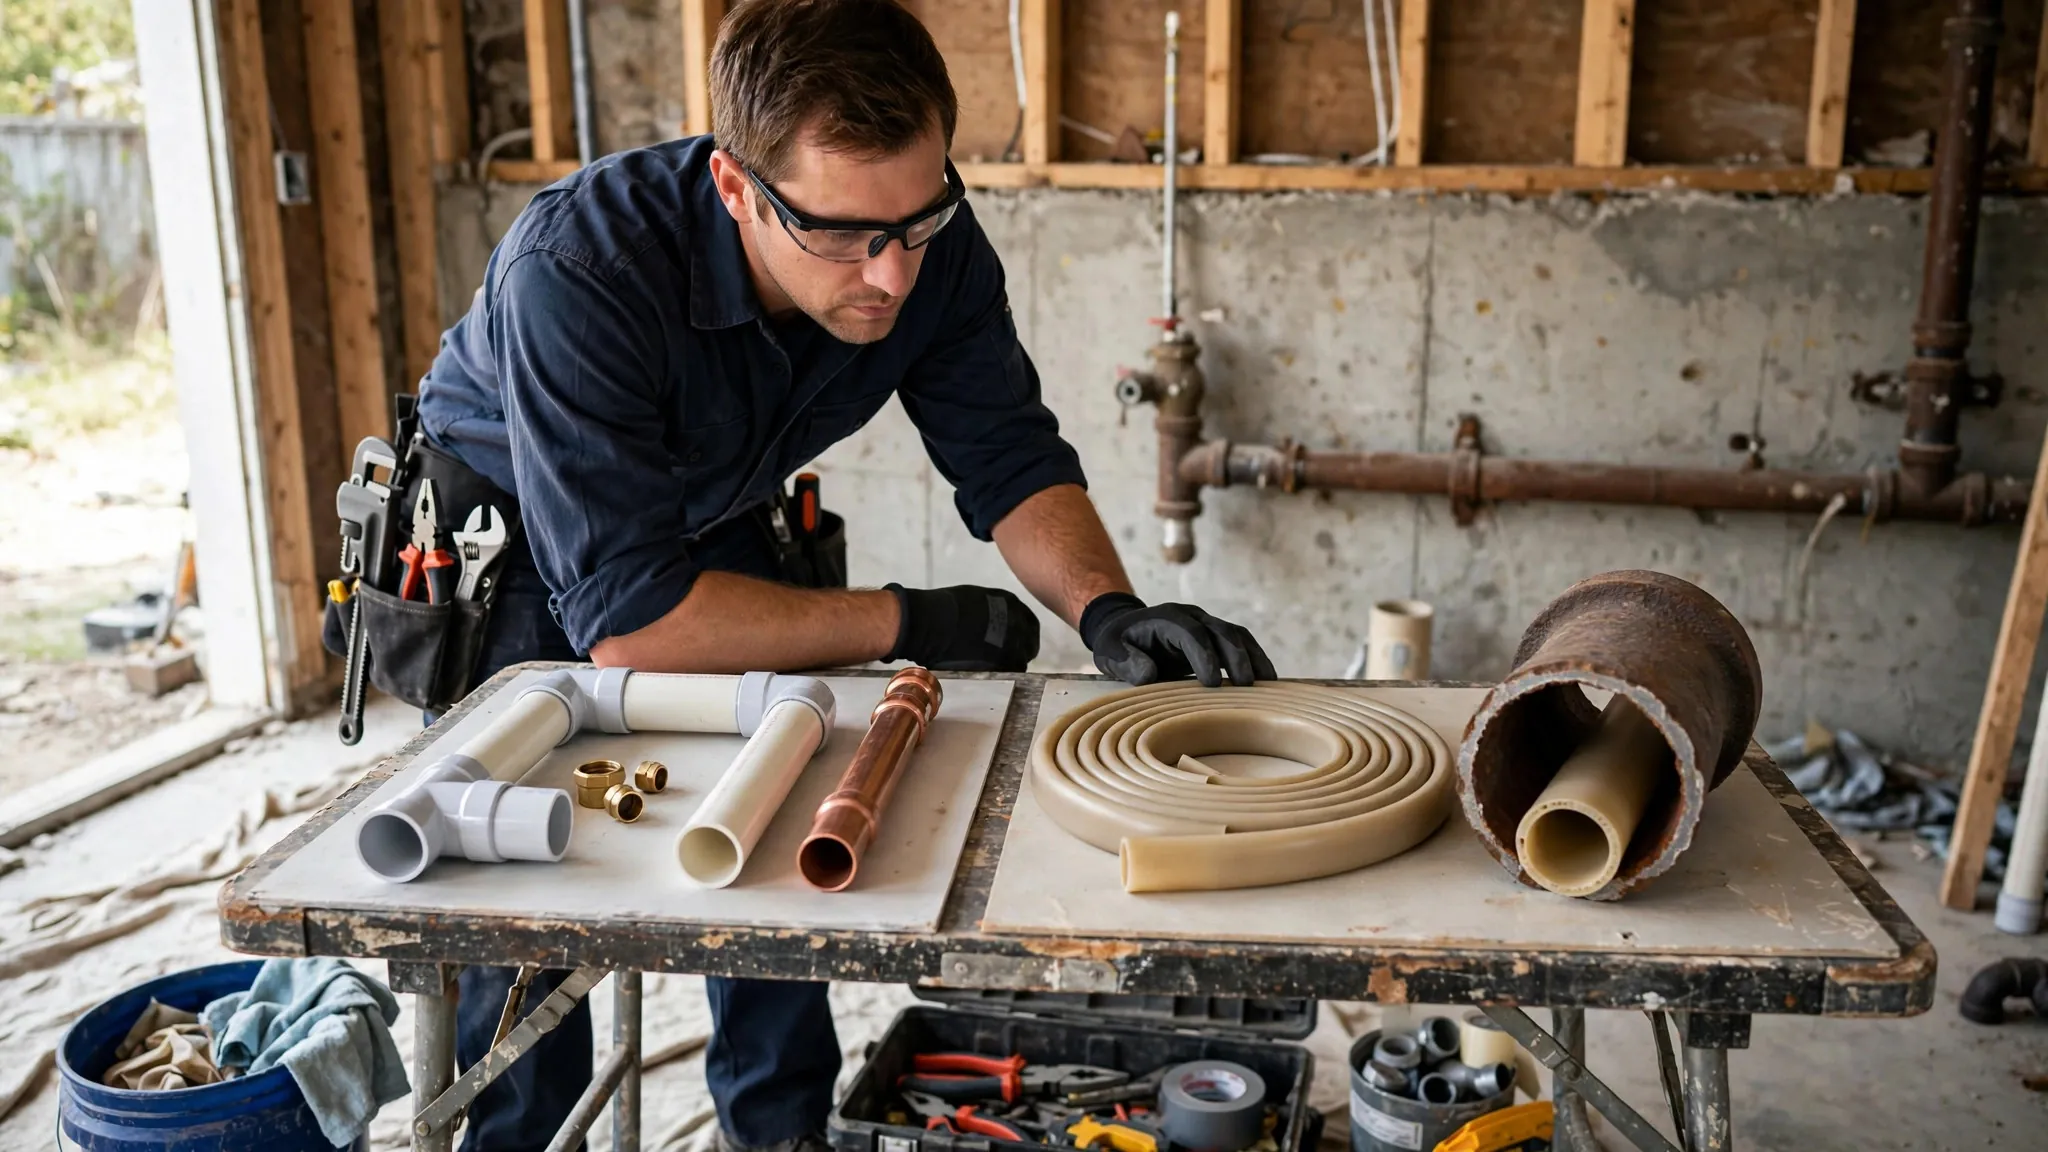
Once a slab leak is located, three repair approaches exist: spot repair (open the slab at the marked break and fix that section), rerouting (abandon the under-slab line and run a new line overhead through walls or attic), and epoxy lining (coat the pipe interior trenchlessly, sealing the break from inside). Spot repair is usually cheapest for a single, accessible break in otherwise sound pipe. Rerouting suits aging systems with multiple weak points. Epoxy lining renews the pipe without demolition when the pipe qualifies. The right choice depends on break location, pipe condition, and long-term plans — understand all three before authorizing work.
Quick Answer
Spot repair fixes the single break through a small slab opening — cheapest when the rest of the pipe is sound. Rerouting abandons the under-slab line entirely for a new overhead run — best for aging systems with multiple weak points. Epoxy lining coats the pipe interior trenchlessly — ideal when the pipe qualifies structurally and you want no demolition. Your plumber's recommendation should follow pipe condition, not habit.
Spot Repair: Fix The Break Where It Is
Spot repair means opening the slab at the precisely marked break — typically a 2×2-foot section — exposing the pipe, cutting out the failed segment, and installing new pipe with proper couplings. The concrete is then patched and the flooring restored.
Best when: a single break in otherwise sound pipe; the break is accessible (not under load-bearing walls or expensive flooring); the pipe's age and condition suggest isolated failure rather than systemic decay.
Watch for: spot repair fixes one break — if the pipe is systemically corroded, the next pinhole may appear months later a few feet away. A reputable plumber assesses overall pipe condition, not just the break.
Rerouting: Abandon The Slab Line Entirely
Rerouting abandons the under-slab line and runs a new pipe overhead — through walls, ceilings, or attic — from source to fixtures. The old line is capped and left in place; the new line is fully accessible for any future work.
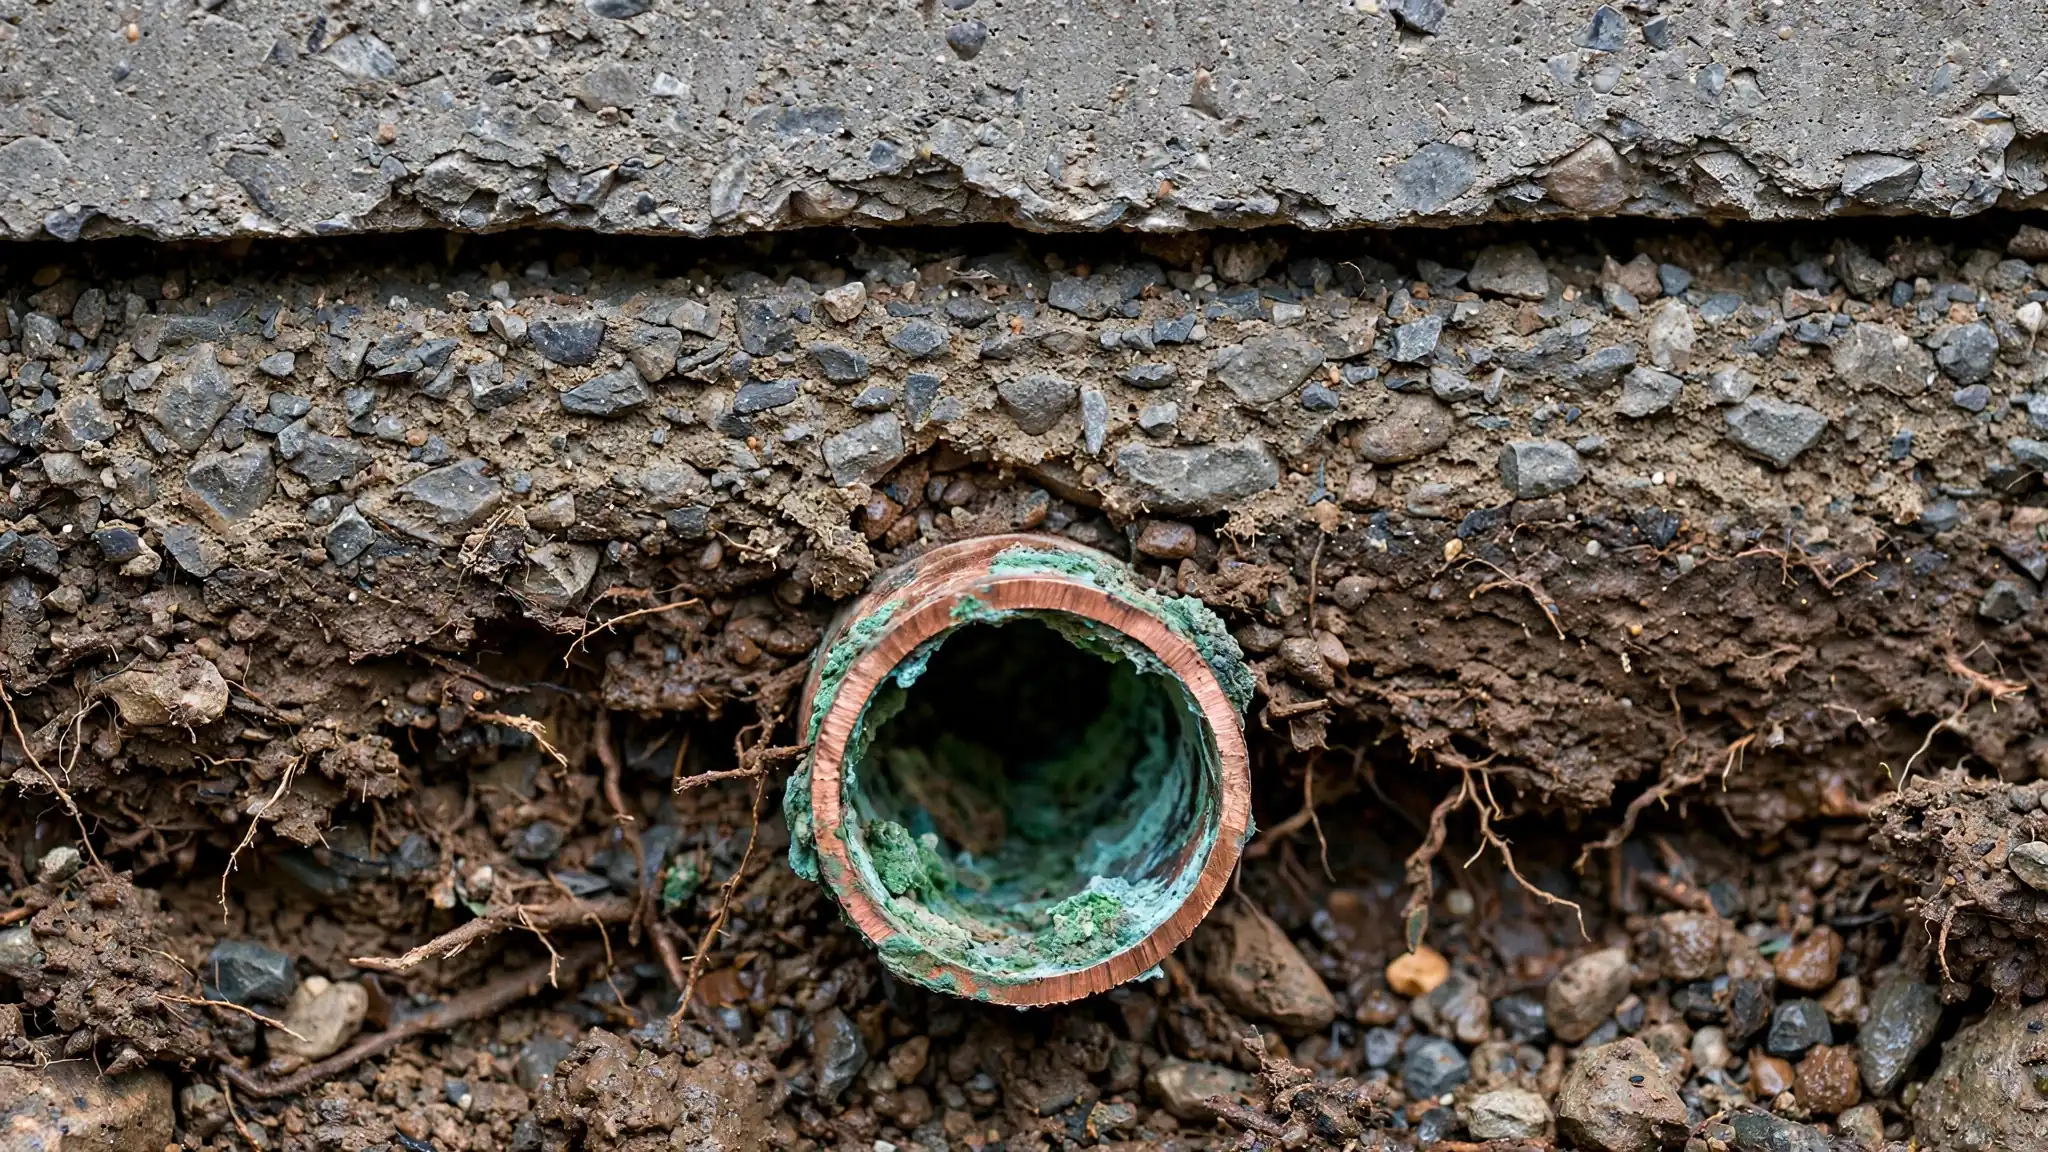
Best when: multiple leaks or systemic corrosion; the break sits under an inaccessible area; you want the problem permanently out from under the slab. Reroutes also allow material upgrades (e.g., PEX, which resists the corrosion that killed the copper).
Watch for: rerouting costs more upfront and involves opening walls/ceilings — but it ends the under-slab leak cycle permanently for that line.
Epoxy Lining: Trenchless Renewal
Epoxy pipe lining (cured-in-place pipe) coats the interior of the existing pipe with an epoxy resin that hardens into a new pipe-within-a-pipe, sealing breaks and pinholes from the inside — with no slab demolition at all.
Best when: the pipe is structurally sound enough to host the liner (no collapses, adequate diameter, accessible entry points); you want minimal disruption; the leak pattern suggests the pipe is worth saving rather than abandoning.
Watch for: not every pipe qualifies — collapsed sections, severe bellies, or inadequate diameter rule it out. A camera inspection determines candidacy honestly.
The Detection Dividend
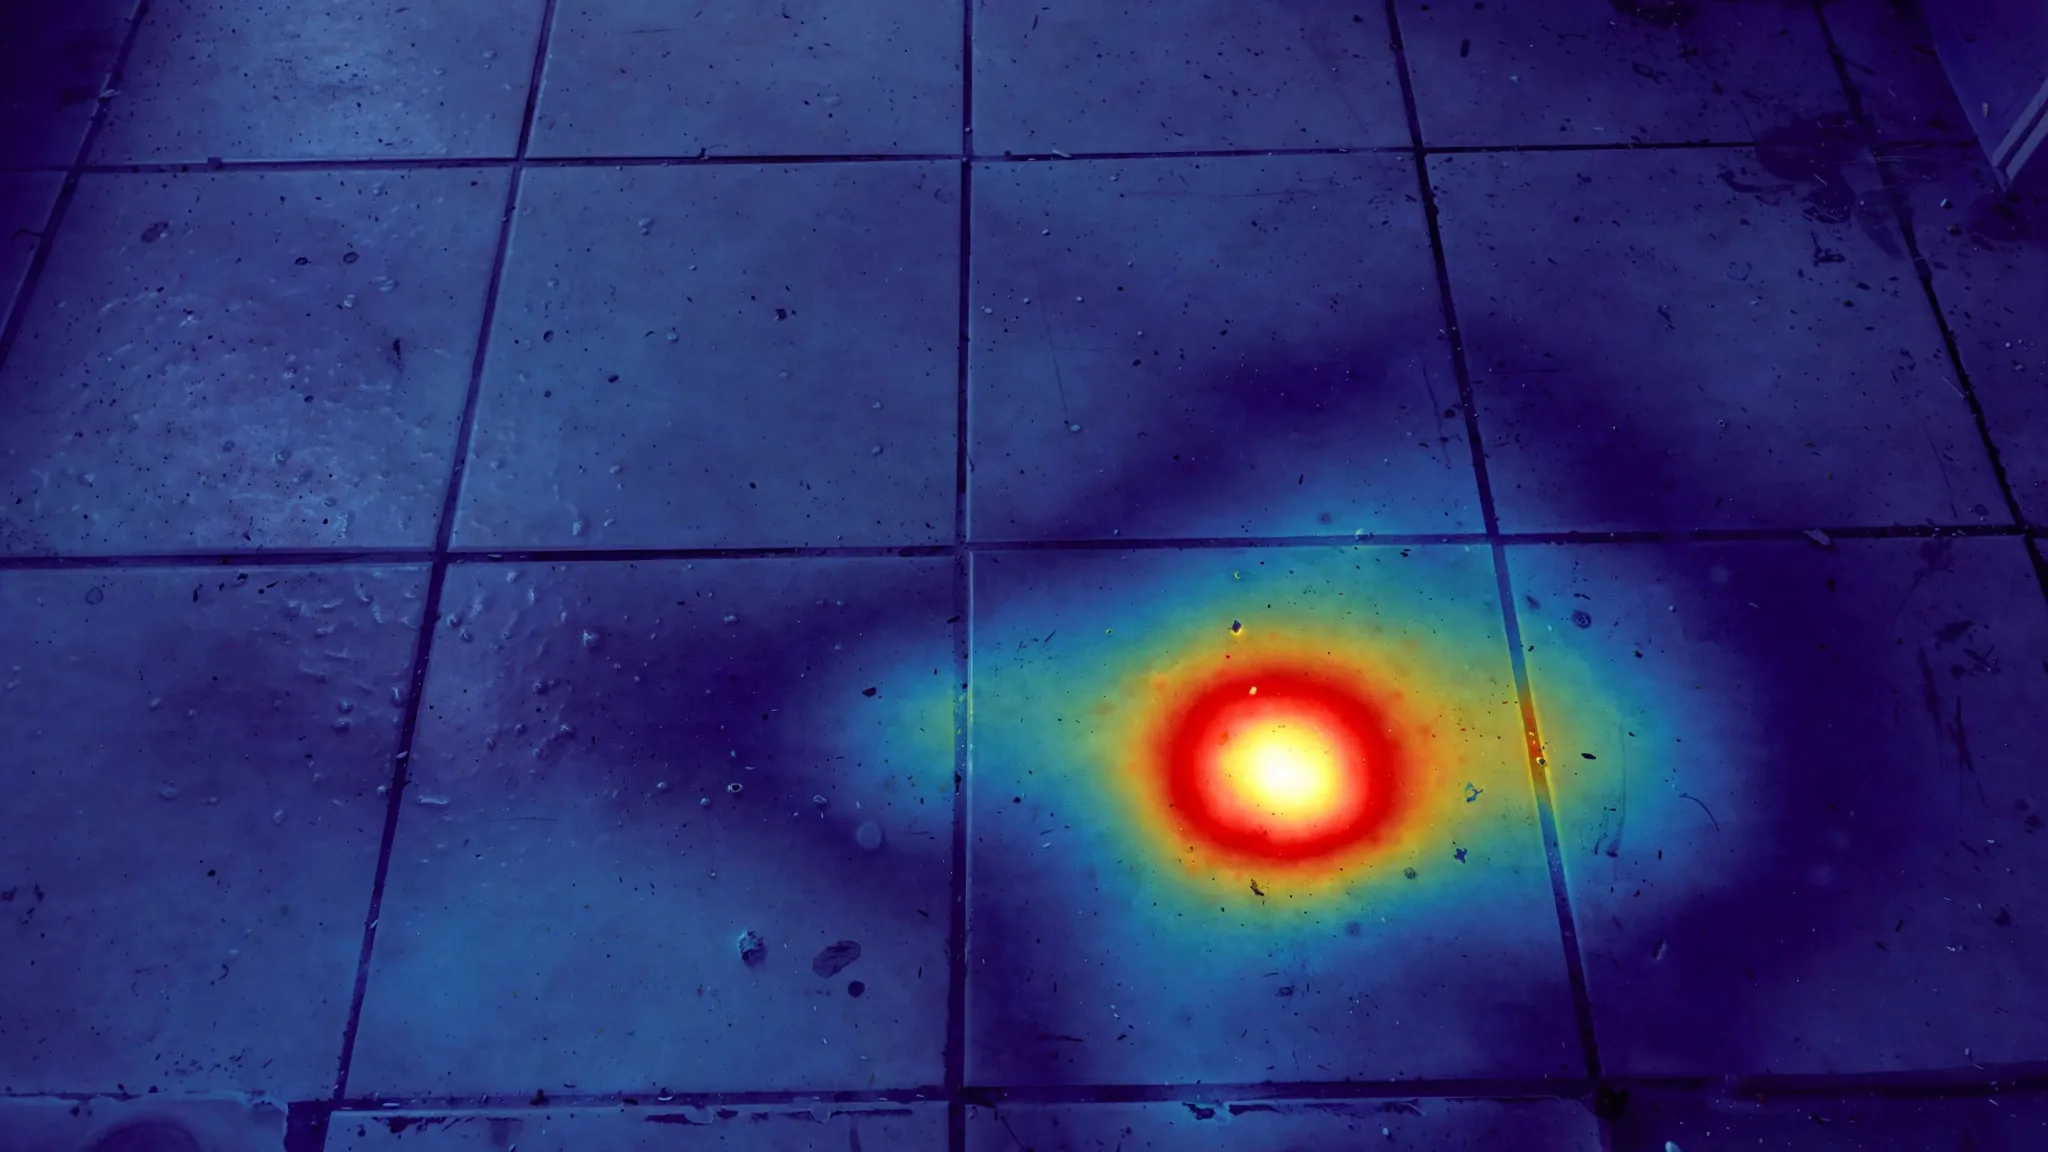
Whichever option you choose, precise detection pays for itself: a spot repair at an exact mark needs a small opening; a reroute designed around a known break avoids exploratory work; lining candidacy requires knowing the pipe's condition. Detection first, repair second — always.
Head-To-Head Comparison
| Factor | Spot Repair | Rerouting | Epoxy Lining |
|---|---|---|---|
| Slab demolition | Small opening at the break | None | None |
| Wall/ceiling opening | Usually none | Yes — new pipe route | Minimal — access points only |
| Best for | Single break, sound pipe | Aging system, multiple weak points | Sound-structure pipe worth saving |
| Disruption | Localized | Moderate — new routing | Minimal |
| Future access | Pipe remains under slab | New line fully accessible | Renewed pipe under slab |
| Addresses systemic corrosion | No | Yes — line abandoned | Yes — pipe renewed inside |
Choosing The Right Option
Ask your plumber these questions — the answers reveal which option fits:
- What is the pipe's overall condition? (Camera or pressure assessment — one break vs. systemic decay.)
- Where exactly is the break? (Accessibility drives the spot-repair calculus.)
- How old is the system, and what is the water chemistry? (Aggressive water + old copper = recurrence risk.)
- Does the pipe qualify for lining? (Diameter, structural integrity, access — answerable by inspection.)
- What are the total costs including restoration? (Flooring, concrete, and finish restoration often exceed the plumbing itself.)
Be wary of any contractor who recommends only one option for every situation — the right answer depends on your pipe, not their specialty.
What The Process Looks Like
Typical sequence: detection (locate and mark — professional slab leak detection), assessment (pipe condition, option comparison, written estimate), repair (the chosen method, usually one to three days), restoration (concrete patch, flooring, finishes). If the break is active and damaging, our emergency service handles the urgent phase 24/7 while the repair is planned.
Understanding Cost Factors
Repair costs vary widely — but the factors are consistent. What drives the price of each option:
- Spot repair: break accessibility (under a closet vs. under a kitchen island), flooring type and restoration cost, concrete thickness, and whether the pipe needs partial rerouting to reach sound material.
- Rerouting: distance of the new run, wall/ceiling access and restoration, material choice (PEX vs. copper), and whether multiple lines are rerouted together.
- Epoxy lining: pipe length and diameter, number of access points needed, pre-cleaning requirements, and candidacy work (camera inspection).
Restoration often exceeds plumbing. Concrete patching, flooring replacement, and finish work can surpass the pipe repair itself — get restoration itemized in every quote, not assumed.
Questions To Ask Every Contractor
- What is the pipe's overall condition — and how did you assess it?
- Why is this option right for my situation, specifically?
- What does the quote include and exclude — detection, concrete, flooring, finishes, permits?
- What warranty covers the work, and what voids it?
- How will you protect the rest of the home during work (dust, water shutoffs, access)?
- What is the timeline — work days, curing, restoration, return to normal?
- Can you provide references for this specific repair type?
Beware The Single-Option Contractor
A contractor who recommends the same repair for every slab leak — regardless of pipe condition, break location, or your situation — is selling their specialty, not solving your problem. The right option follows diagnosis, not habit.
After The Repair: What To Monitor
- Meter verification — run the 2-hour test post-repair; zero flow confirms success.
- Warm-zone resolution — the warm spot fades as the slab dries (days to weeks, depending on saturation).
- Bill normalization — the next full billing cycle should reflect normal usage.
- Systemic vigilance — if the pipe was aging, schedule the monitoring habits (pressure checks, meter glances) that catch the next break early.
A successful repair ends with verification, not assumption — the meter test is the receipt.
Realistic Timelines
How long each option actually takes, including the parts contractors sometimes understate:
- Spot repair: detection to marked break (1 visit); slab opening and pipe repair (1 day); concrete cure (days); flooring restoration (days to weeks depending on material matching). Total disruption: 1–3 weeks wall-clock, 1–2 days of active work.
- Rerouting: design and permitting (days); pipe installation with wall/ceiling access (1–3 days); drywall and finish restoration (1–2 weeks). Total: 2–4 weeks, with water shutoffs scheduled in windows.
- Epoxy lining: candidacy inspection (1 visit); cleaning and lining (1–2 days); cure and verification (days). Total: 1–2 weeks, minimal interior disruption.
Ask every contractor for the wall-clock timeline, not just work days — curing, material orders, and restoration scheduling dominate the calendar.
Contractor Red Flags
- Recommends a repair method before detection is complete.
- Cannot explain why this option fits your pipe condition.
- Quote excludes restoration (concrete, flooring, finishes).
- No written warranty or vague warranty terms.
- Pressure to decide immediately (true emergencies excepted).
- No references for this specific repair type.
The Decision Framework
Work through these questions in order — the answers converge on the right option:
- How many breaks? One → spot repair viable; multiple → reroute or lining.
- Pipe condition? Sound otherwise → spot repair; systemic corrosion → reroute or lining.
- Break location? Accessible → spot repair; under inaccessible areas → reroute or lining.
- Lining candidacy? Qualifies → consider lining's minimal disruption; does not qualify → spot repair or reroute.
- Long-term plans? Staying decades → invest in the systemic fix; selling soon → the targeted fix may suffice (disclosed honestly).
Discuss the framework with your slab leak professional — and review how the break was located to understand the precision behind the recommendation.
No Universal Answer
The right repair is a function of your pipe, your break, and your plans — not a ranking of methods. A good contractor walks the framework with you; a bad one starts with the answer.
One final consideration: timing. A located, non-emergency slab leak still deserves prompt scheduling — every week of delay is water loss, however small, and the psychological cost of living with a known leak. But prompt does not mean rushed: the days spent getting a second quote and checking references are well invested. The right repair, done once, by the right contractor, is the cheapest outcome over the life of your home. Understanding what causes slab leaks helps prevent the next one.