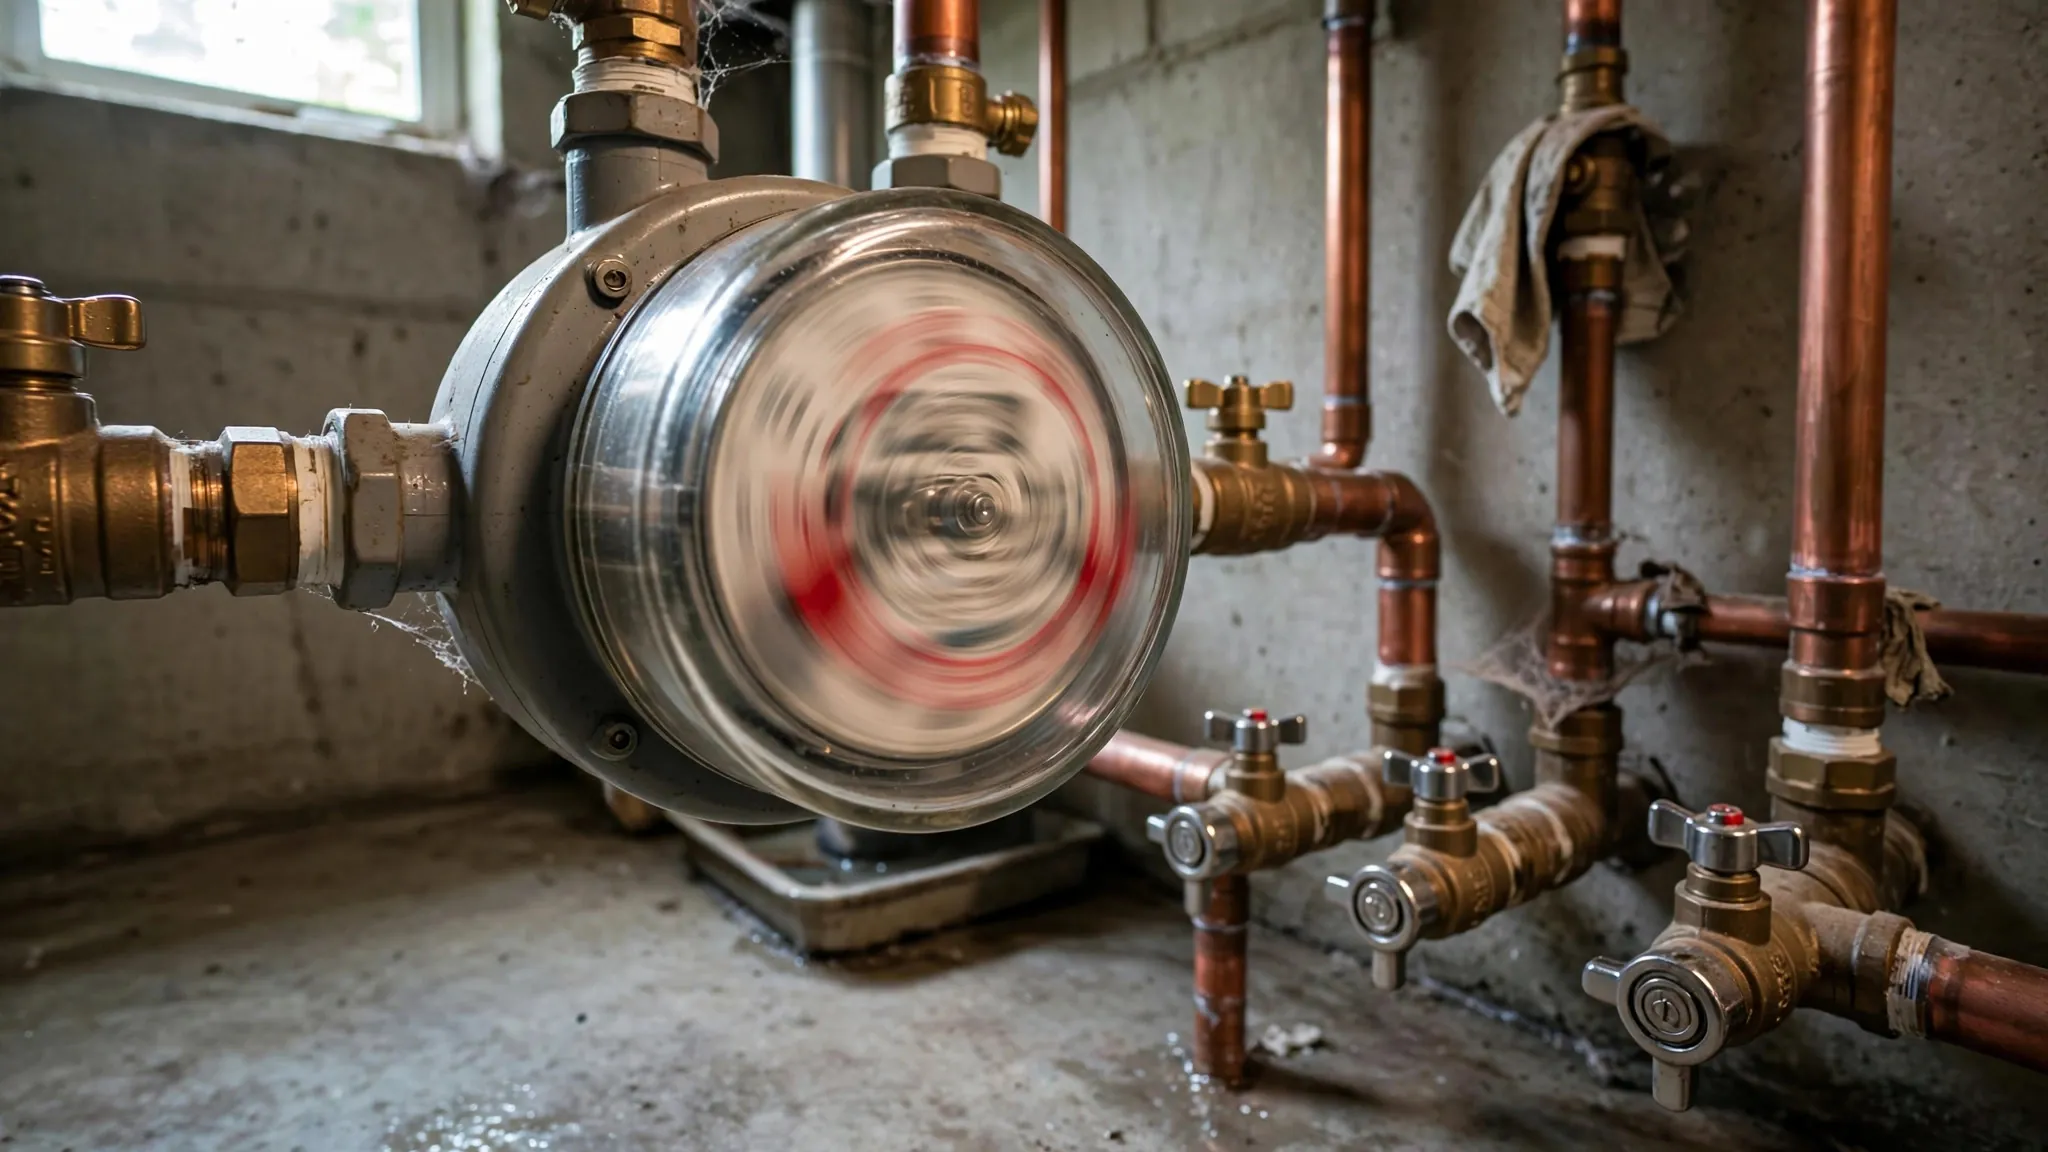
The 2-hour water meter test is the definitive DIY leak check: you record your water meter reading, ensure zero water use for two hours, then re-read. Any movement means a leak exists somewhere in your system — no ambiguity, no special tools. The amount of movement quantifies the leak rate, telling you whether you are chasing a toilet flapper or a pressurized break. It is the same first step professionals use, and it costs nothing.
Quick Answer
Turn off everything that uses water, record the meter's exact odometer reading (photograph it), wait two full hours with zero water use, and re-read. Any increase confirms a hidden leak; the gallons-per-hour rate indicates severity. A tiny creep suggests a toilet or drip; rapid movement suggests a pressurized break needing professional detection.
The Exact Steps
- Pick your window. Two consecutive hours with zero water need — overnight or midday while everyone is out work best.
- Shut down automatic consumers. Ice maker off, irrigation controller off (or in rain-delay), water softener regeneration postponed, humidifiers off. These are the classic false positives.
- Verify fixtures are idle. Every toilet tank full and silent, no taps dripping, dishwasher and laundry done.
- Record the starting reading. Open the meter box, photograph the full odometer register with a timestamp. Note the exact time.
- Wait two full hours. No flushing, no taps, no ice, no irrigation. (Warn the household.)
- Re-read and photograph. Same register, timestamped photo. Compare.
Photograph Everything
Timestamped photos of both readings are your evidence — for your own certainty, for billing disputes with the utility, and for insurance if the leak caused damage. Memory is unreliable; photos are not.
Ensuring True Zero Use
The test is only valid if literally no water is used during the window. The forgotten consumers that invalidate tests:
- Ice makers — cycling silently, drawing water unpredictably.
- Water softeners — regeneration cycles run hundreds of gallons, often at 2 AM.
- Irrigation controllers — scheduled zones, rain sensors notwithstanding.
- Humidifiers and swamp coolers — float-valve refills.
- Toilet phantom refills — a leaking flapper refills the tank periodically; this is a leak, but note it as the likely cause rather than a test failure.
Interpreting The Results
- Zero movement: no continuous leak during the window. If the bill still says otherwise, suspect intermittent causes (softener, irrigation schedules) or billing issues — and consider repeating the test overnight.
- Tiny creep (a gallon or two): small continuous leak — toilet flapper, dripping fixture, or weeping supply. Annoying and bill-relevant, but not structural.
- Steady, significant movement: pressurized leak — slab break, underground line, or major fixture failure. This needs professional detection.
What The Leak Rate Tells You
Divide gallons moved by hours elapsed. Rough interpretation:
- Under ~1 gallon/hour: small leak — toilets, drips, weeps. Fix the fixture.
- Several gallons/hour: moderate leak — running toilet, stuck valve, or small pressurized break.
- Many gallons/hour: major pressurized break — slab, buried line, or burst pipe. Urgent.
Multiply by 720 (hours per month) for the monthly volume hitting your bill — the number that converts "is it worth calling?" into arithmetic.
What To Do With A Positive Result
- Isolate by zone. Shut off toilet supply valves one at a time and re-check the flow indicator; then irrigation; then the water heater. Each elimination narrows the search.
- Check the usual hidden suspects. Slab leak signs, underground signs, meter box water.
- Call a professional when flow persists with fixtures isolated — high-bill leak investigation traces it with acoustic and thermal equipment.
Common Mistakes
- Too short a window. Thirty minutes misses slow leaks; two hours is the standard for a reason.
- Forgetting automatic devices. The #1 invalidator — softeners and ice makers especially.
- Eyeballing instead of photographing. Small movements are easy to misread; photos do not lie.
- Testing during high-use hours. Morning routines guarantee false positives; choose genuine zero-use windows.
- Stopping at "positive." The test confirms a leak exists — isolation and detection find where. Do not stop halfway.
Interpreting Edge Cases
Not every test result is textbook. Edge cases and what they mean:
- Meter moved 1 gallon in 2 hours: tiny leak — likely a toilet flapper or weeping valve. Dye-test toilets first; the economics favor fixture fixes.
- Meter moved, then stopped on retest: intermittent cause — softener regeneration, irrigation valve, or T&P discharge on a schedule. Log the timing; patterns are diagnostic.
- Large movement, no symptoms anywhere: buried or slab break with no surface expression yet — the most dangerous kind, because damage accrues invisibly. Professional detection promptly.
- Movement only at night: scheduled automatic device (softener, irrigation) — check programming before suspecting leaks.
- Zero movement but bill still high: billing artifact (estimate, rate change, tier jump) or a leak that has since been fixed — audit the bill, not the pipes.
Advanced: Zone Isolation During The Test
For a more informative test, combine the 2-hour window with sequential isolation:
- Start the test with everything normal — record the baseline leak rate.
- At the midpoint, shut off all toilet supply valves — note any rate change.
- Then shut the irrigation main — note again.
- Then the water heater inlet — note again.
Each step's rate change quantifies that zone's contribution. A test that goes from 5 gal/hr to 0 when toilets close has named its culprit; one that stays at 5 gal/hr through every isolation has proven a hidden-line break. This is essentially the professional's triage, done with patience instead of equipment.
Patience Beats Equipment (Up To A Point)
Sequential isolation finds zone-level answers with zero tools — but it cannot pinpoint within a zone. When isolation proves 'hidden line,' the professional's acoustic and thermal equipment takes over where patience ends.
Keeping Test Records
Every test deserves a record: date, start/end times, start/end readings (photographed), household conditions, and conclusion. A file of test records is:
- Evidence for utility billing adjustments.
- Baseline data showing whether a leak is growing.
- Proof of diligence for insurance claims.
- The briefing document that makes a professional visit efficient.
Test Variants For Special Situations
- The overnight test: evening to morning readings — the longest practical window, maximum sensitivity for slow leaks. Ideal first test.
- The workday test: morning departure to evening return — 8–10 hours, excellent for households empty during the day.
- The 30-minute screening: not definitive, but a rapidly moving indicator in 30 minutes confirms a major leak immediately — no need to wait two hours when the answer is obvious.
- The vacation test: readings before departure and after return — catches leaks that ran for days, with the total volume documenting the loss.
Match the variant to your schedule — the principle (known zero-use window, before/after readings) is identical.
Teaching The Household
The test fails when someone forgets and flushes. Brief the household: what you are doing, why zero use matters, when the window starts and ends, and what breaks it (any tap, toilet, appliance, ice). A note on the bathroom door helps. For households with young children or memory-challenged members, the overnight test (everyone asleep) is the most foolproof variant.
Make It A Household Skill
The meter test is worth teaching every adult in the home — it is the fastest answer to 'is that bill real?' and the first step of every leak response. A household that knows the test never wonders; it checks.
Landlords: Testing Rental Properties
Property owners should run meter tests between tenancies (vacant properties are ideal zero-use windows), annually as preventive maintenance, and promptly when bills spike or tenants report symptoms. A test that reveals flow in a vacant unit proves a plumbing leak — not tenant usage — focusing maintenance correctly. Document results per property; trends across a portfolio reveal systemic issues (aging buildings, pressure problems) worth addressing at scale. For professional investigation of confirmed leaks, the test record is the work order's foundation.
Insurance Documentation Value
Insurers evaluating water-damage claims ask: when did the leak start, and did the homeowner act reasonably? A file of meter tests answers both — regular tests prove diligence; the first positive test dates the discovery; subsequent actions (calls, repairs) document reasonable response. In disputed claims, this paper trail distinguishes the careful homeowner from the negligent one. The test is free; its documentation value in a claim is substantial.
The meter test is the highest-value free diagnostic in home plumbing. It requires no tools, no expertise, and no appointment — just discipline about the zero-use window and honesty about the results. Make it your first response to every bill anomaly and your verification after every repair. In an industry where certainty is expensive, the meter test is certainty for free.
For households with smart meters, the test gains a digital dimension: many smart-meter portals show hourly usage graphs, letting you verify the zero-use window and see the leak rate visually. A flat zero line during your test window is the digital equivalent of a still indicator — and a sloped line quantifies the leak without manual arithmetic. Whether analog or digital, the principle is identical: controlled zero use, before-and-after comparison, honest interpretation.