When the bill spikes or the meter moves, work through the suspects in likelihood order: toilets (dye-test every tank — the most common cause), irrigation (run each zone and inspect), water heater T&P valve (check the discharge pipe), dripping fixtures, and only then hidden slab or underground leaks. This elimination order resolves most mystery bills in an afternoon — and when the usual suspects are cleared but the meter still moves, you have earned a professional investigation with confidence.
Quick Answer
Rule out causes in this order: dye-test all toilets (20 minutes, most common cause), run every irrigation zone and inspect for breaks, check the water heater's T&P discharge pipe, then fix any dripping fixtures. If the meter still shows flow with all suspects cleared, the leak is hidden — slab, underground, or service line — and needs professional acoustic/thermal detection.
The Elimination Order
Investigate in descending order of likelihood — not in order of worry. The statistics are clear: toilets cause the most mystery bills, irrigation is second, water heaters third, and hidden pressurized breaks, while the most damaging, are the least common. Working the list in order means the most likely answer gets checked first, and each cleared suspect sharpens the remaining diagnosis.
- Toilets (dye test — 20 minutes for the whole house)
- Irrigation (zone-by-zone run — 30 minutes)
- Water heater T&P discharge (2-minute check)
- Dripping fixtures and visible supply lines (walkthrough)
- Hidden lines (meter isolation → professional detection)
Toilets: The Dye Test
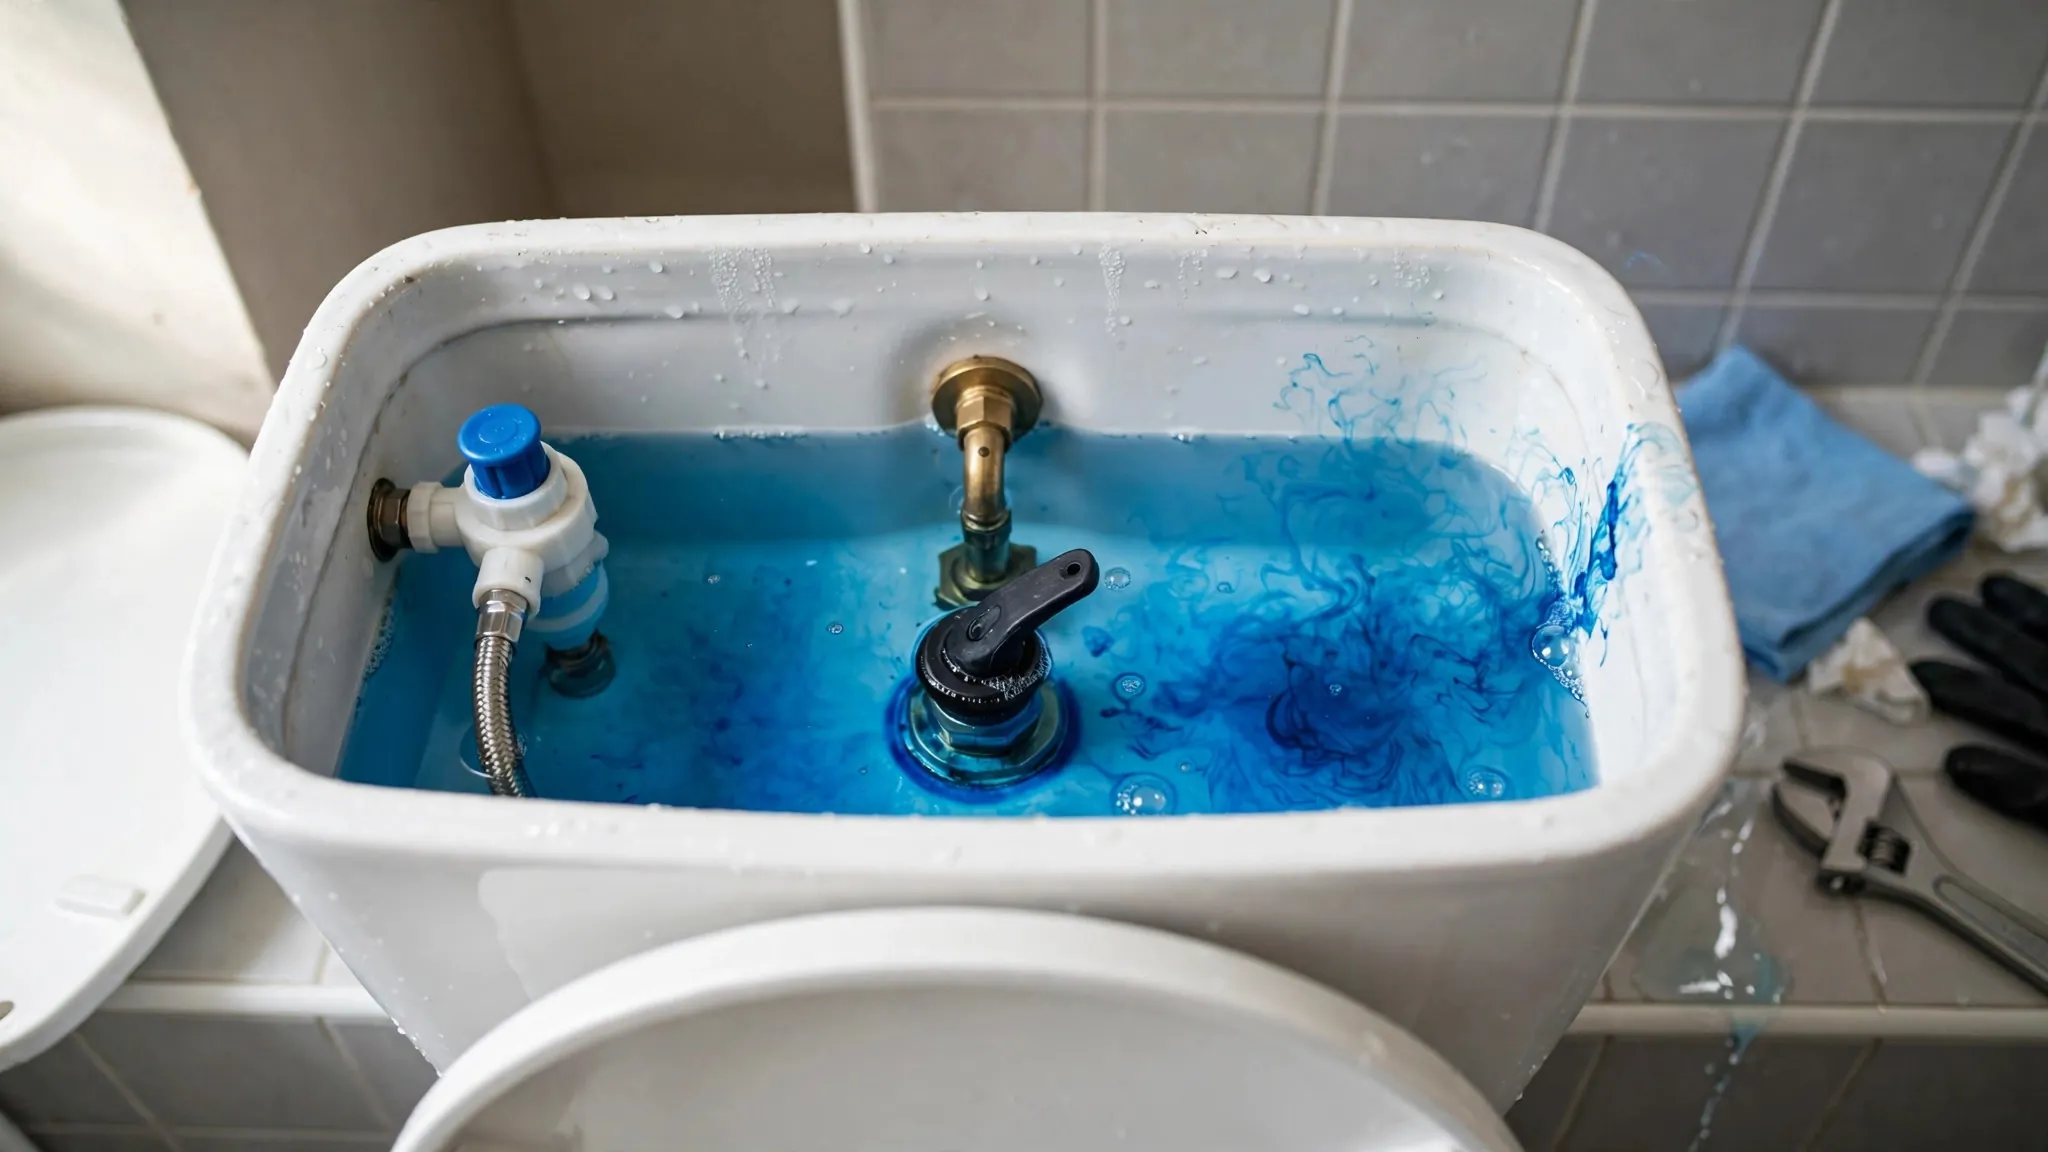
Remove each tank lid, add food coloring, wait 15–20 minutes without flushing. Color in the bowl = leaking flapper — water flowing tank-to-drain continuously. Also note phantom refills: the tank briefly refilling every few minutes without use, the audible signature of a slow flapper leak.
Check every toilet — multi-bath homes commonly have two failing at once, and the bill reflects their sum. Flappers are inexpensive and replaceable; fill valves similarly. If a dye test is positive, fix it, then re-run your meter test — the bill problem may be fully solved.
Do Not Skip Toilets
It is tempting to jump to dramatic hidden-leak theories. Resist it: the dye test takes 20 minutes and resolves the majority of cases. Every professional investigation starts here too — clear the obvious before funding the exotic.
Irrigation: Zone By Zone
Run each zone manually and walk it. Look for geysers or misting heads (broken heads), persistently soggy areas (broken lateral lines), heads that do not pop up (pressure lost to a break upstream), and zones that run when they should not (stuck valves). Irrigation leak signs in detail.
Irrigation leaks are seasonal suspects — they appear when systems pressurize in spring and vanish (from the bill) when winterized. A bill that spikes every watering season points here first.
Water Heater: The T&P Valve
The temperature-and-pressure relief valve protects the tank by discharging water when pressure or temperature exceeds safe limits — but a failing T&P valve weeps continuously, dribbling hot water down its discharge pipe to a drain. Find the discharge pipe (usually copper or CPVC running down the tank's side), and check for warmth, moisture, or active dripping. A warm discharge pipe with no recent hot-water use is diagnostic.
Safety: the T&P valve is a safety device — do not cap or plug its discharge, and do not ignore a valve that discharges heavily (that signals a pressure or temperature problem needing professional attention).
Drips And Weeps
Walk every fixture: taps, showerheads, hose bibs, supply lines under sinks, toilet supply connections. Individually, drips waste modest water — but a hot-water drip also forces the water heater to work continuously, compounding the cost. Fix drips regardless; they are cheap to resolve and never the wrong action.
When It Is None Of These
Cleared toilets, irrigation, heater, and fixtures — but the meter still moves? The leak is hidden:
- Slab leak — check for warm spots, sounds, damp flooring.
- Underground/buried line — check for soggy yard, low pressure.
- Service line / meter box — check for water in the meter box.
At this point you have done the professional's own triage — call for detection with confidence, and mention what you have already ruled out. It focuses the visit and shortens the diagnosis.
Toilet Anatomy For Leak Hunters
Knowing the parts focuses the diagnosis:
- Flapper: the rubber seal at the tank bottom — the #1 failure point. Warps, cracks, and mineral-coats with age.
- Fill valve: refills the tank — fails by running continuously or cycling (phantom refills).
- Flush valve seat: the rim the flapper seals against — pitting here defeats new flappers.
- Overflow tube: water entering it means the fill valve is set too high or failing.
- Supply valve and line: weeps here are supply-side leaks, not tank leaks — different fix.
The dye test implicates the flapper/seat; continuous running implicates the fill valve; water in the overflow implicates valve adjustment or failure. Each has its own inexpensive fix.
Seasonal And Situational Patterns
- After vacations: stagnant water accelerates flapper degradation; test toilets after any long absence.
- After water work: pressure changes and sediment disturb valves — new running after municipal work is common.
- Hard water areas: mineral buildup shortens flapper and valve life; more frequent replacement is normal.
- New parts, still leaking: suspect the flush valve seat (pitted) or an incompatible flapper — not all flappers fit all toilets.
The Economics Of Toilet Leaks
A running toilet's cost is pure waste — water bought and sewered without benefit. At typical rates, a moderately running toilet costs more per month than its replacement parts cost once. A severely running toilet can exceed the cost of a professional diagnosis visit every single month it runs. The dye test is free; the flapper is cheap; the delay is expensive. There is no economic case for living with a known running toilet.
Replace Proactively
Flappers are wear items — budget a replacement every few years per toilet, and you will never again discover a leak via the bill. Preventive pennies beat reactive dollars.
Beyond Toilets: The Second Tier Of Usual Suspects
When toilets pass but the meter moves, the second tier awaits:
- Hose bibs — dripping outdoor faucets, often unnoticed for months.
- Washing machine valves — weeping supply valves behind the machine.
- Ice maker lines — saddle valves and plastic lines are failure-prone.
- Water softener drains — stuck regeneration running to drain.
- Humidifier supplies — float valves stuck open.
Walk the house with fresh eyes — the usual suspects are called usual because they are usually guilty.
Flapper Replacement: What To Know
Flappers are the most-replaced toilet part for good reason — they are wear items. Key knowledge:
- Match the type: not all flappers fit all toilets — note the brand and model, or bring the old flapper to the store.
- Check the seat: a pitted or rough flush-valve seat defeats new flappers — feel it for roughness; severe pitting needs seat repair or replacement.
- Chain adjustment: too tight prevents sealing; too loose tangles — the chain should have slight slack when closed.
- Water quality: chlorine and hard water shorten flapper life — consider it a consumable, not a permanent part.
A correctly installed quality flapper, on a sound seat, with proper chain adjustment, seals for years. Repeat failures point to seat condition or water chemistry, not flapper quality.
Fill Valve Issues
- Continuous running: valve stuck open — usually replace, not repair.
- Phantom refills: actually a flapper symptom (tank leaking to bowl), not a valve fault — dye-test first.
- Slow refill: sediment-clogged valve or supply — clean or replace.
- Water in overflow: valve set too high or failing to shut — adjust float, then replace if adjustment fails.
Dual-Flush And Modern Toilets
Modern toilets (dual-flush, pressure-assist, smart) have their own failure modes:
- Dual-flush: the flush mechanism's seals replace the traditional flapper — inspect and replace per manufacturer guidance; the dye test still works (color in bowl = seal leak).
- Pressure-assist: the vessel's seals and the flush valve require manufacturer-specific parts — generic flappers do not apply.
- Smart toilets: electronic fill and flush — consult the manual; leaks here are less DIY-friendly.
The elimination principle is unchanged regardless of toilet type: verify the fixture before suspecting hidden plumbing. Meter testing confirms whether the toilet is the whole story or just part of it.
When To Replace Instead Of Repair
- Recurring failures — the third flapper in two years signals seat or chemistry issues; a new toilet may cost less than perpetual parts.
- Cracked tank or bowl — structural failure; replace, do not patch.
- Chronic inefficiency — pre-1994 toilets use 3.5+ gallons per flush; replacement pays back in water savings.
- Parts unavailability — obsolete models where seals are unobtainable.